Sale Price:
£5.00
Original Price:
£10.00
Now includes .XMP and .DNG files for every preset.
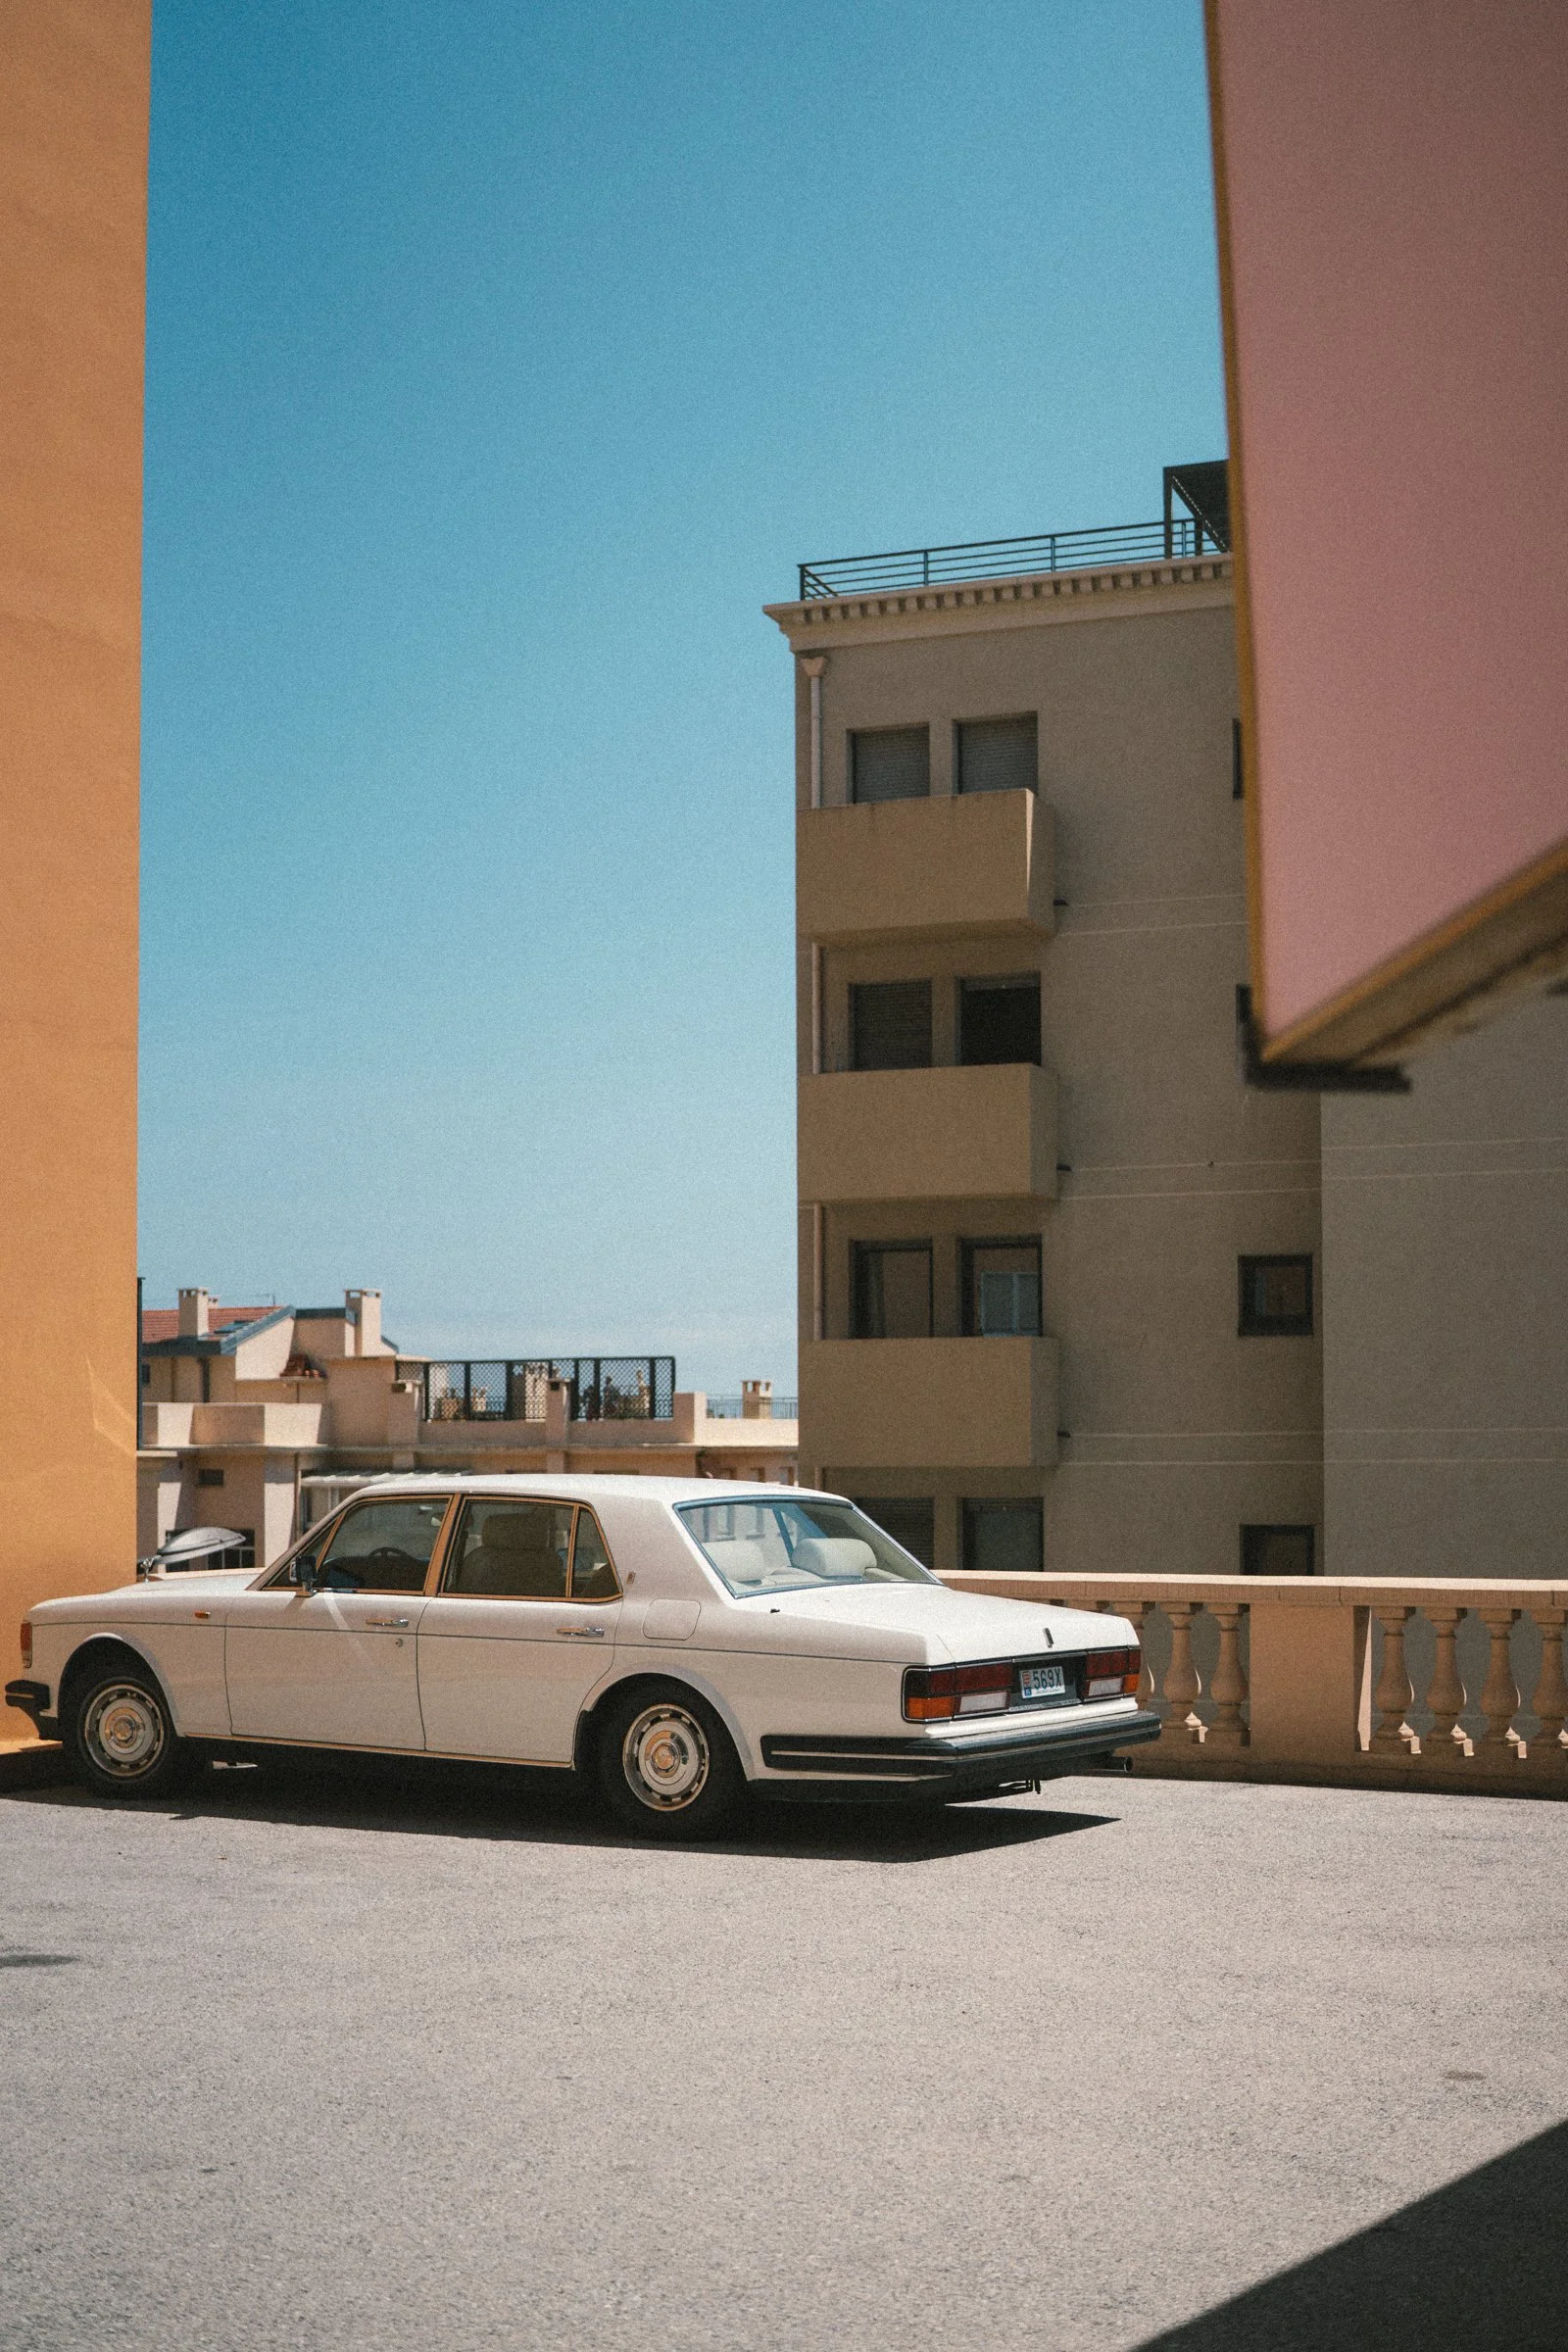
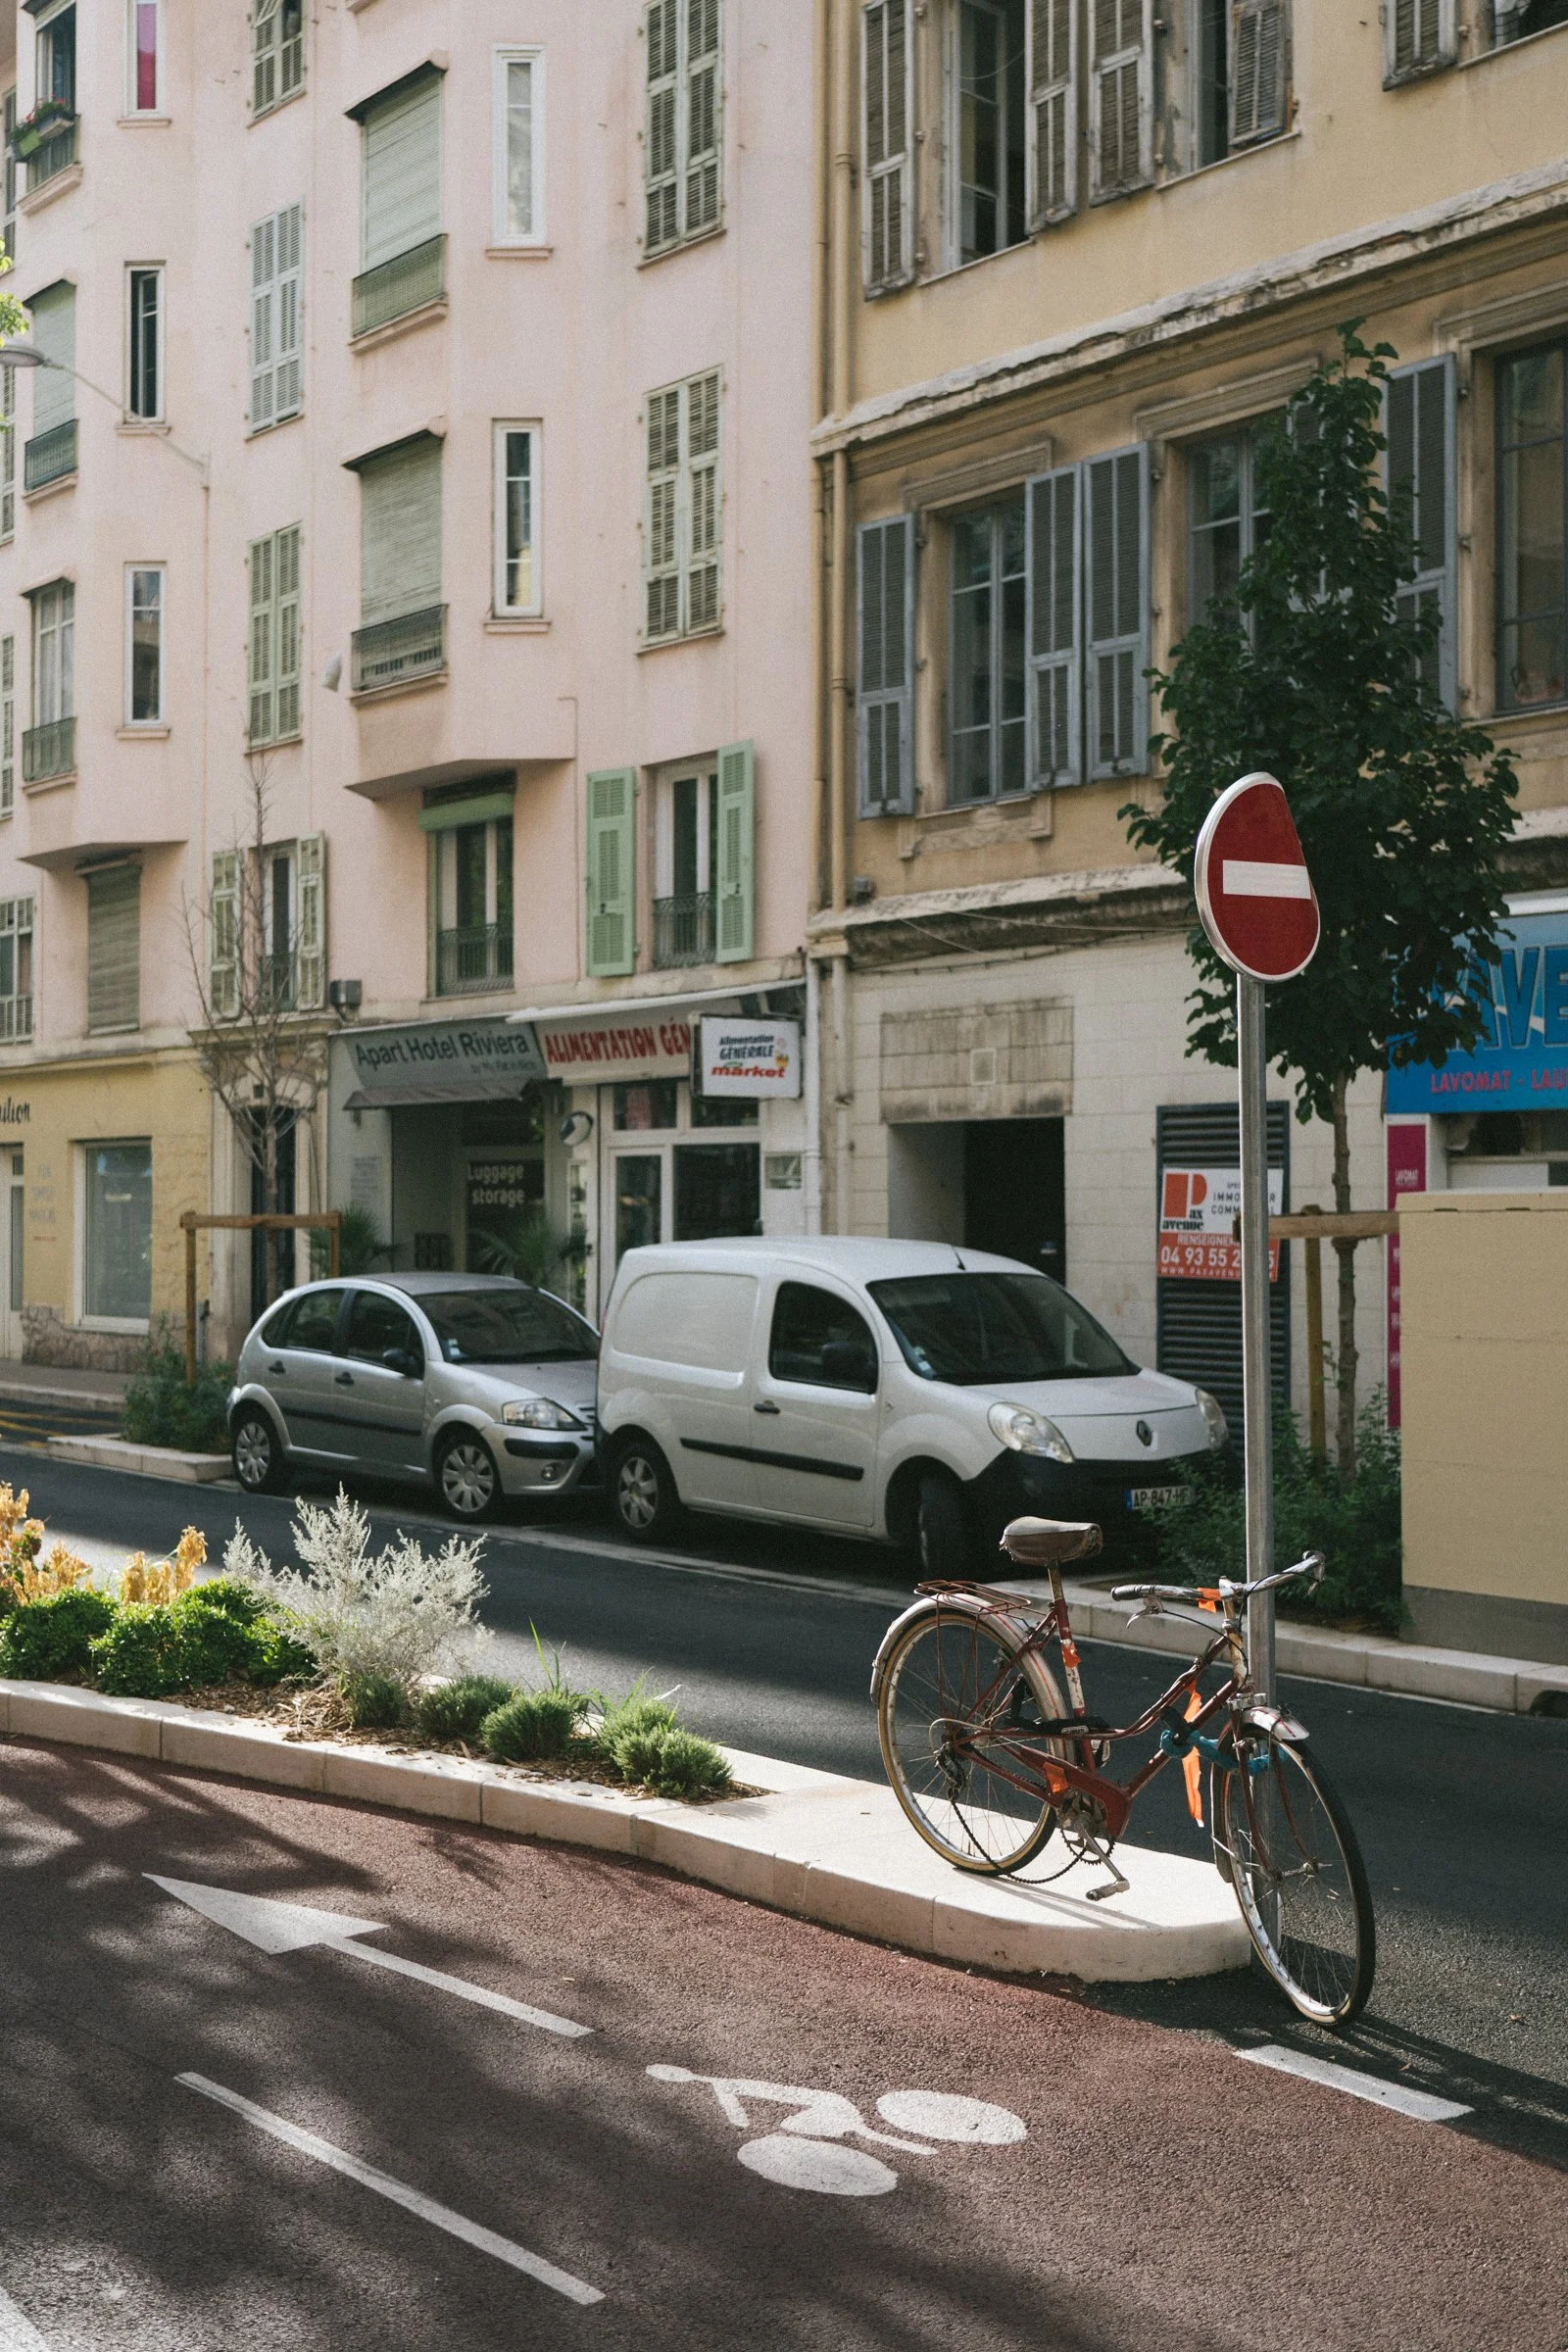
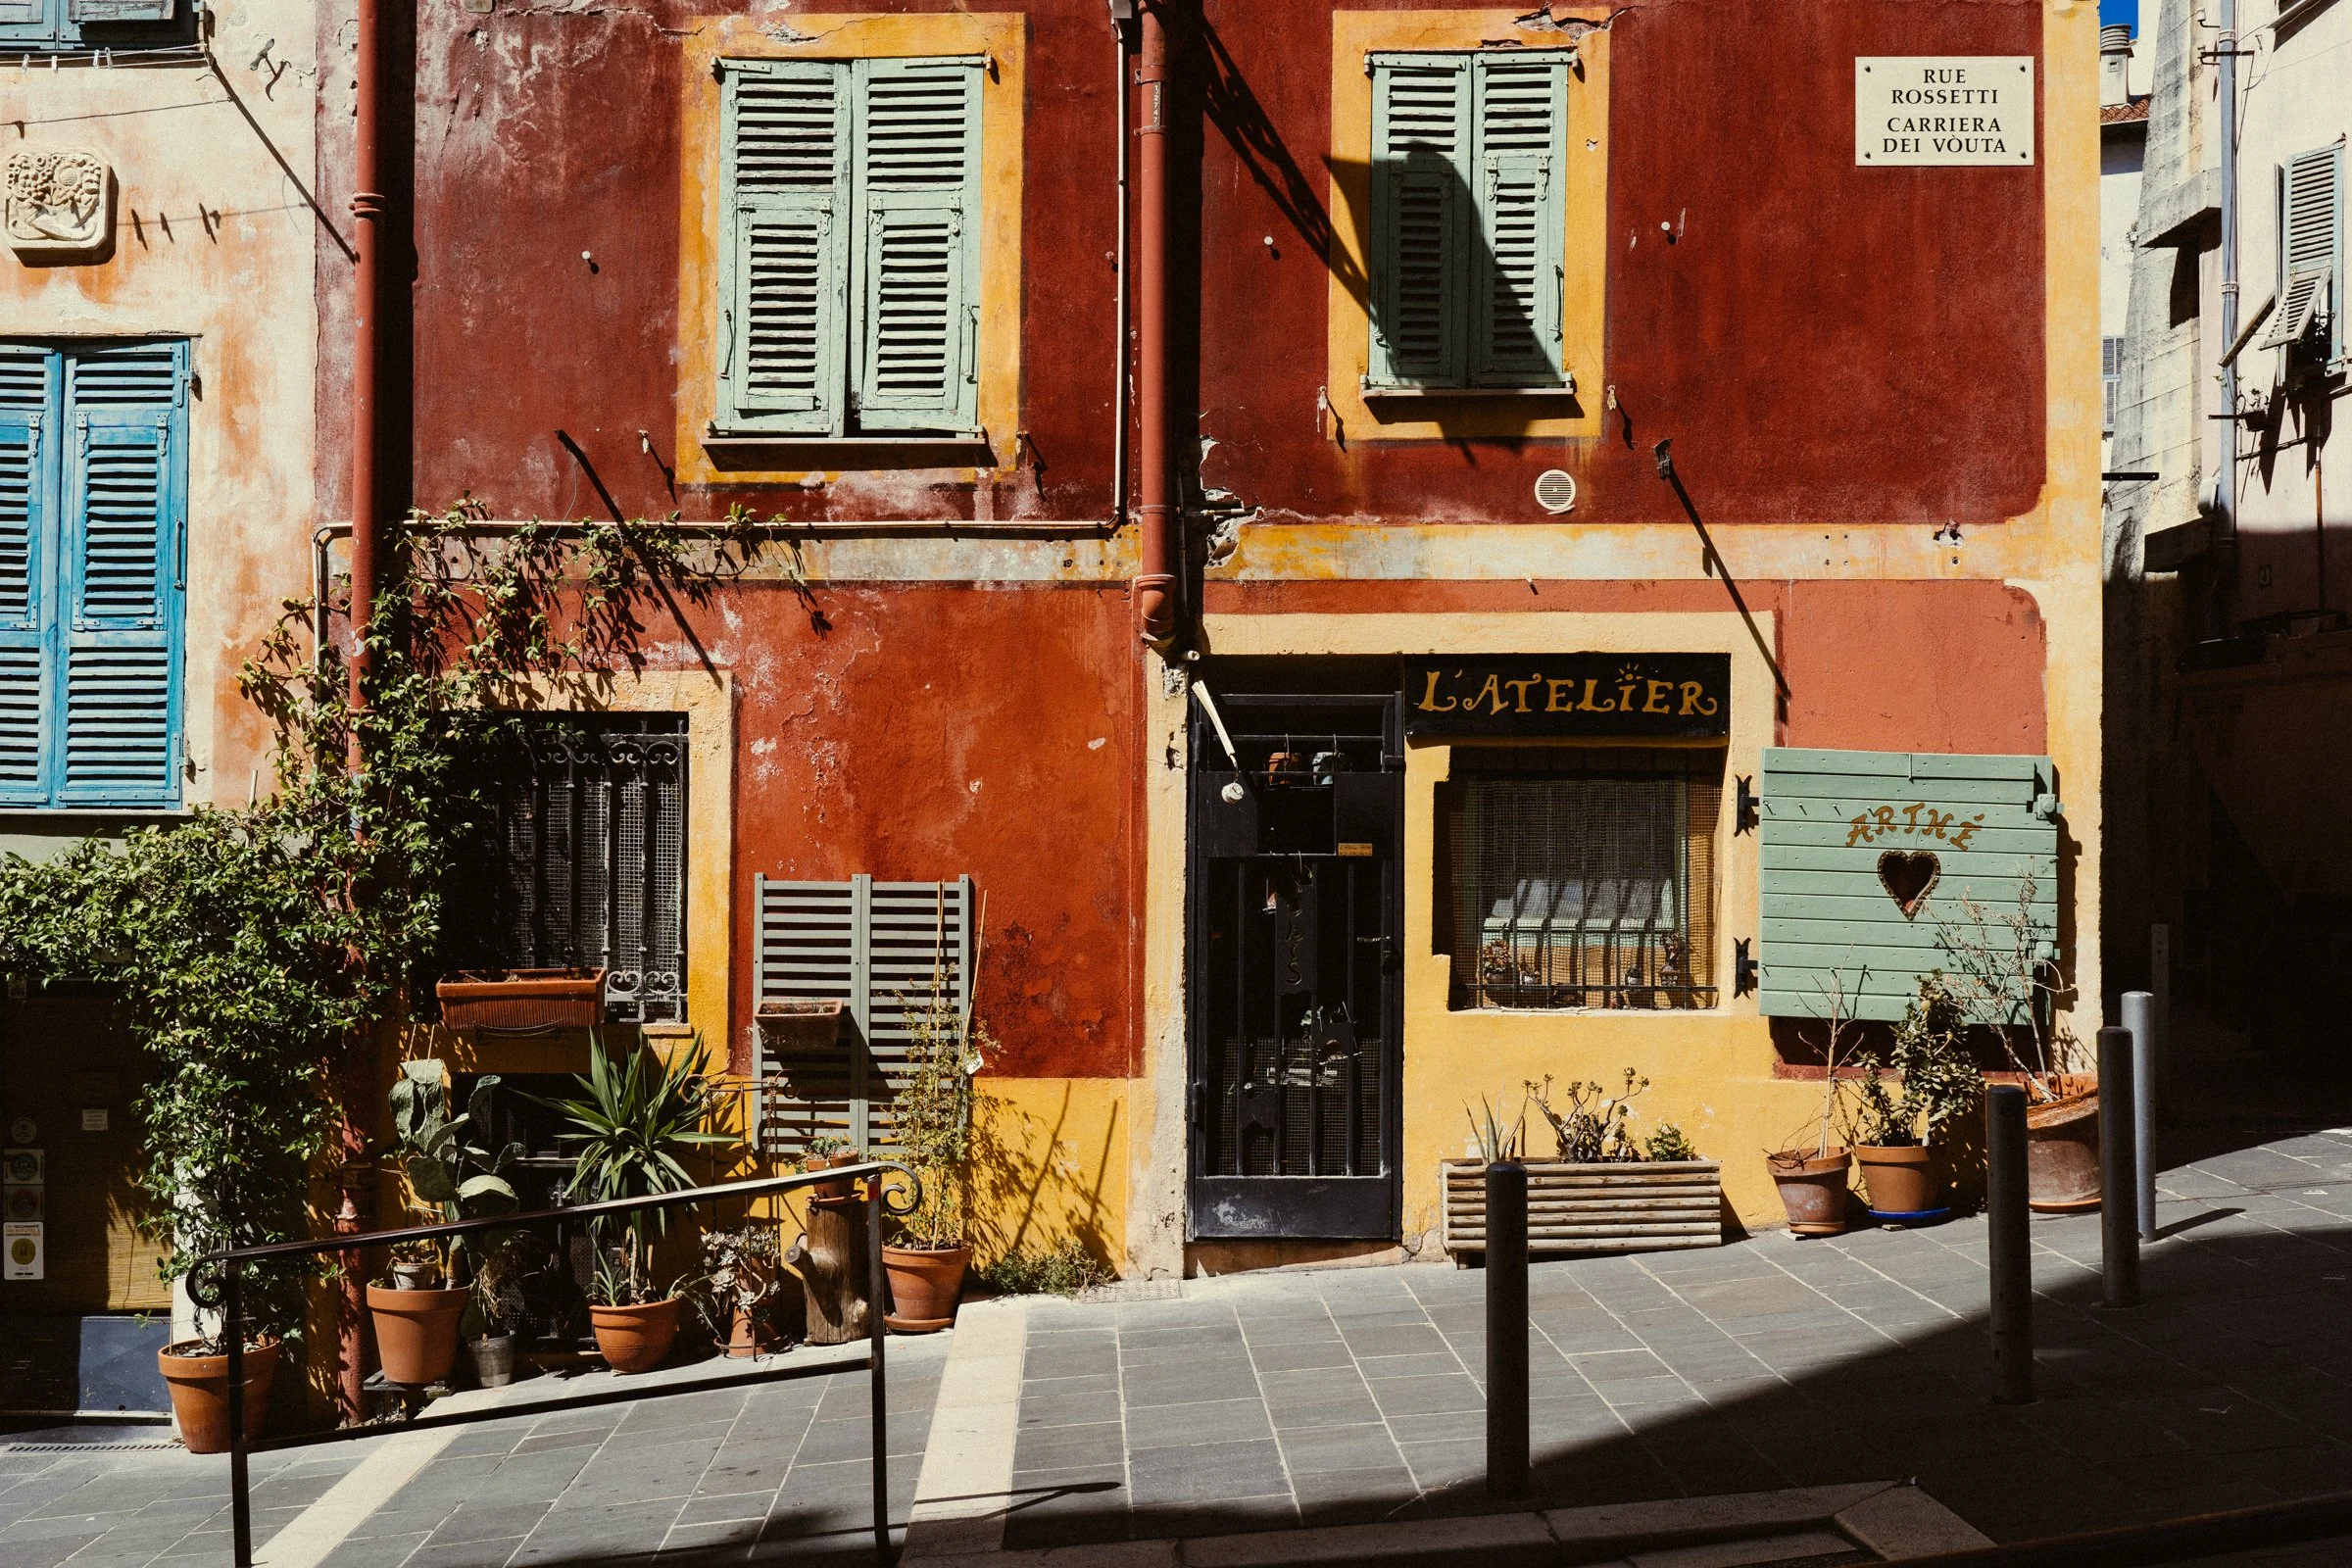
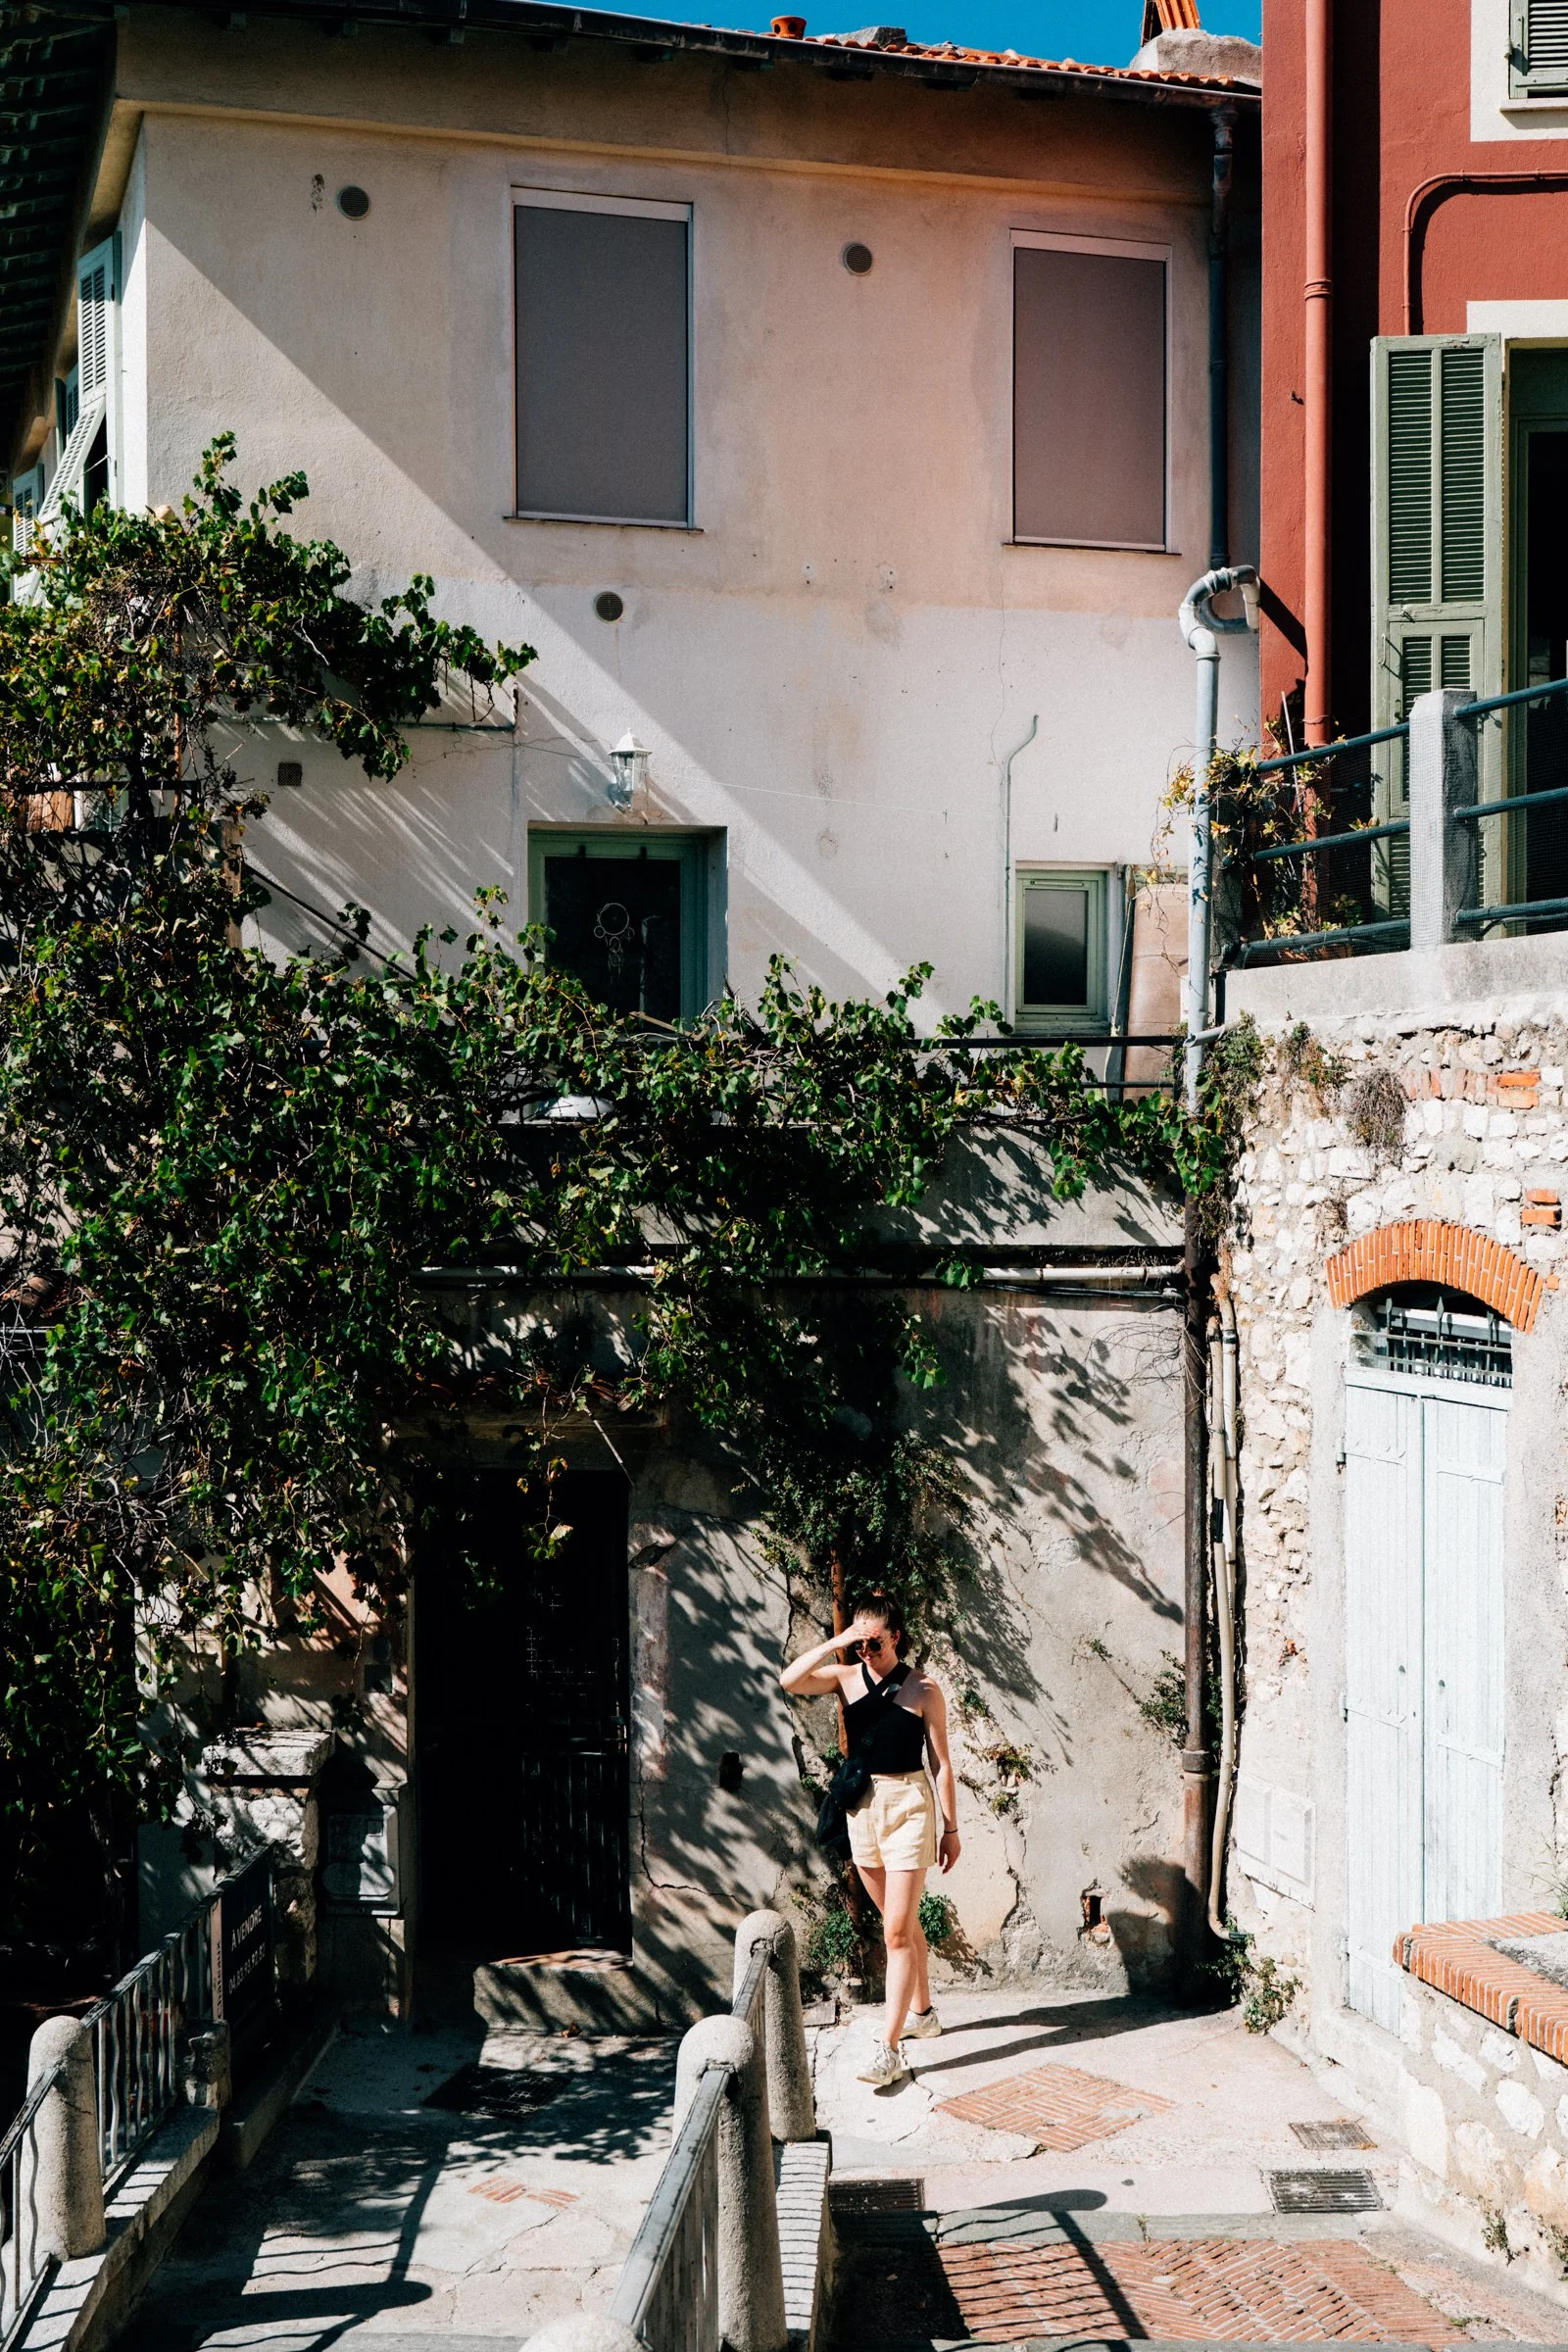
Bring the full spectrum of film-inspired edits into your digital photography with the complete Mercury & Argus Lightroom Presets Bundle. This collection combines Kodak, Agfa, Cinestill, and Nostalgia presets into one seamless package, giving you every style at your fingertips.
What’s Included: All 13 Presets
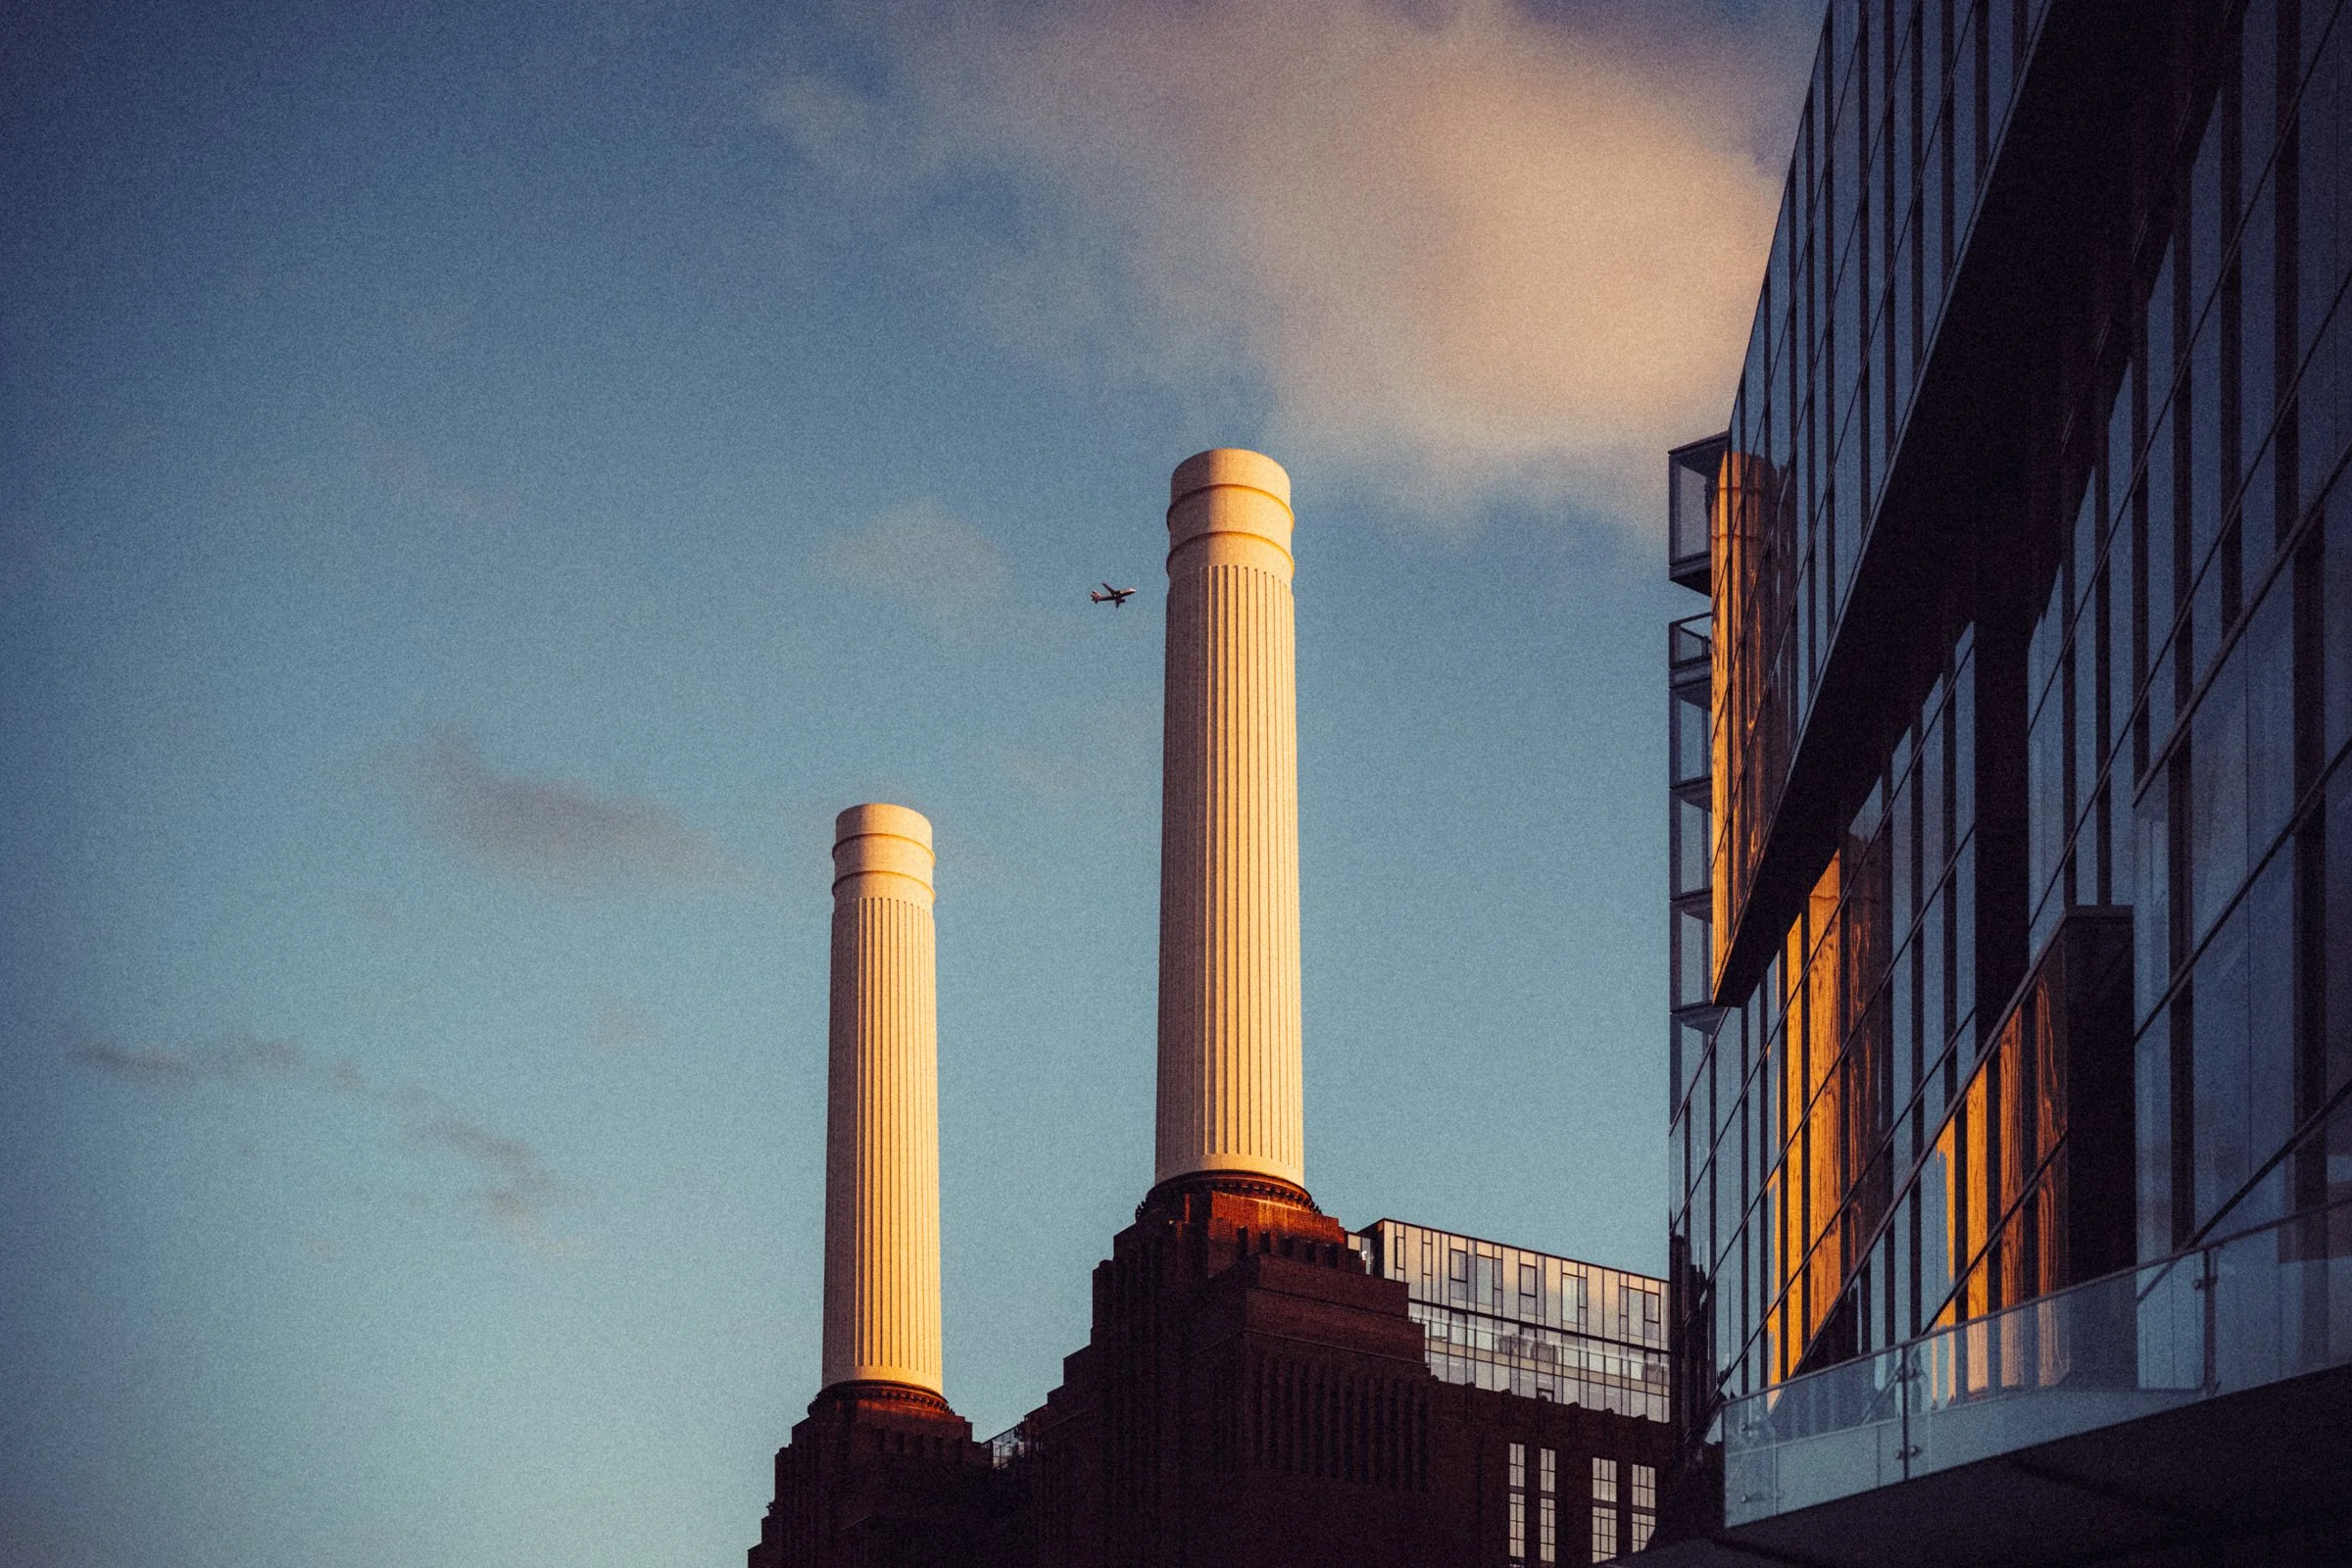
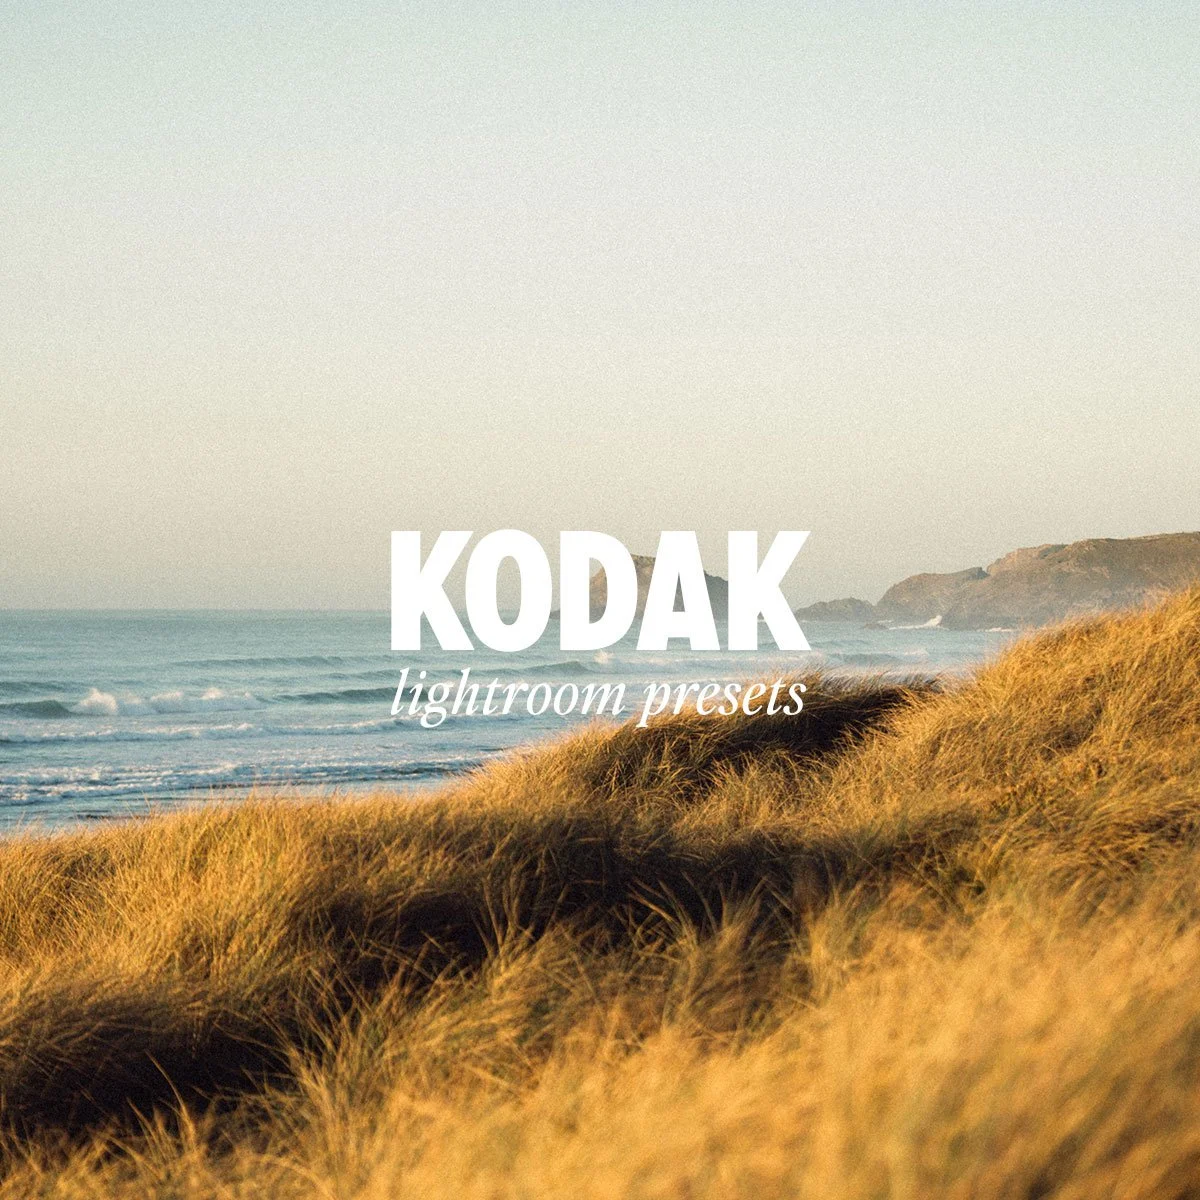
Kodak Presets – Capture the timeless tones and grain of iconic Kodak films, from subtle and natural E200 to vibrant Gold 200, versatile Portra 400, cinematic Portra 800, and bold Ultramax 800.
Agfa Presets – Emulate the character of Agfa’s classic stocks with Scala 200 for rich monochrome, Vista 800 for cinematic color, and Vista 400 Night Tungsten for glowing low-light scenes.
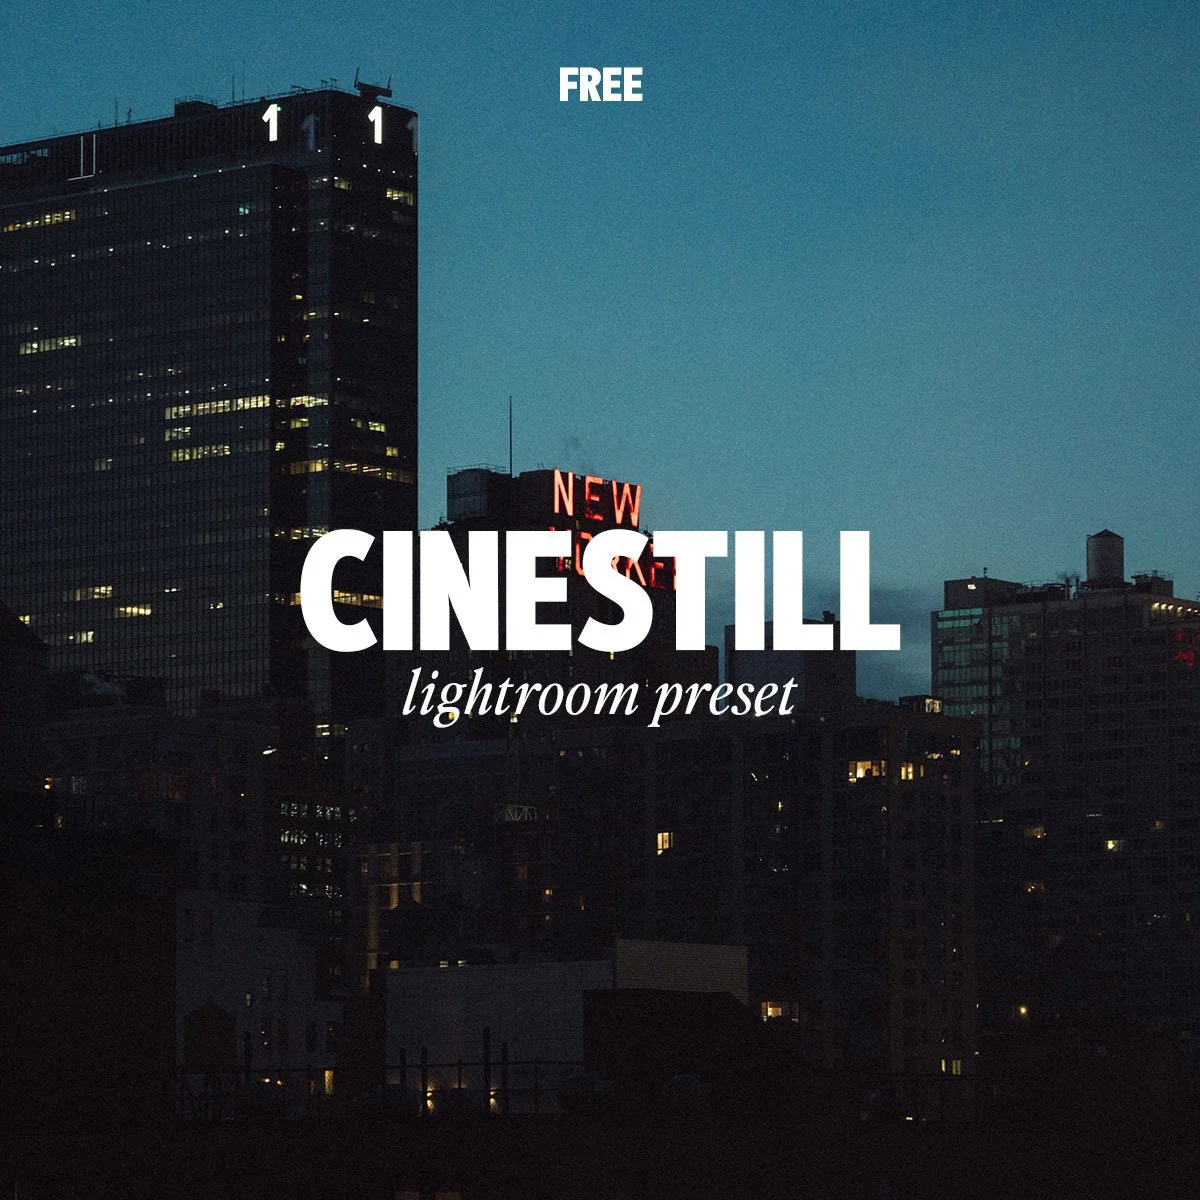
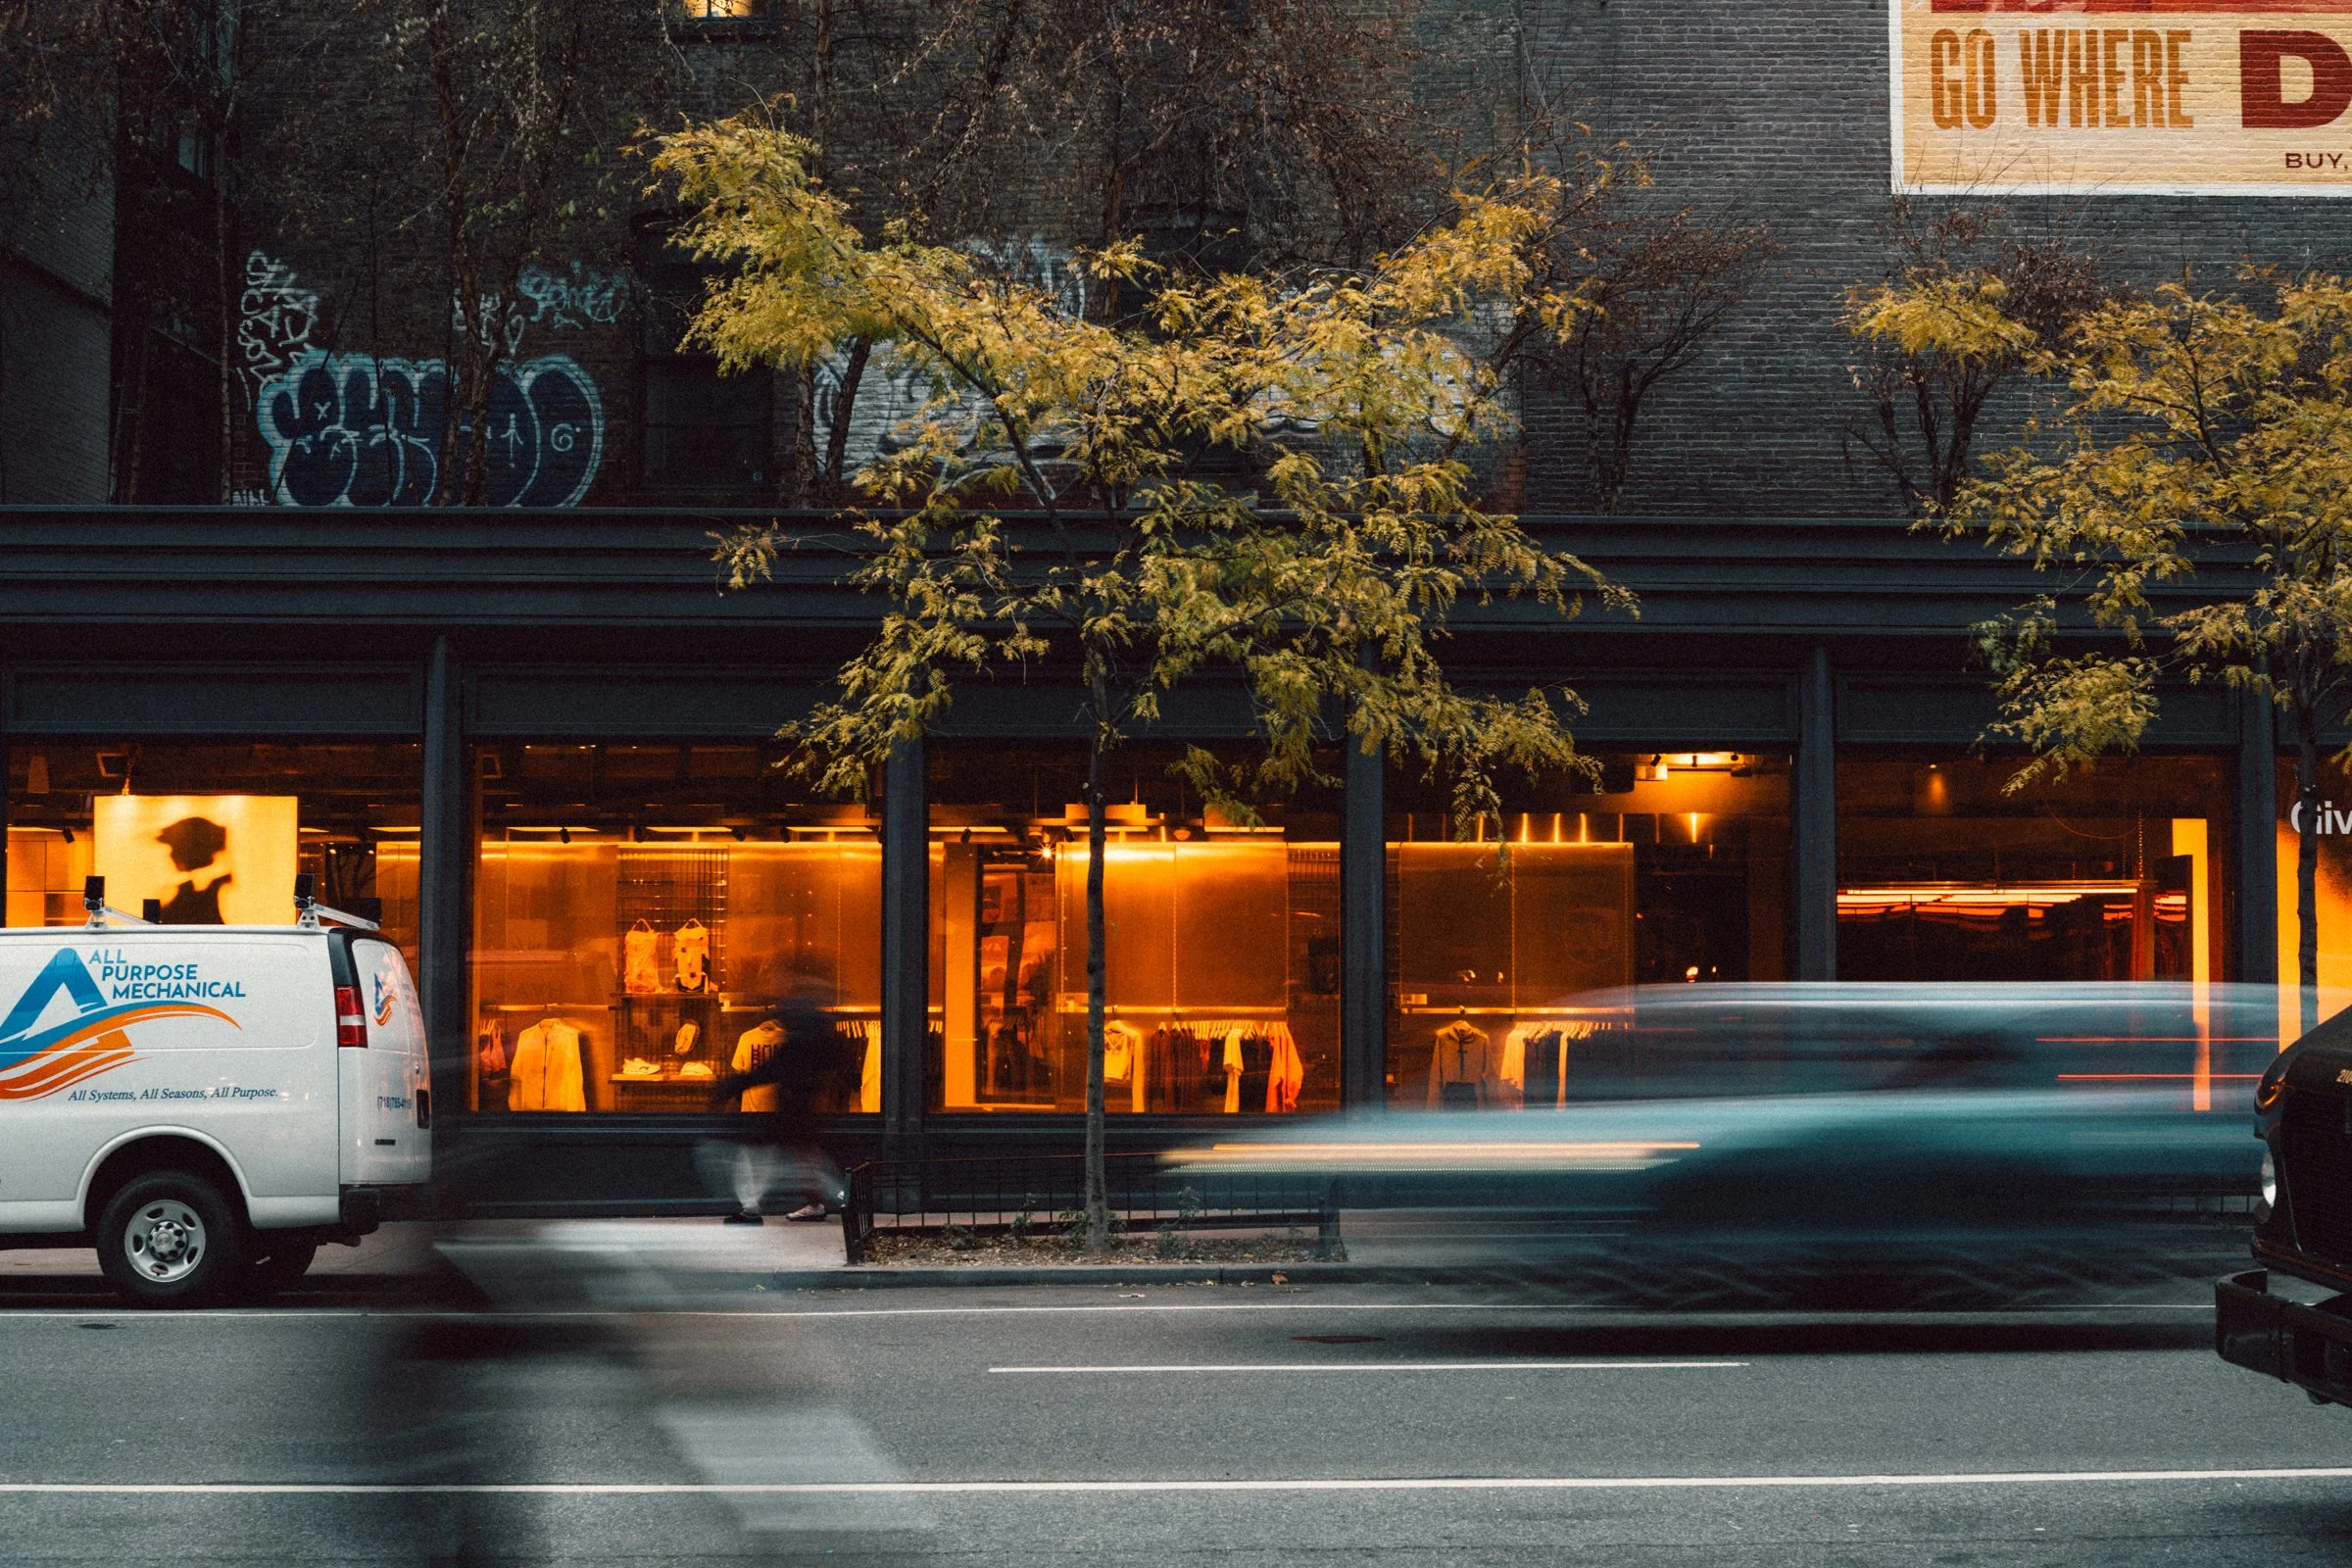
Cinestill Preset – Achieve the cinematic beauty of Cinestill 400D, with expressive colors, smooth grain, and balanced tones that elevate portraits, street photography, and everything in between.
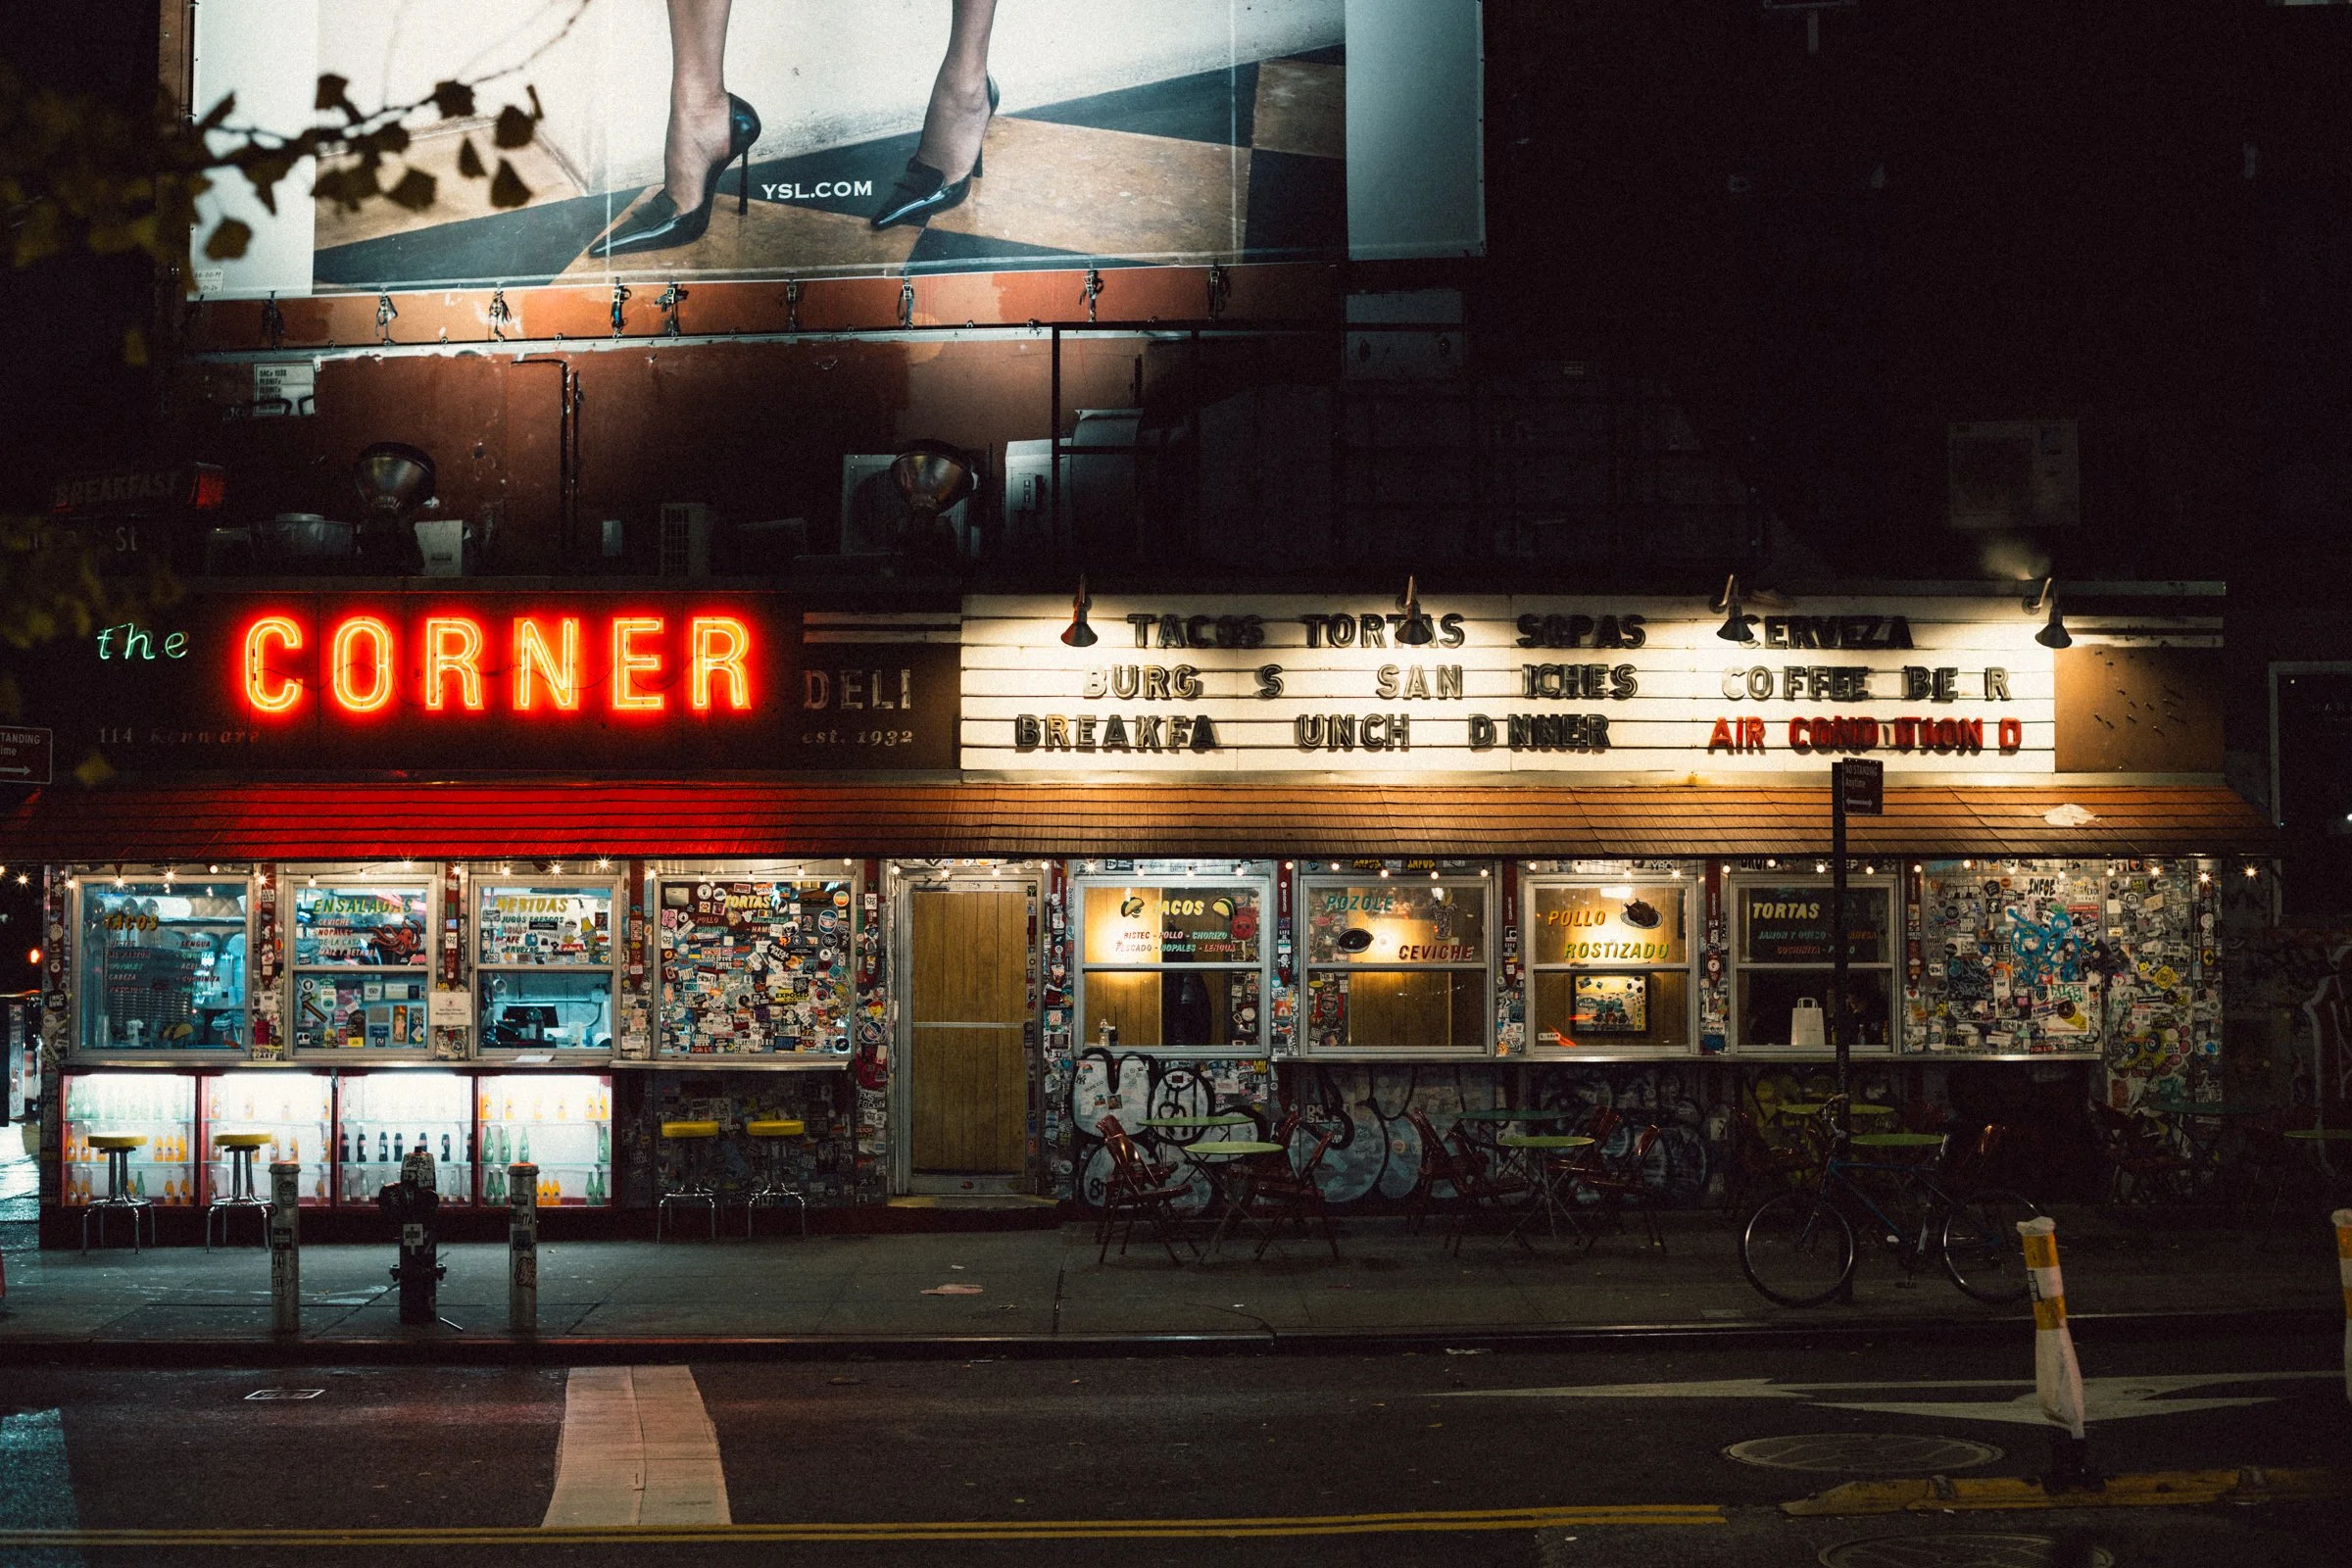
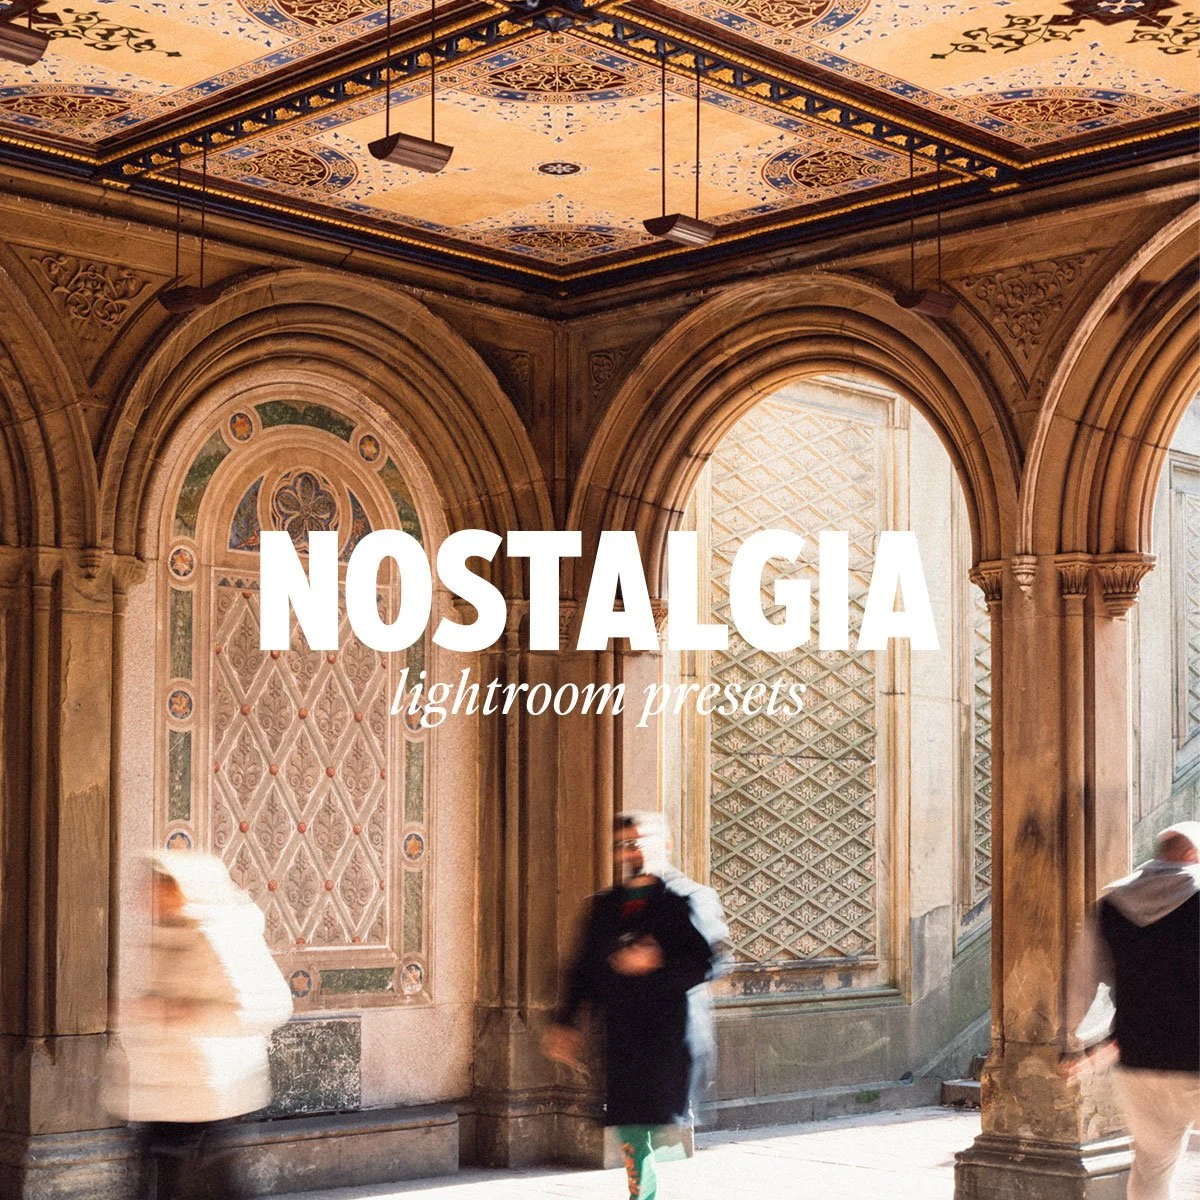
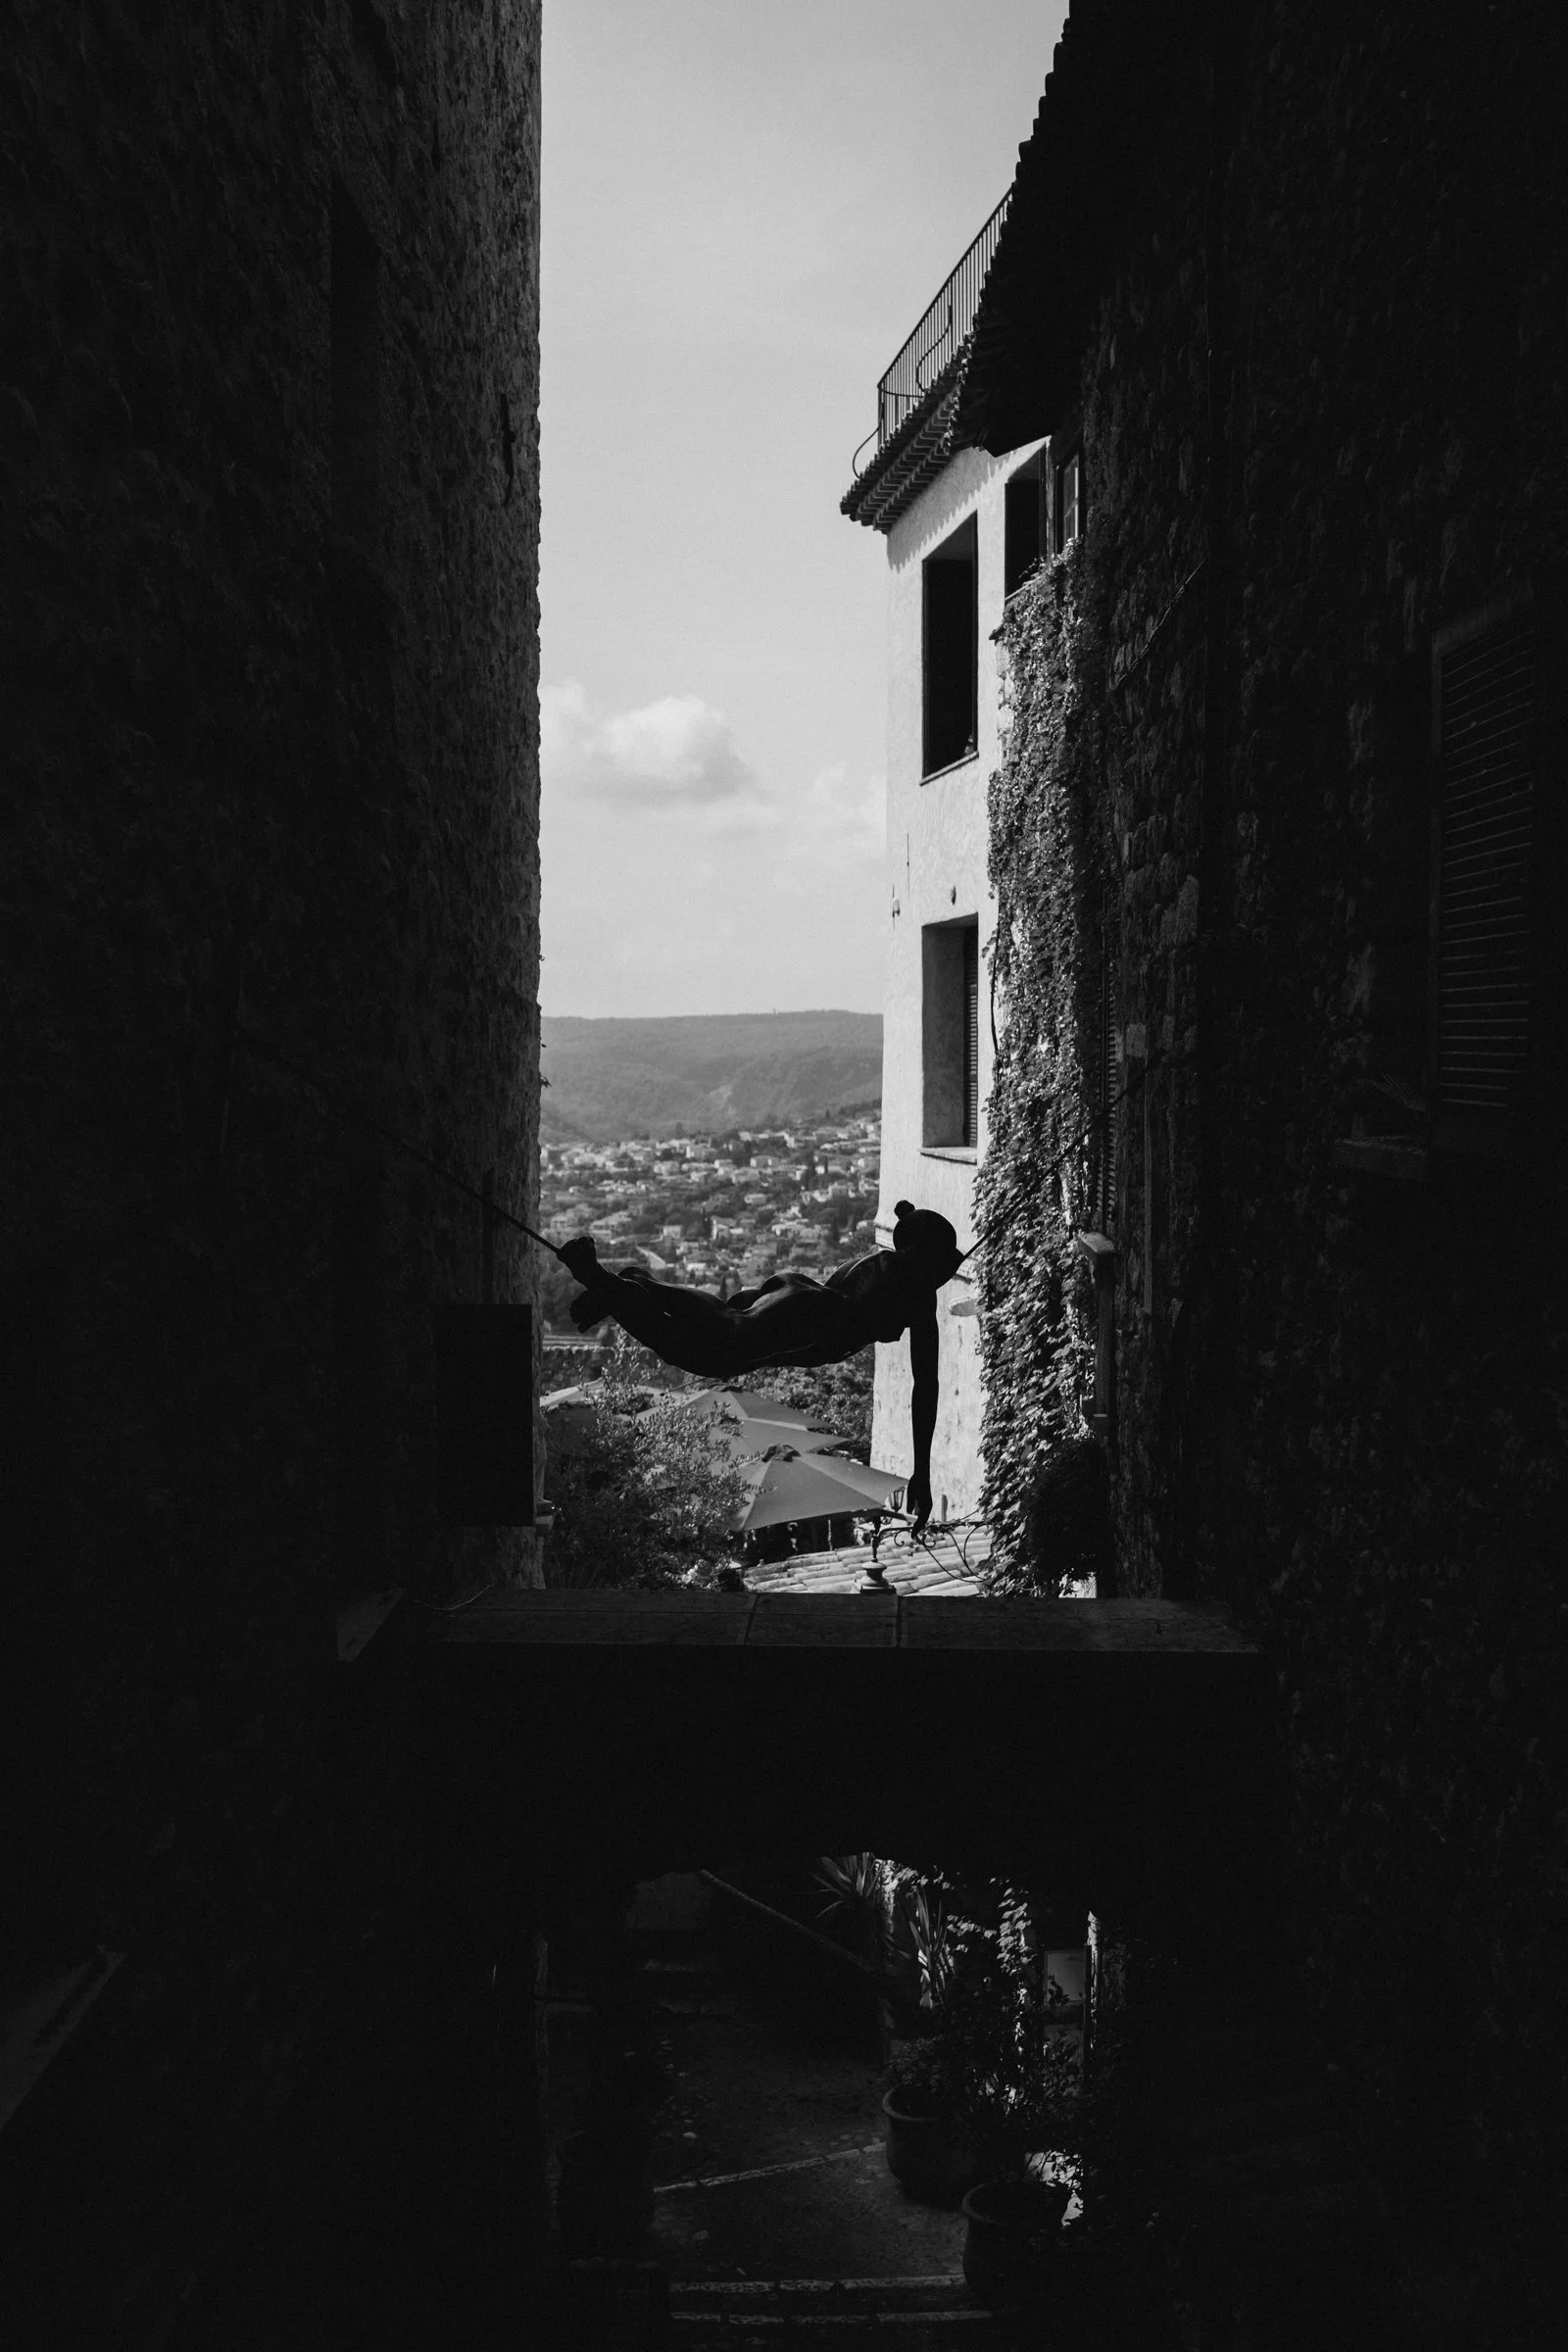
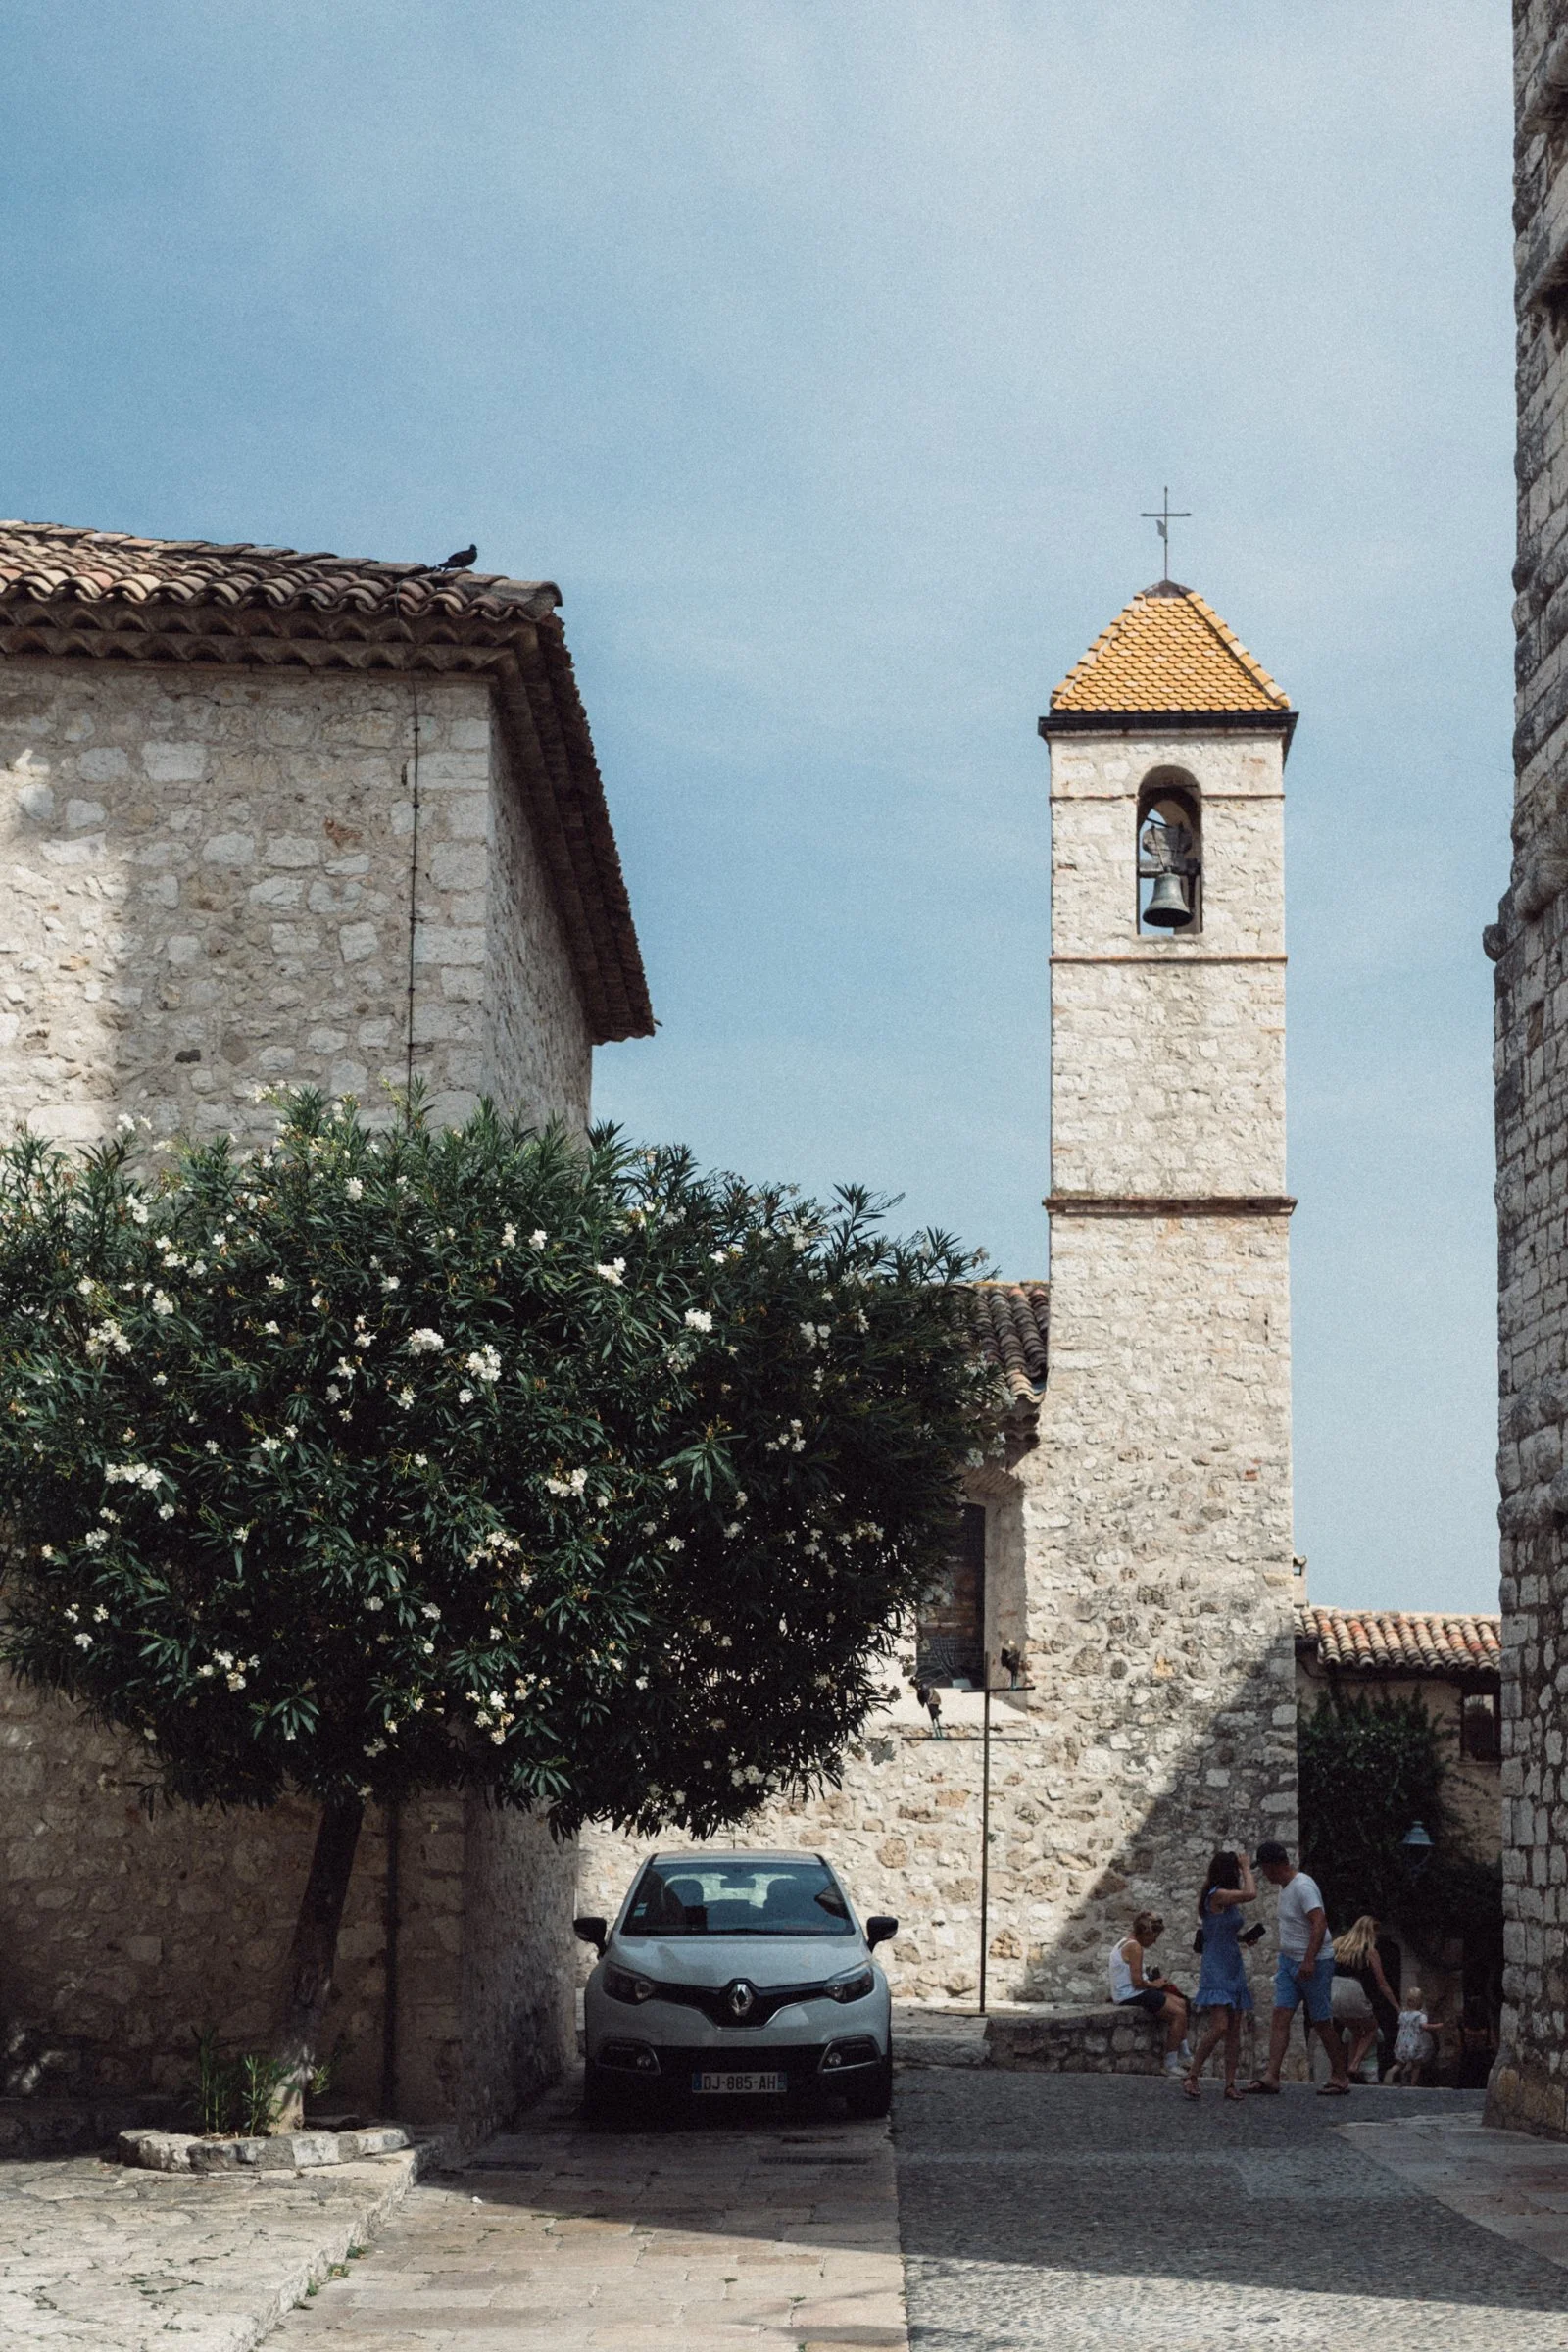
Nostalgia Presets – Add dreamy, vintage charm with three color presets and one black & white preset, perfect for creating warm, evocative edits in just one click.
With just a single click, this bundle transforms your images into vibrant, cinematic, and nostalgic works of art, making it easy to achieve professional-quality edits across any style or lighting scenario.
HOW TO USE
💻 Lightroom Desktop (.xmp files)
Download & unzip your preset folder.
Open Lightroom Classic on your computer.
Go to the Develop Module.
In the left panel under Presets, click the “+” icon.
Select Import Presets.
Choose the .xmp files from your folder and click Import.
Your presets will now appear in the Presets Panel (usually under User Presets or in the provided folder).
👉 Using your presets: Open a photo → Go to Develop → Click on a preset → Fine-tune exposure, contrast, and white balance for best results.
📱 Lightroom Mobile (.dng files)
Download the .dng files to your phone.
Open the Lightroom Mobile App.
Import the .dng files (they may look like blank/grey images).
Open one .dng file.
Tap the “…” menu → Select Create Preset.
Give it a name and save it to a group (e.g., “My Presets”).
Repeat for each .dng file.
👉 Using your presets: Open a photo → Go to Presets → Tap your saved preset → Adjust exposure/temperature to suit your image.
🌟 Tips for Best Results
Presets are a starting point, not a one-click solution — adjust exposure and white balance to match your photo.
Shoot in RAW for maximum flexibility.
Experiment! Different presets work best in different lighting conditions.
Now includes .XMP and .DNG files for every preset.
Bring the full spectrum of film-inspired edits into your digital photography with the complete Mercury & Argus Lightroom Presets Bundle. This collection combines Kodak, Agfa, Cinestill, and Nostalgia presets into one seamless package, giving you every style at your fingertips.
What’s Included: All 13 Presets
Kodak Presets – Capture the timeless tones and grain of iconic Kodak films, from subtle and natural E200 to vibrant Gold 200, versatile Portra 400, cinematic Portra 800, and bold Ultramax 800.
Agfa Presets – Emulate the character of Agfa’s classic stocks with Scala 200 for rich monochrome, Vista 800 for cinematic color, and Vista 400 Night Tungsten for glowing low-light scenes.
Cinestill Preset – Achieve the cinematic beauty of Cinestill 400D, with expressive colors, smooth grain, and balanced tones that elevate portraits, street photography, and everything in between.
Nostalgia Presets – Add dreamy, vintage charm with three color presets and one black & white preset, perfect for creating warm, evocative edits in just one click.
With just a single click, this bundle transforms your images into vibrant, cinematic, and nostalgic works of art, making it easy to achieve professional-quality edits across any style or lighting scenario.
HOW TO USE
💻 Lightroom Desktop (.xmp files)
Download & unzip your preset folder.
Open Lightroom Classic on your computer.
Go to the Develop Module.
In the left panel under Presets, click the “+” icon.
Select Import Presets.
Choose the .xmp files from your folder and click Import.
Your presets will now appear in the Presets Panel (usually under User Presets or in the provided folder).
👉 Using your presets: Open a photo → Go to Develop → Click on a preset → Fine-tune exposure, contrast, and white balance for best results.
📱 Lightroom Mobile (.dng files)
Download the .dng files to your phone.
Open the Lightroom Mobile App.
Import the .dng files (they may look like blank/grey images).
Open one .dng file.
Tap the “…” menu → Select Create Preset.
Give it a name and save it to a group (e.g., “My Presets”).
Repeat for each .dng file.
👉 Using your presets: Open a photo → Go to Presets → Tap your saved preset → Adjust exposure/temperature to suit your image.
🌟 Tips for Best Results
Presets are a starting point, not a one-click solution — adjust exposure and white balance to match your photo.
Shoot in RAW for maximum flexibility.
Experiment! Different presets work best in different lighting conditions.

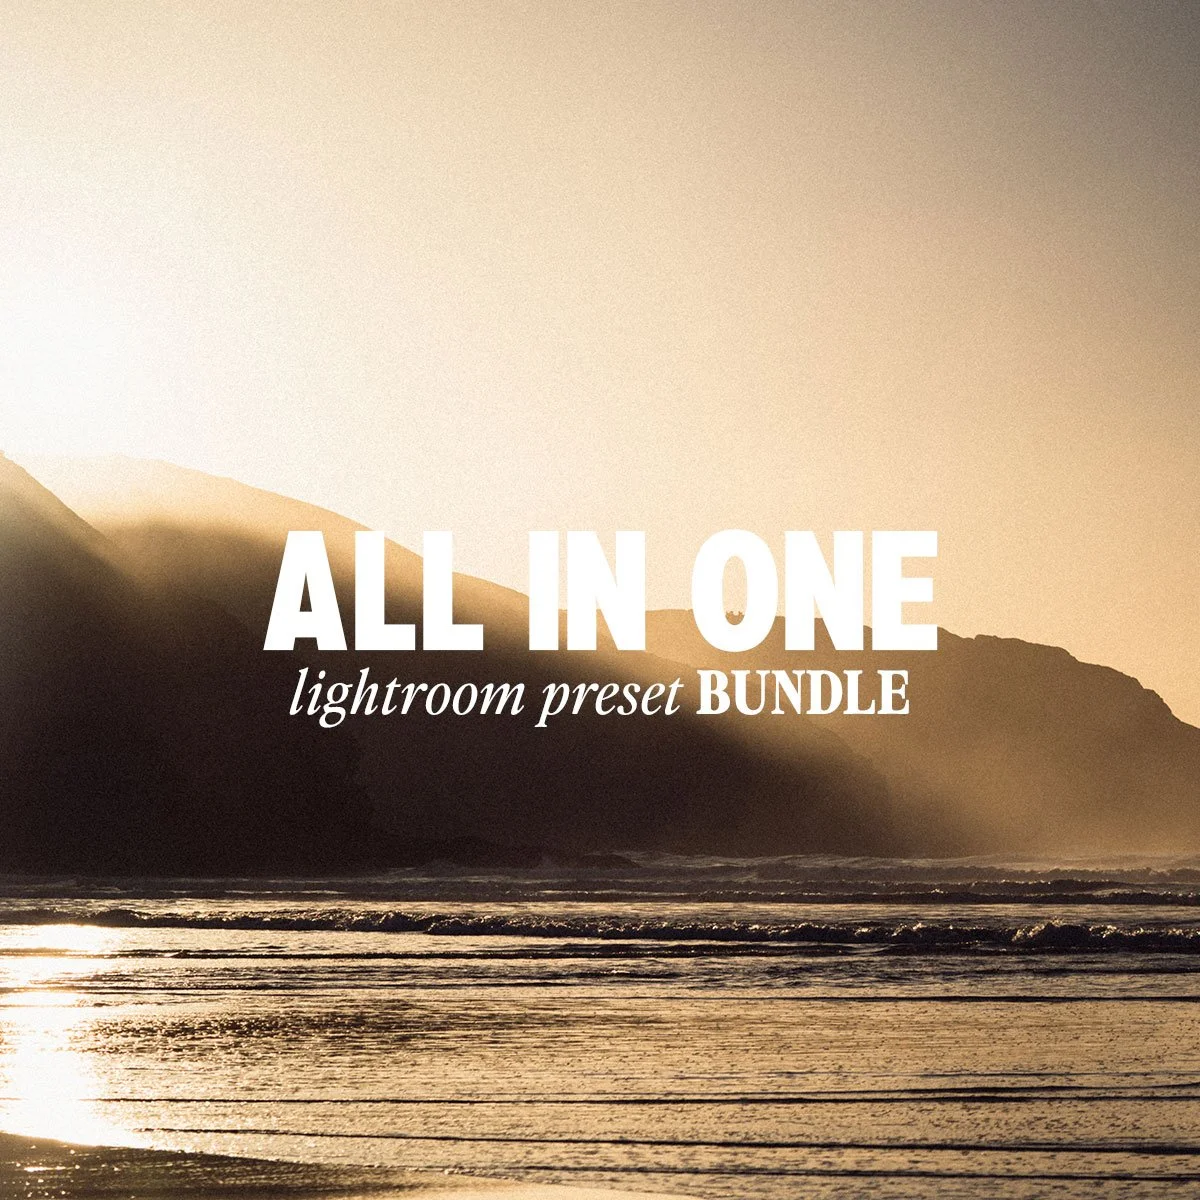 Image 1 of 7
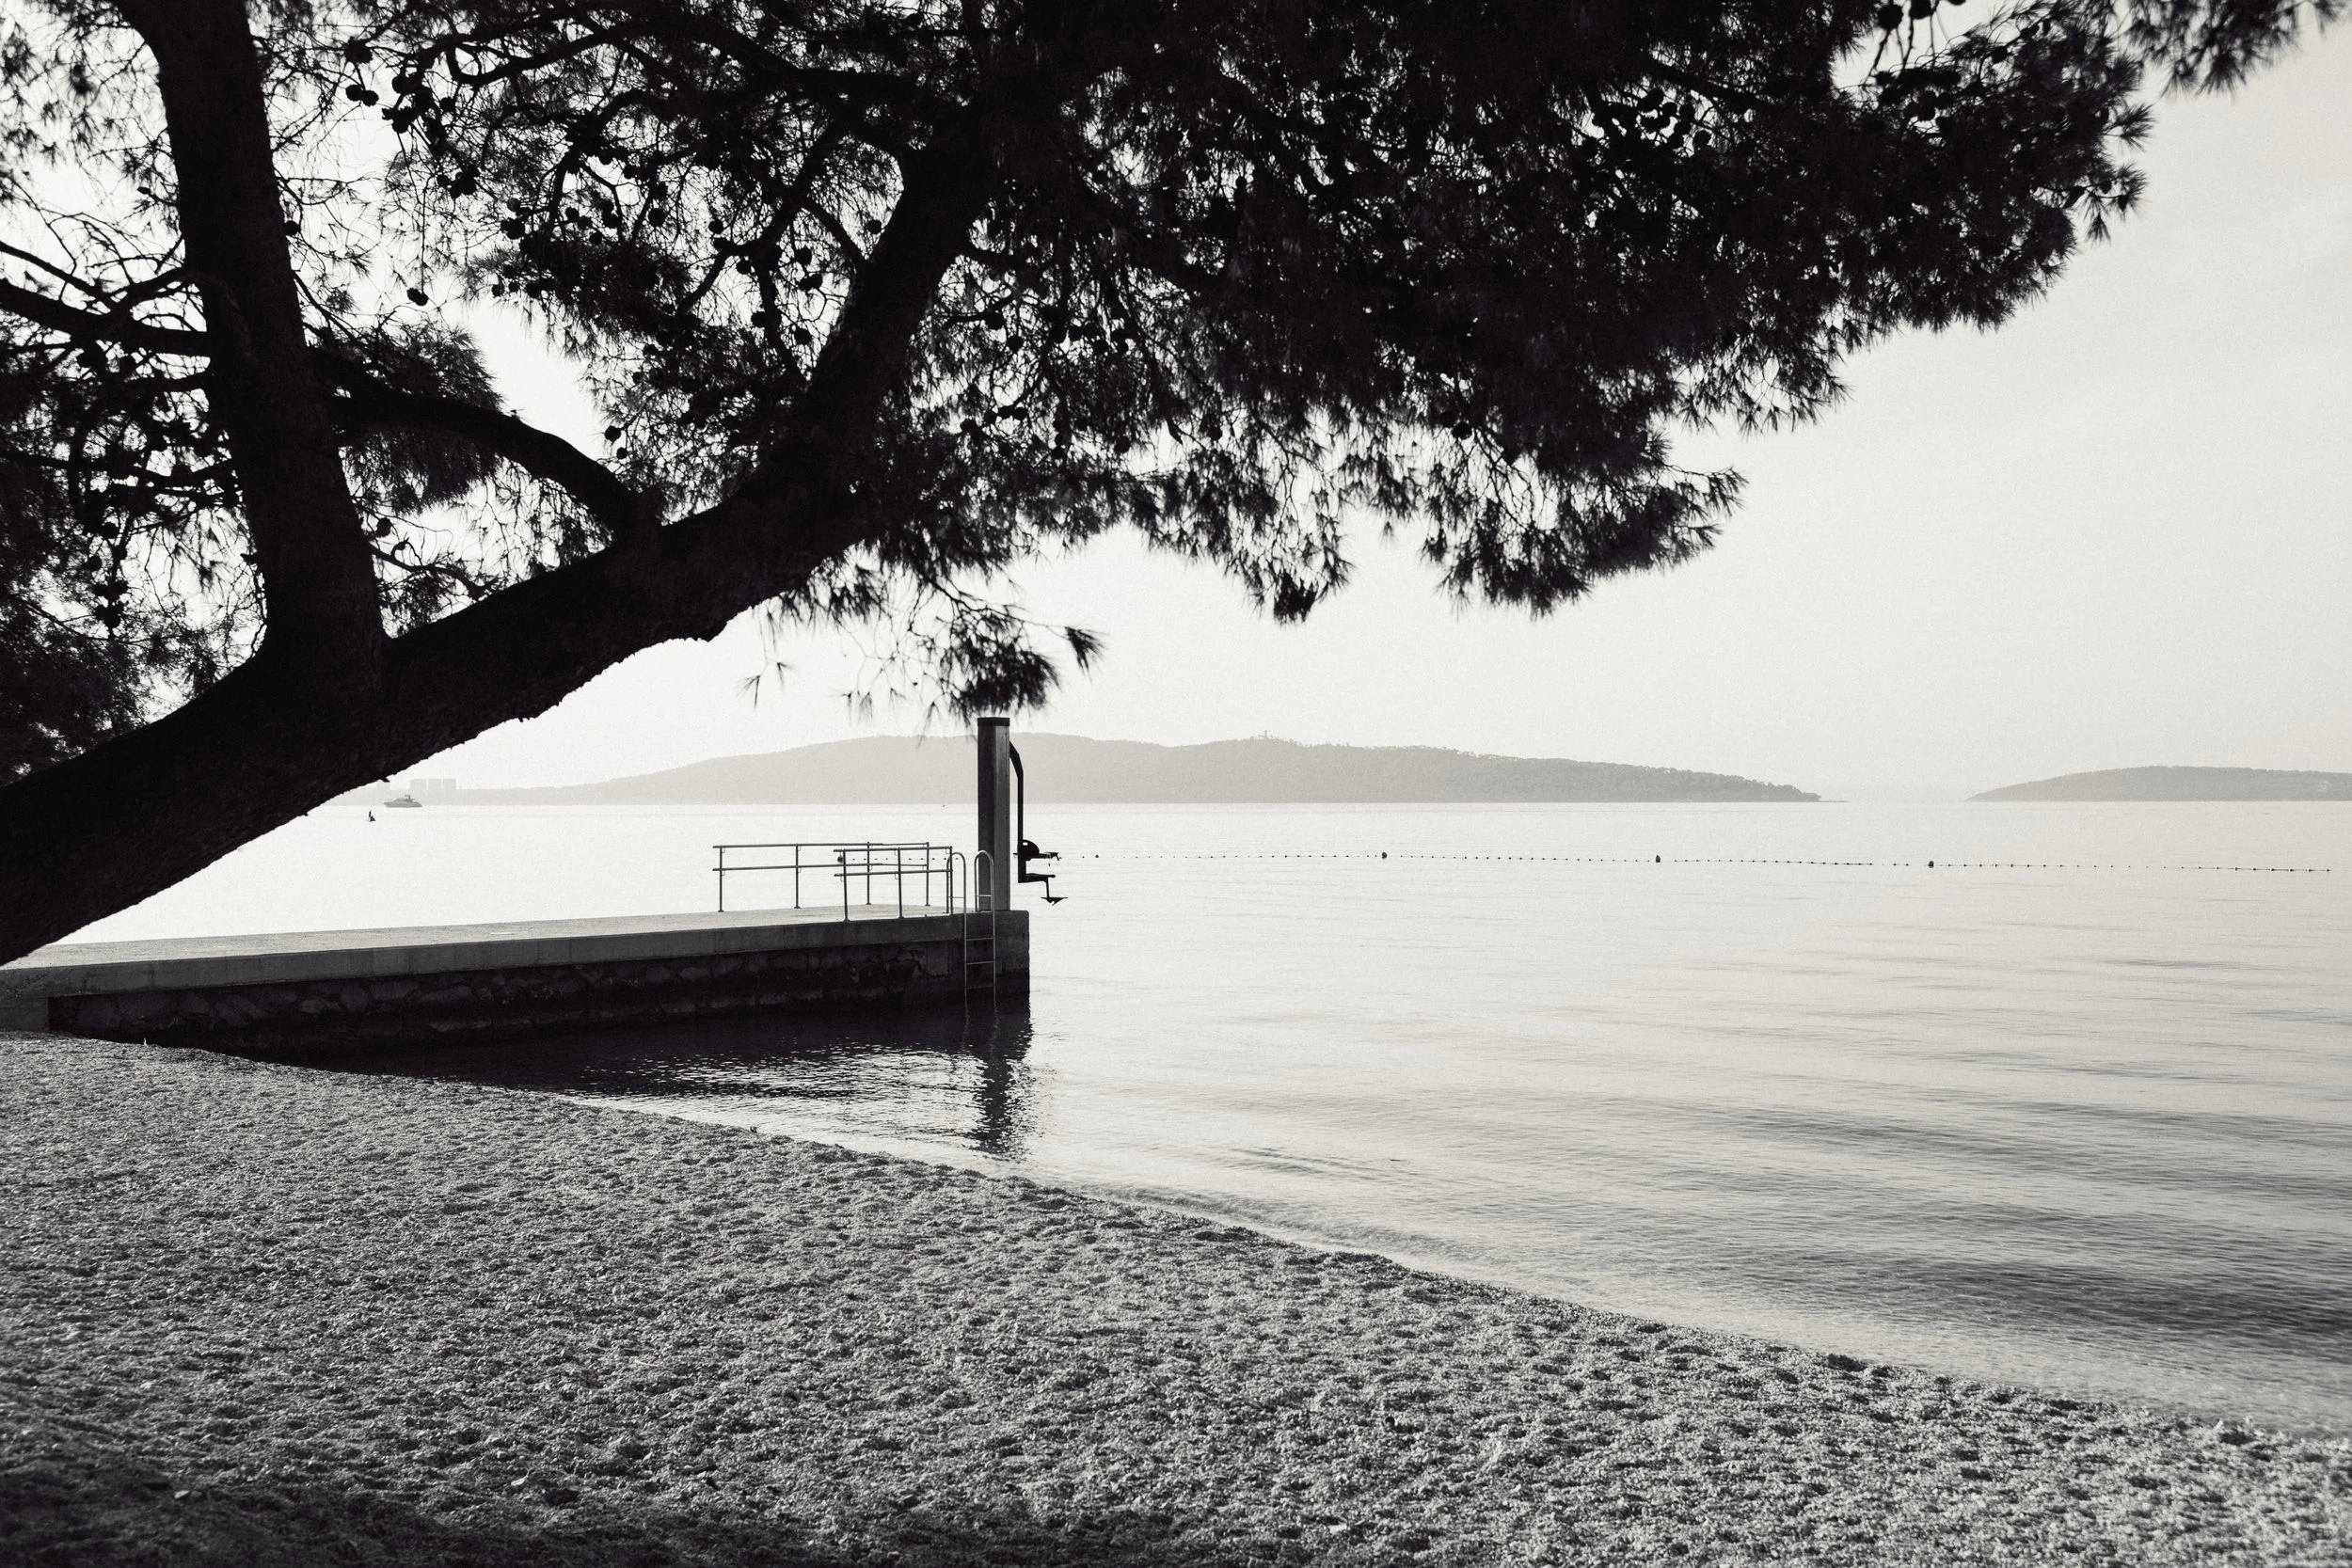 Image 2 of 7
 Image 3 of 7
 Image 4 of 7
 Image 5 of 7
 Image 6 of 7
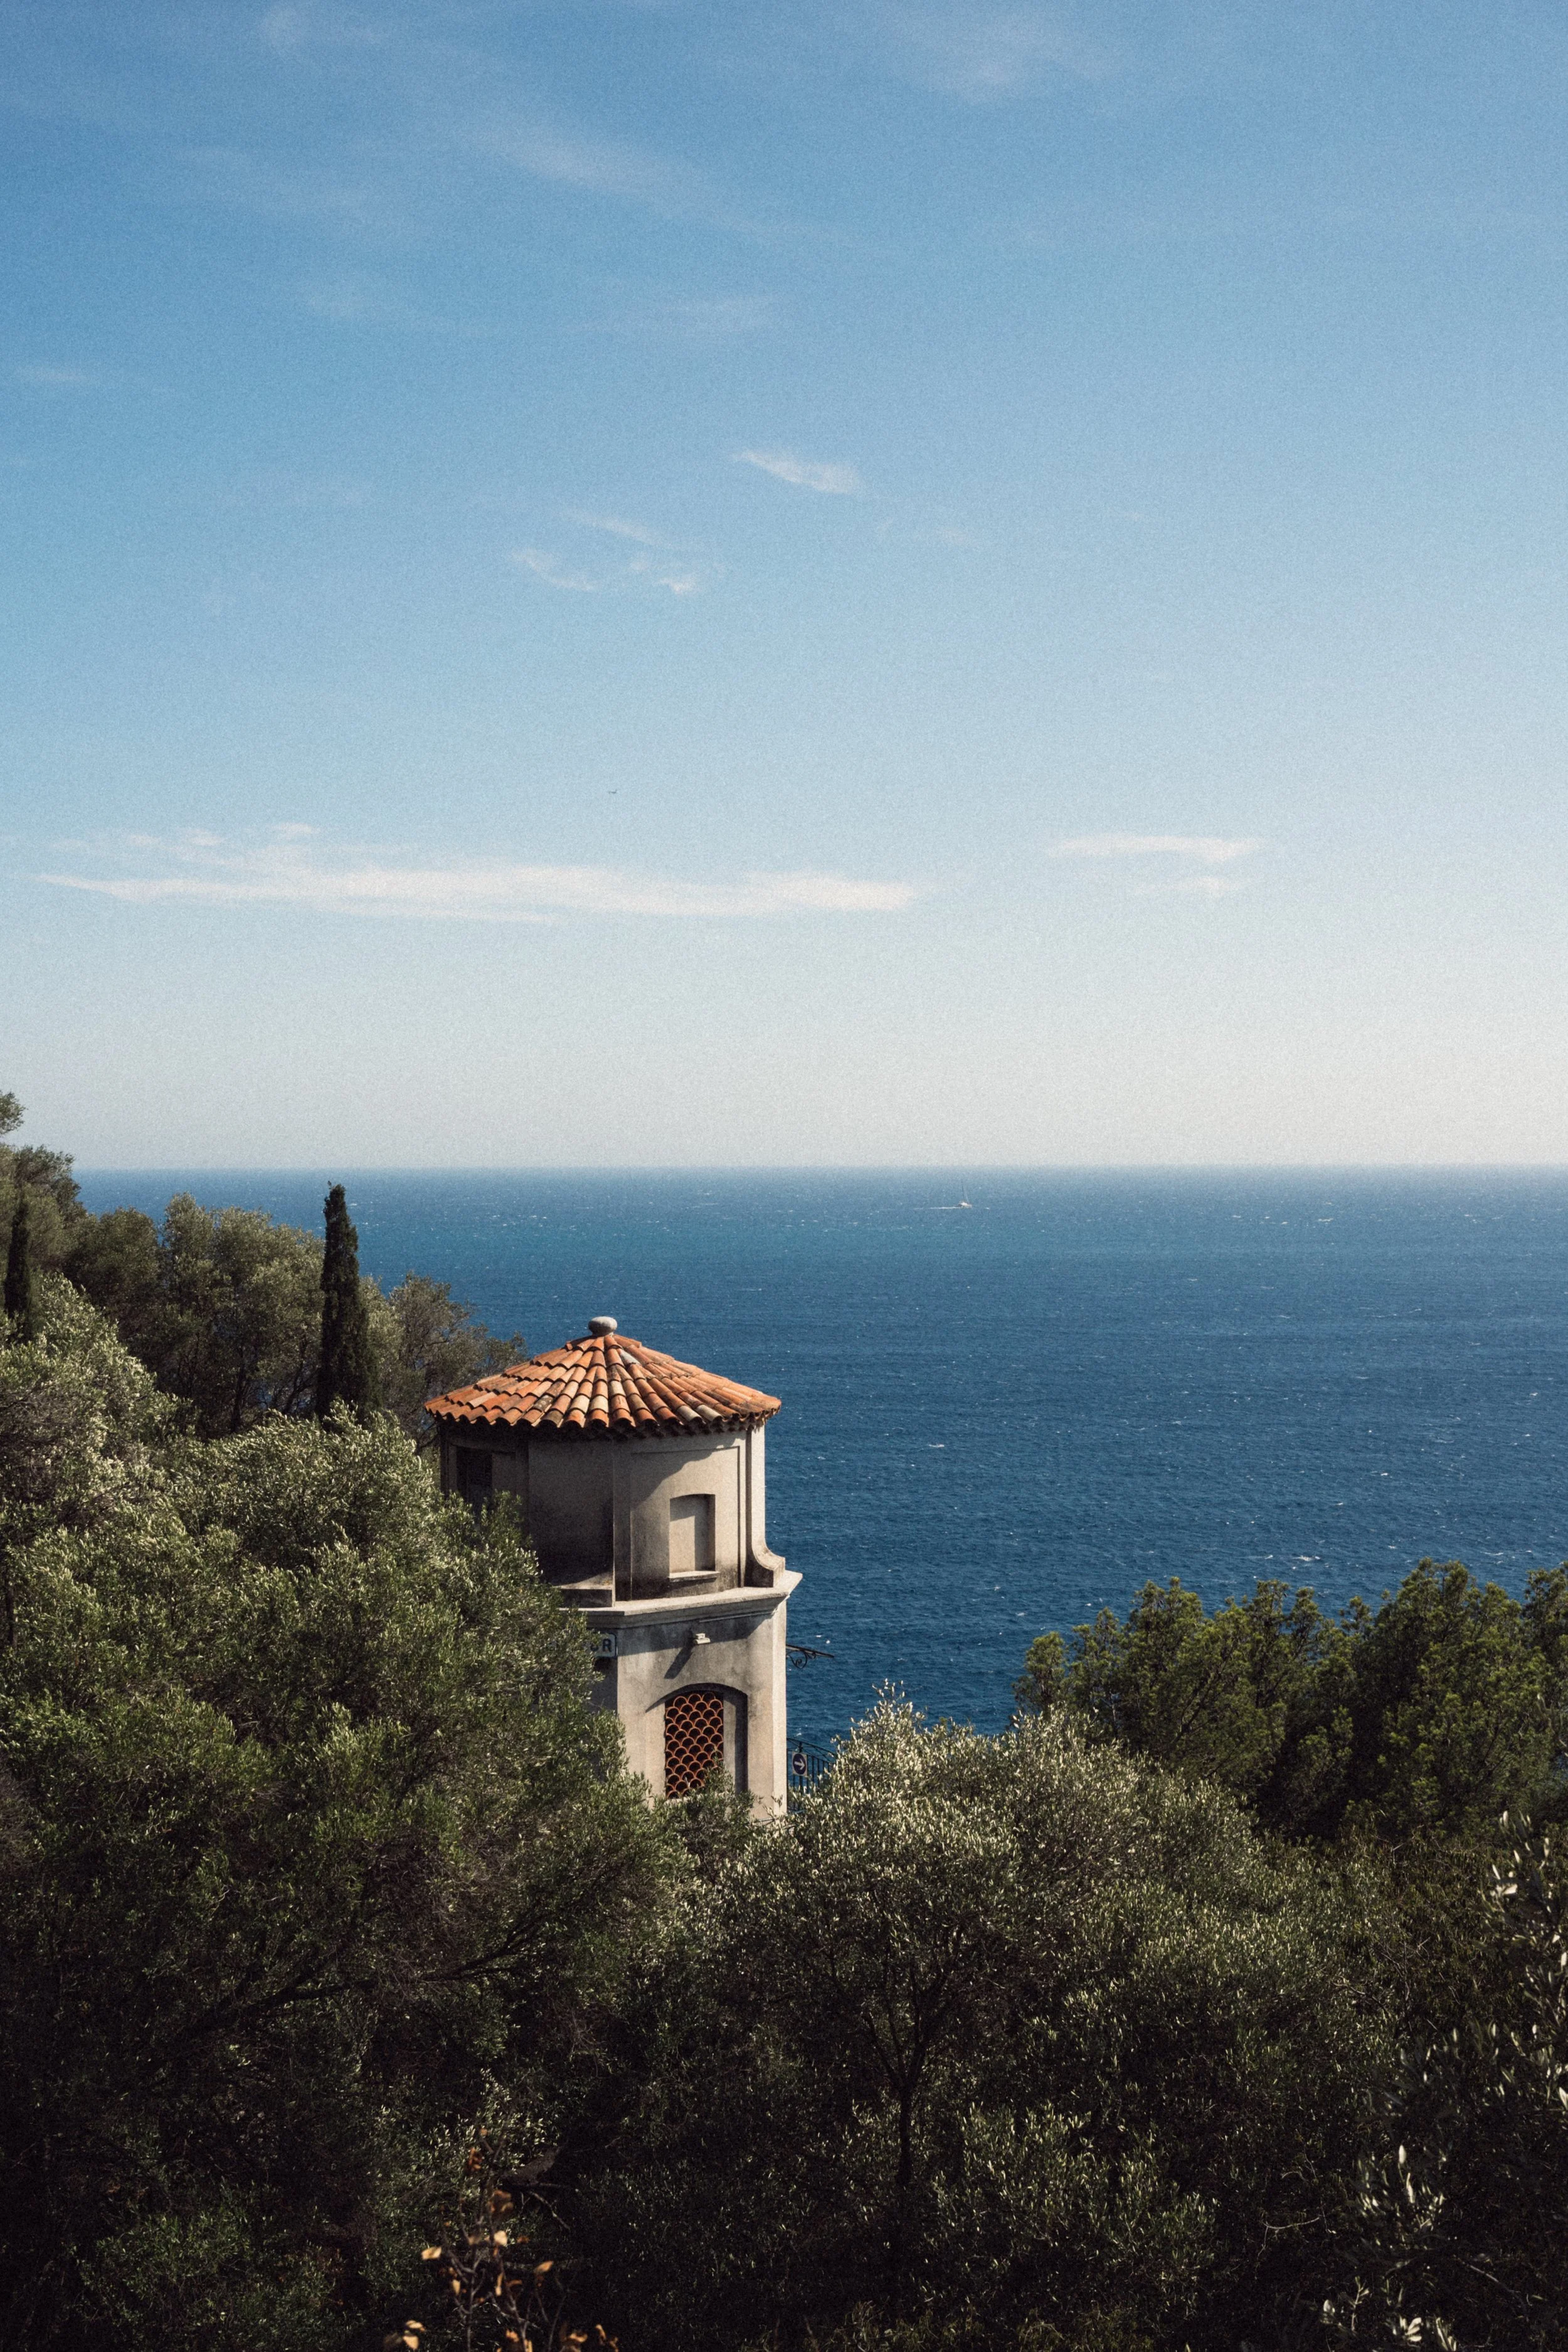 Image 7 of 7