Sale Price:
£3.00
Original Price:
£5.00
Now includes .XMP and .DNG files.
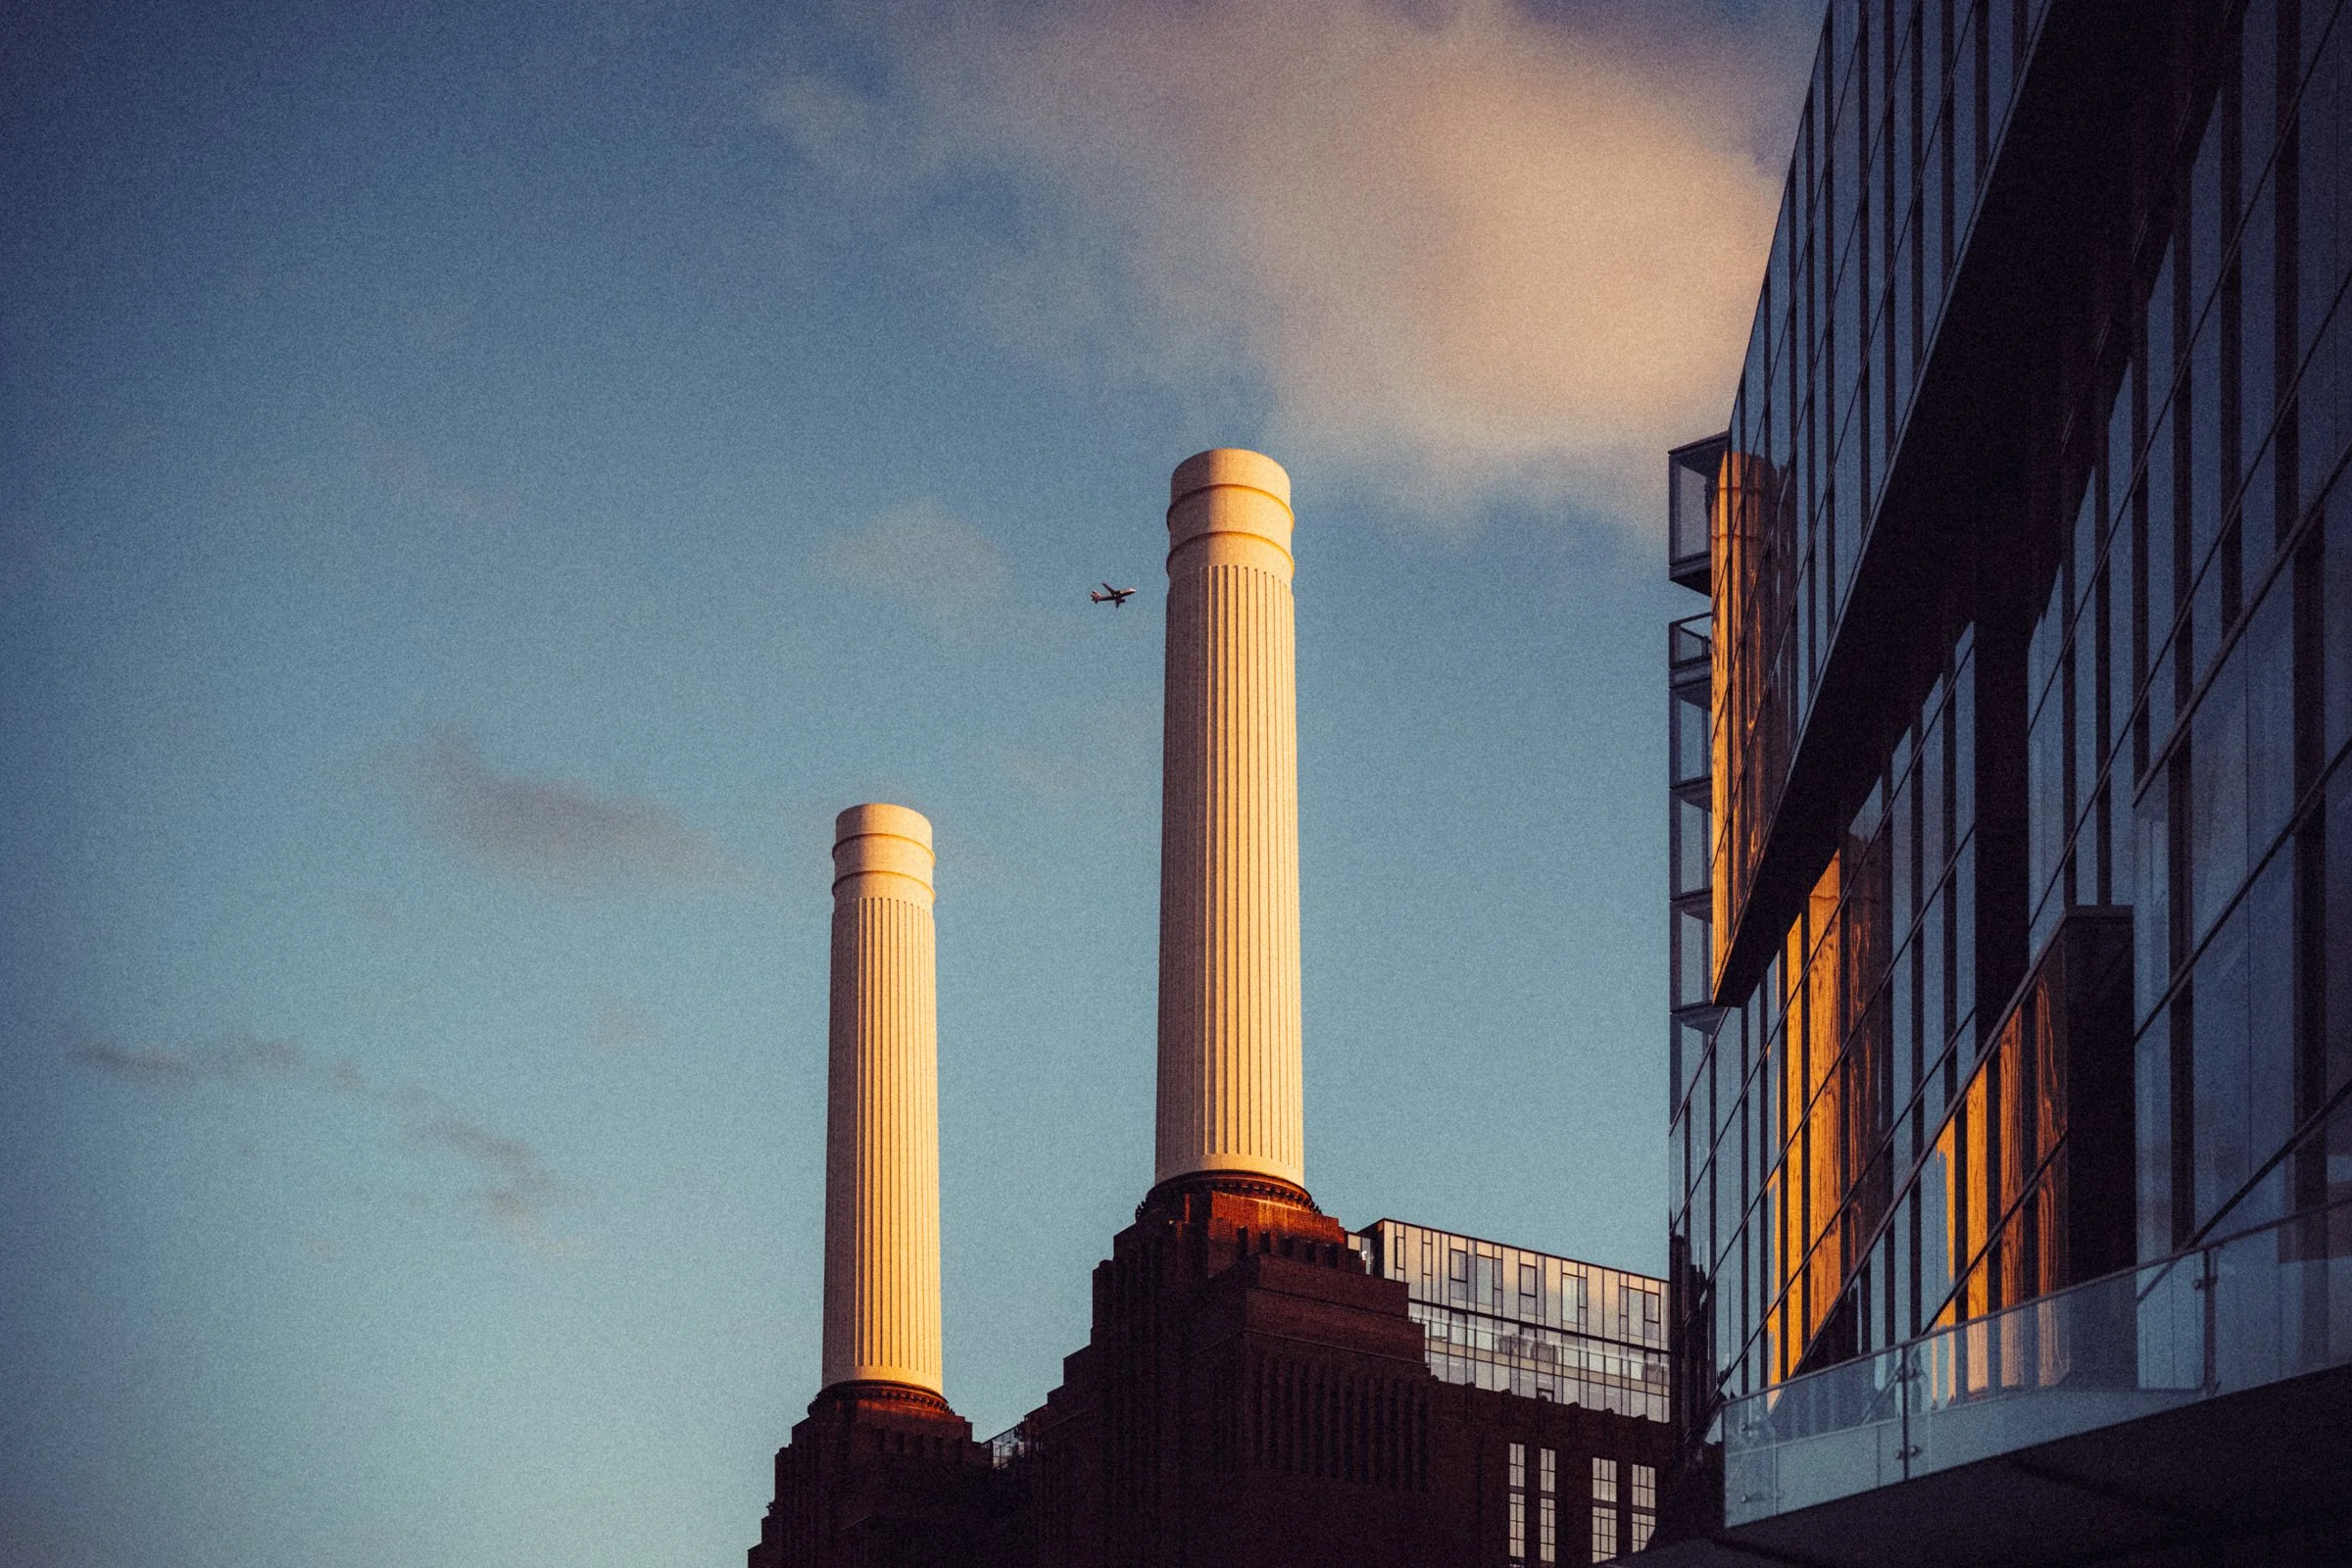
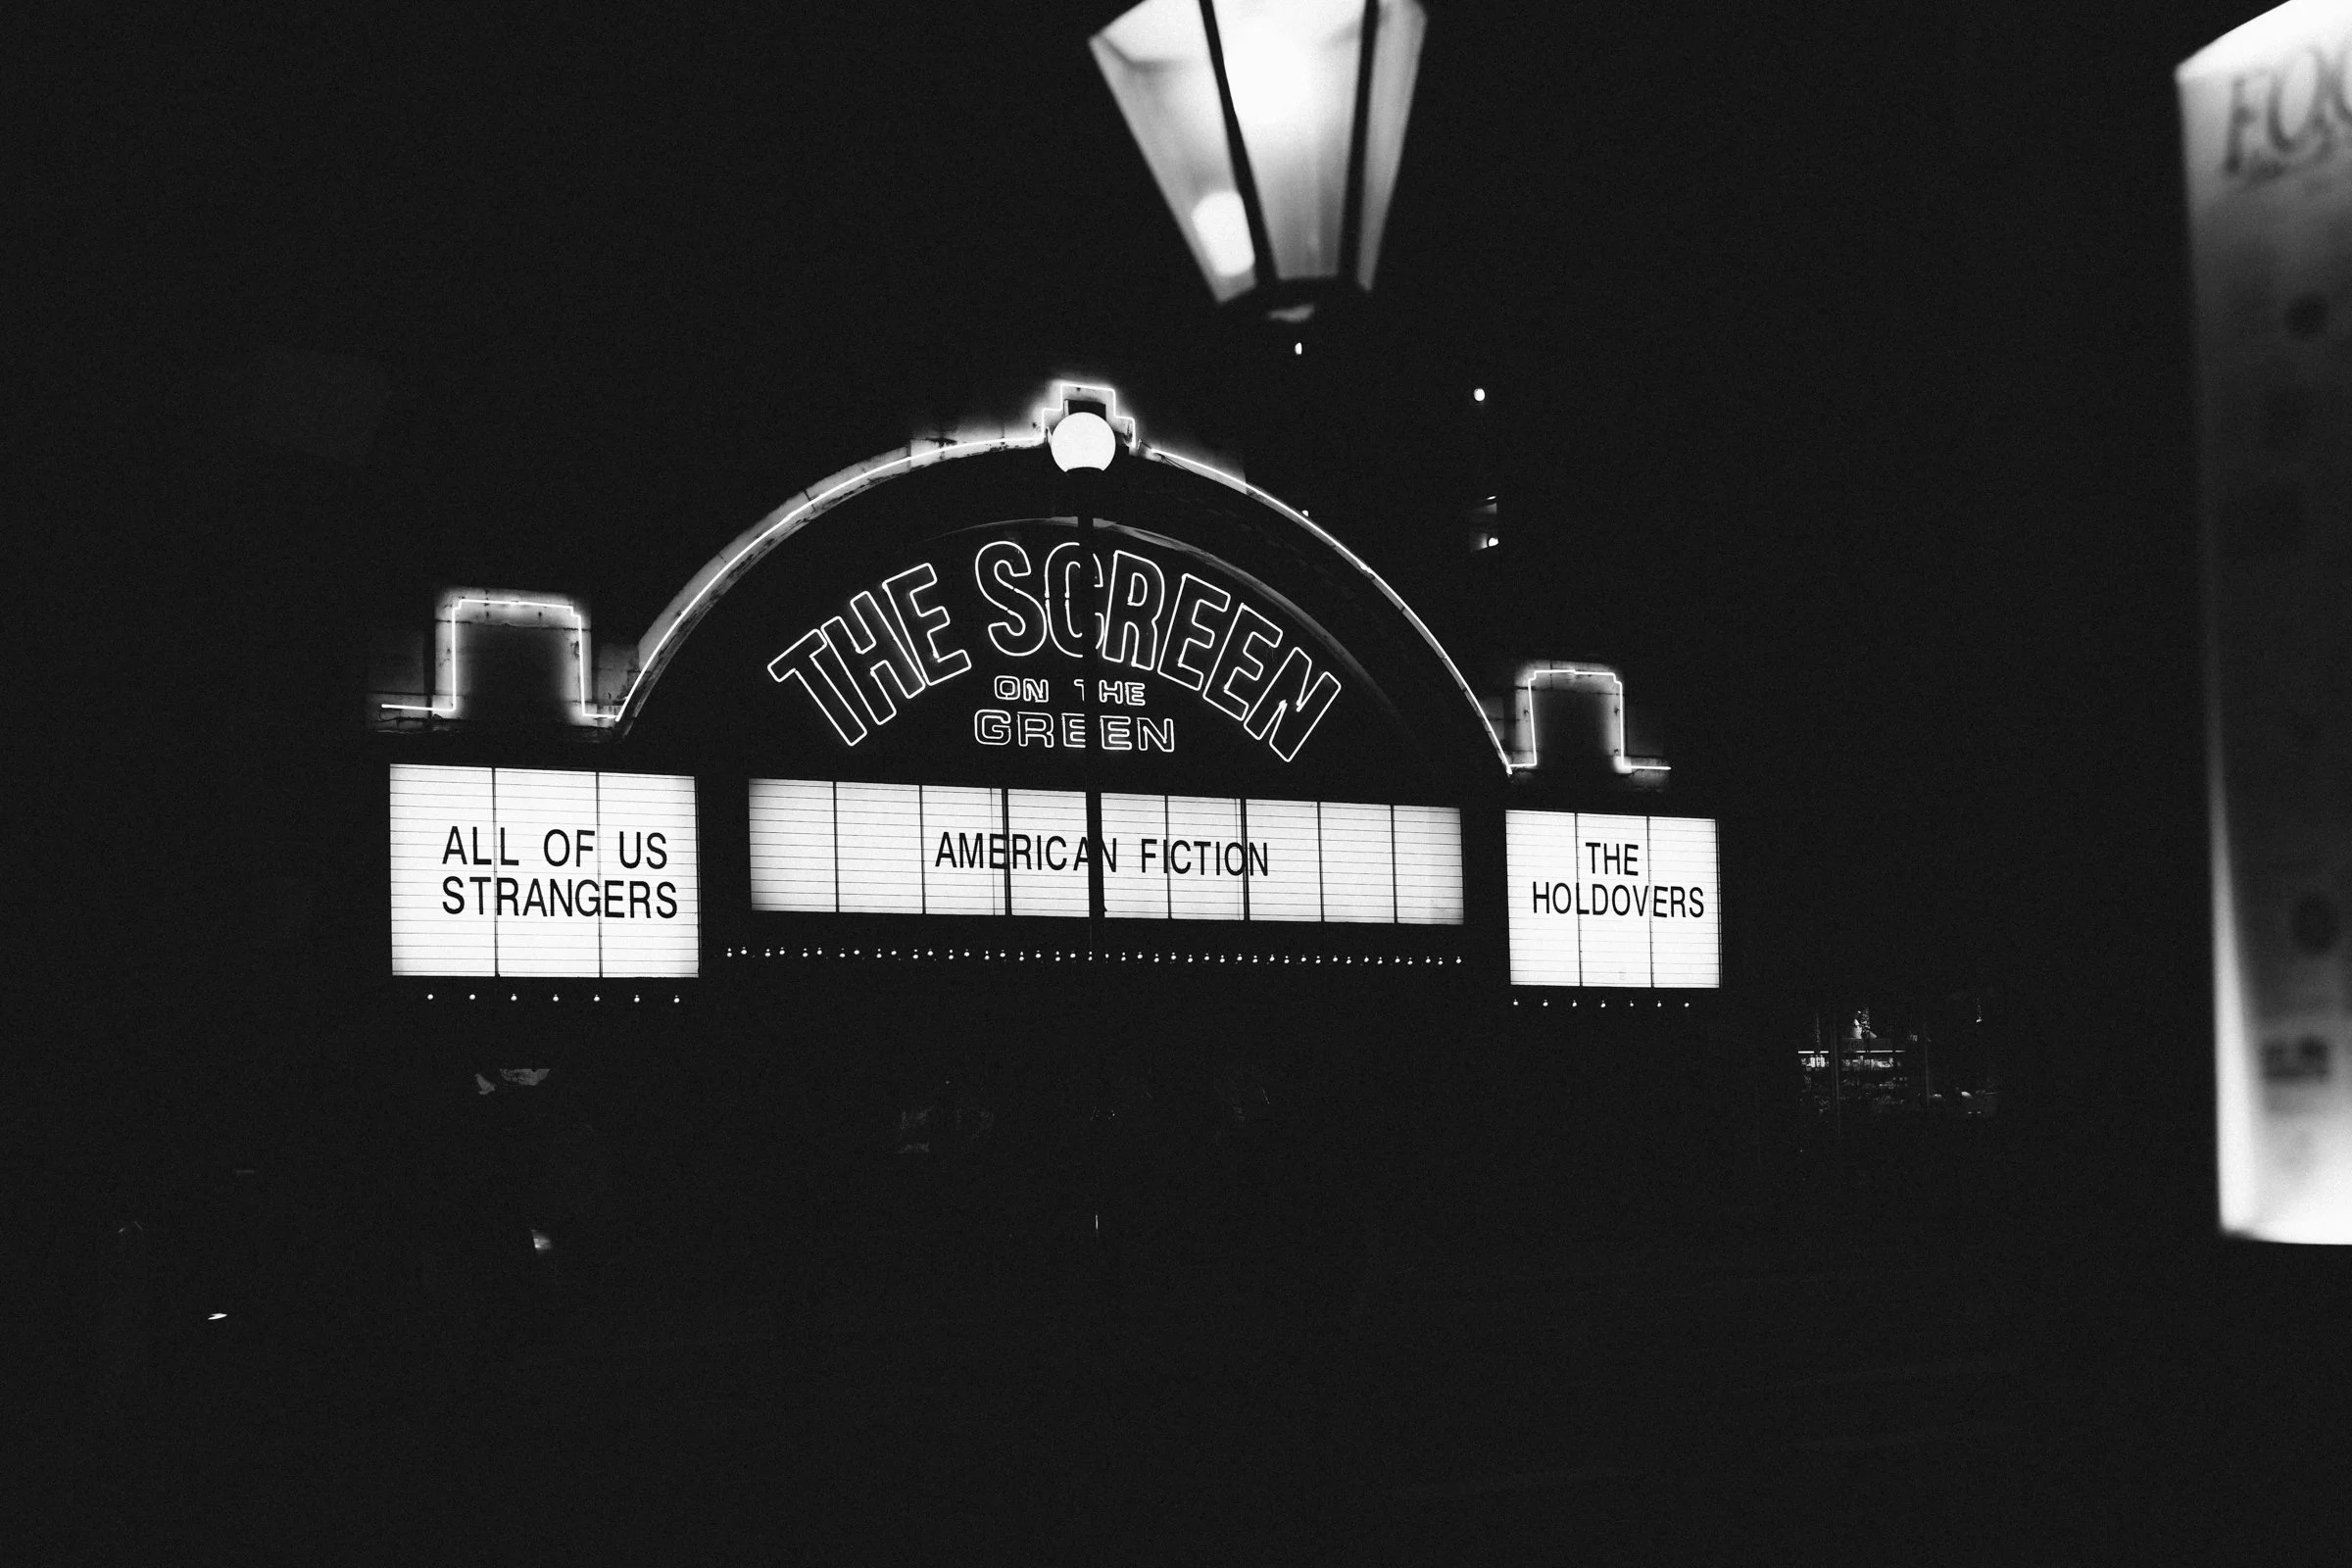
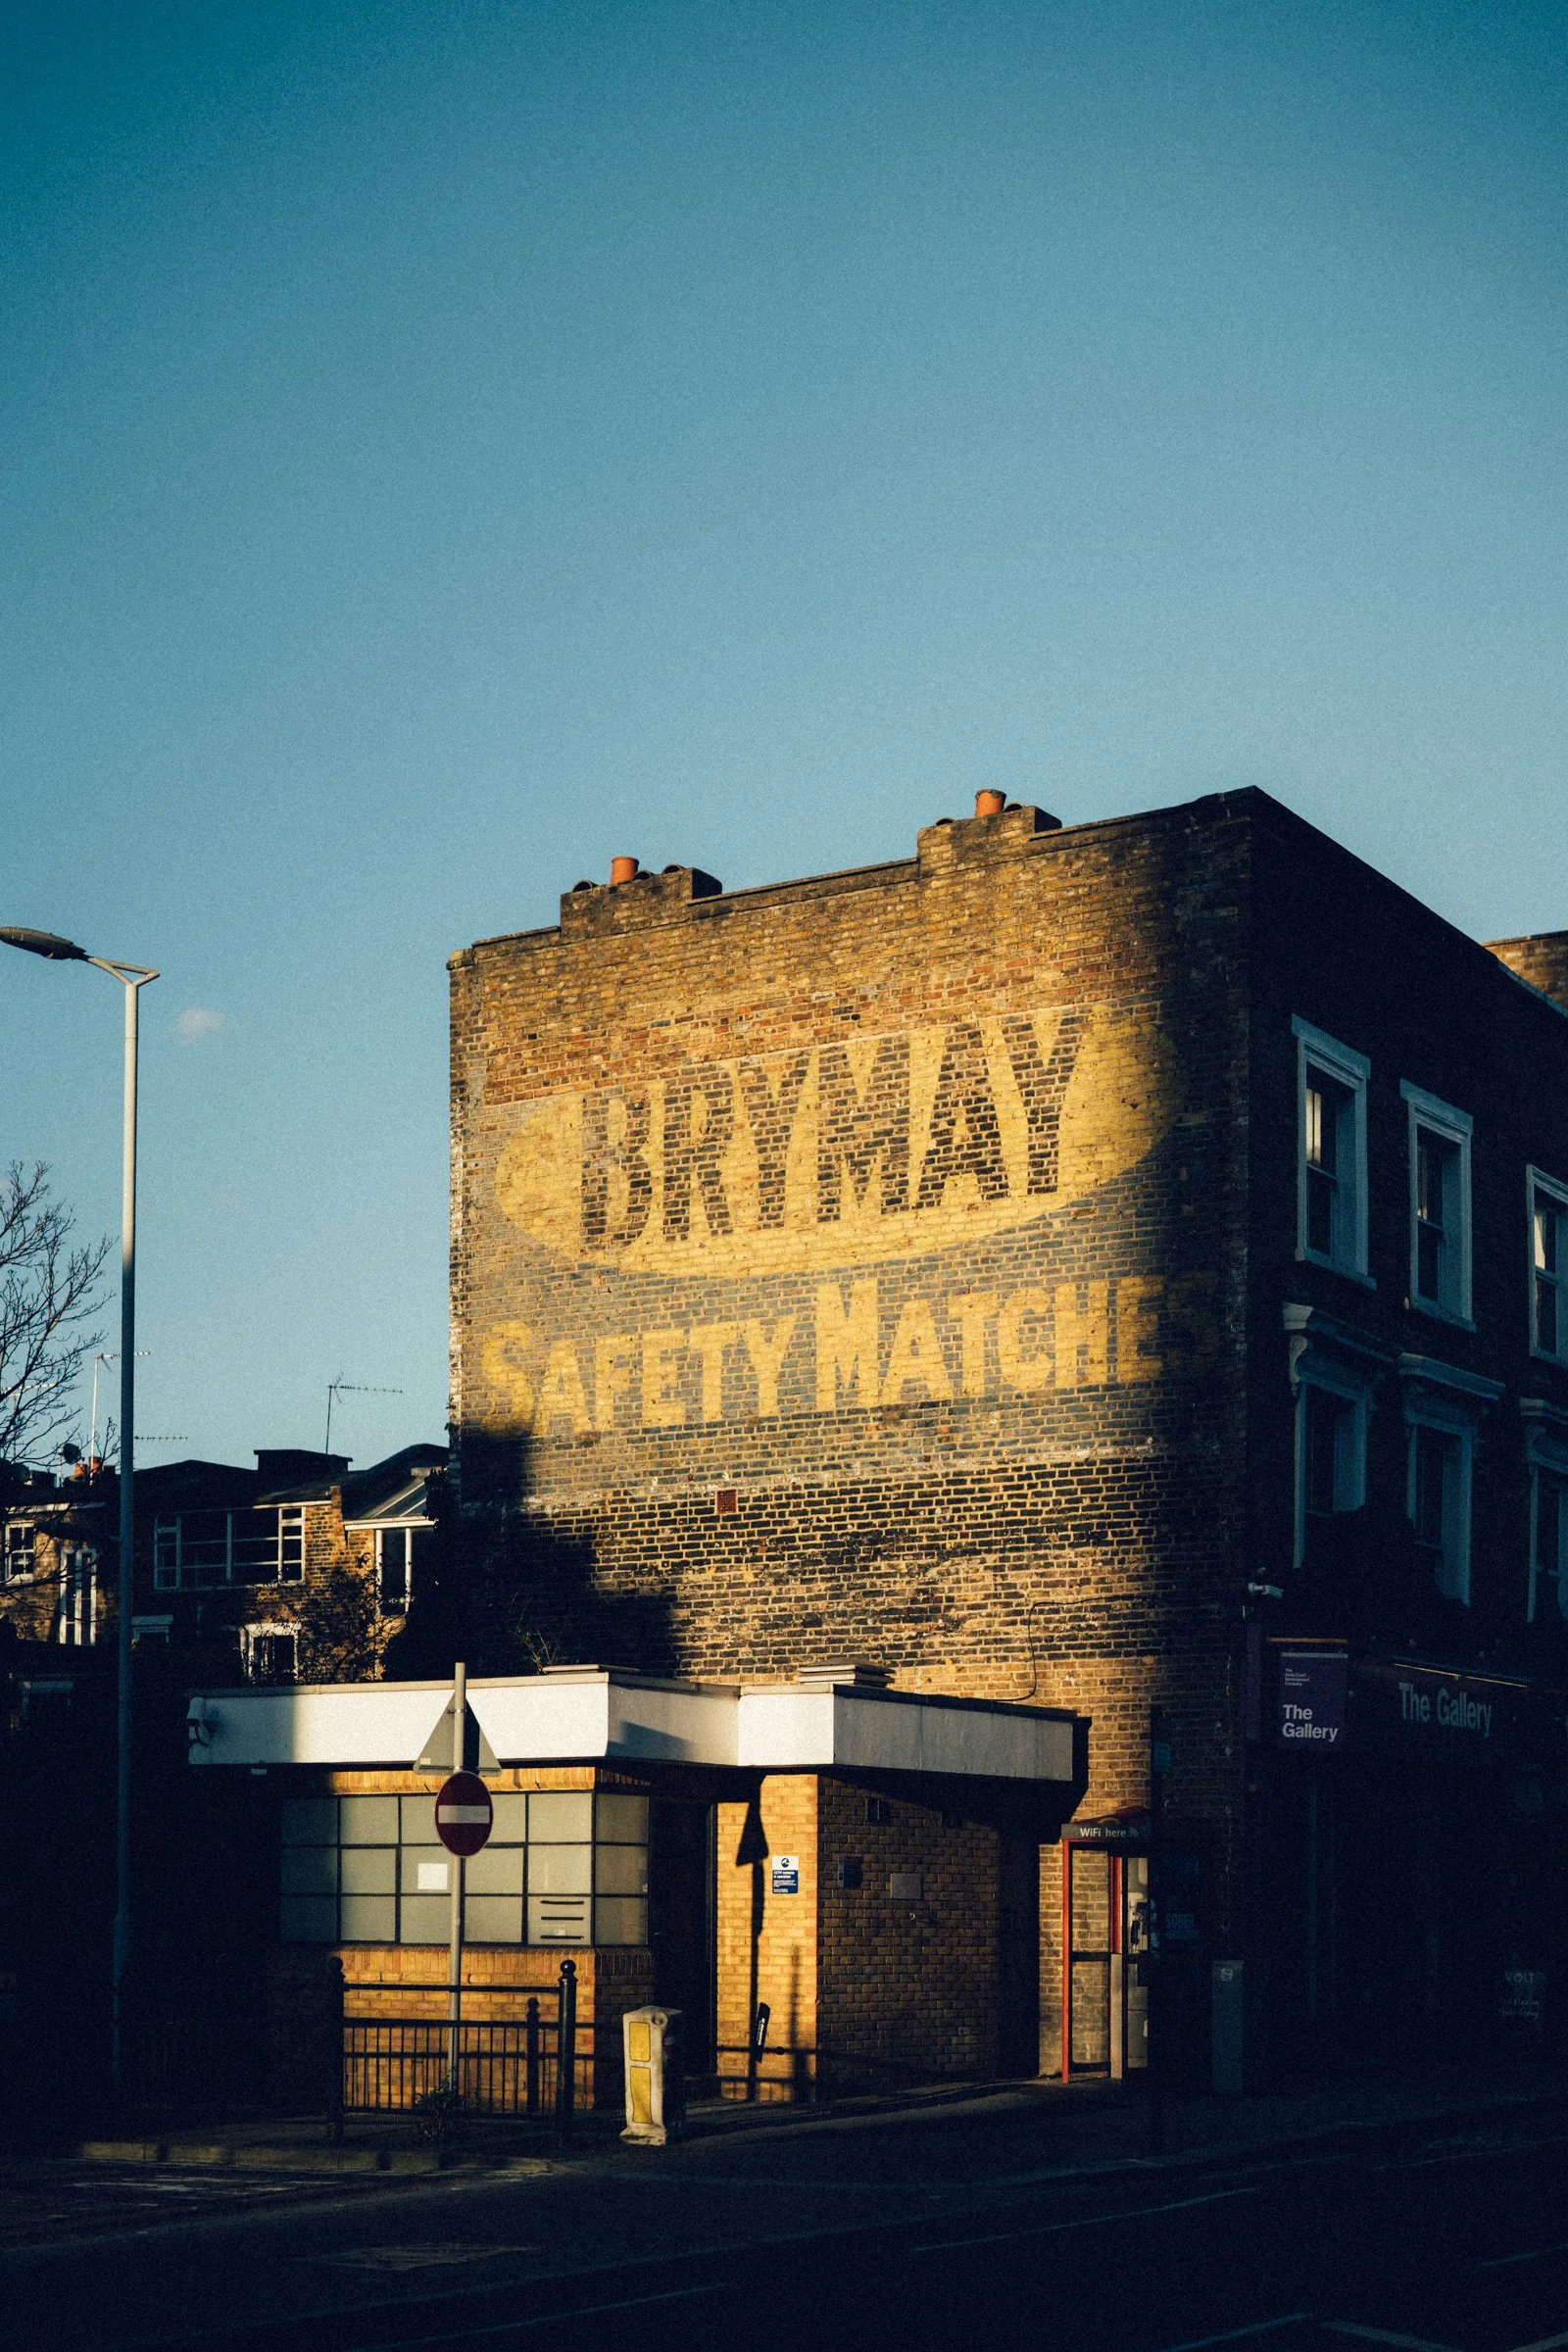
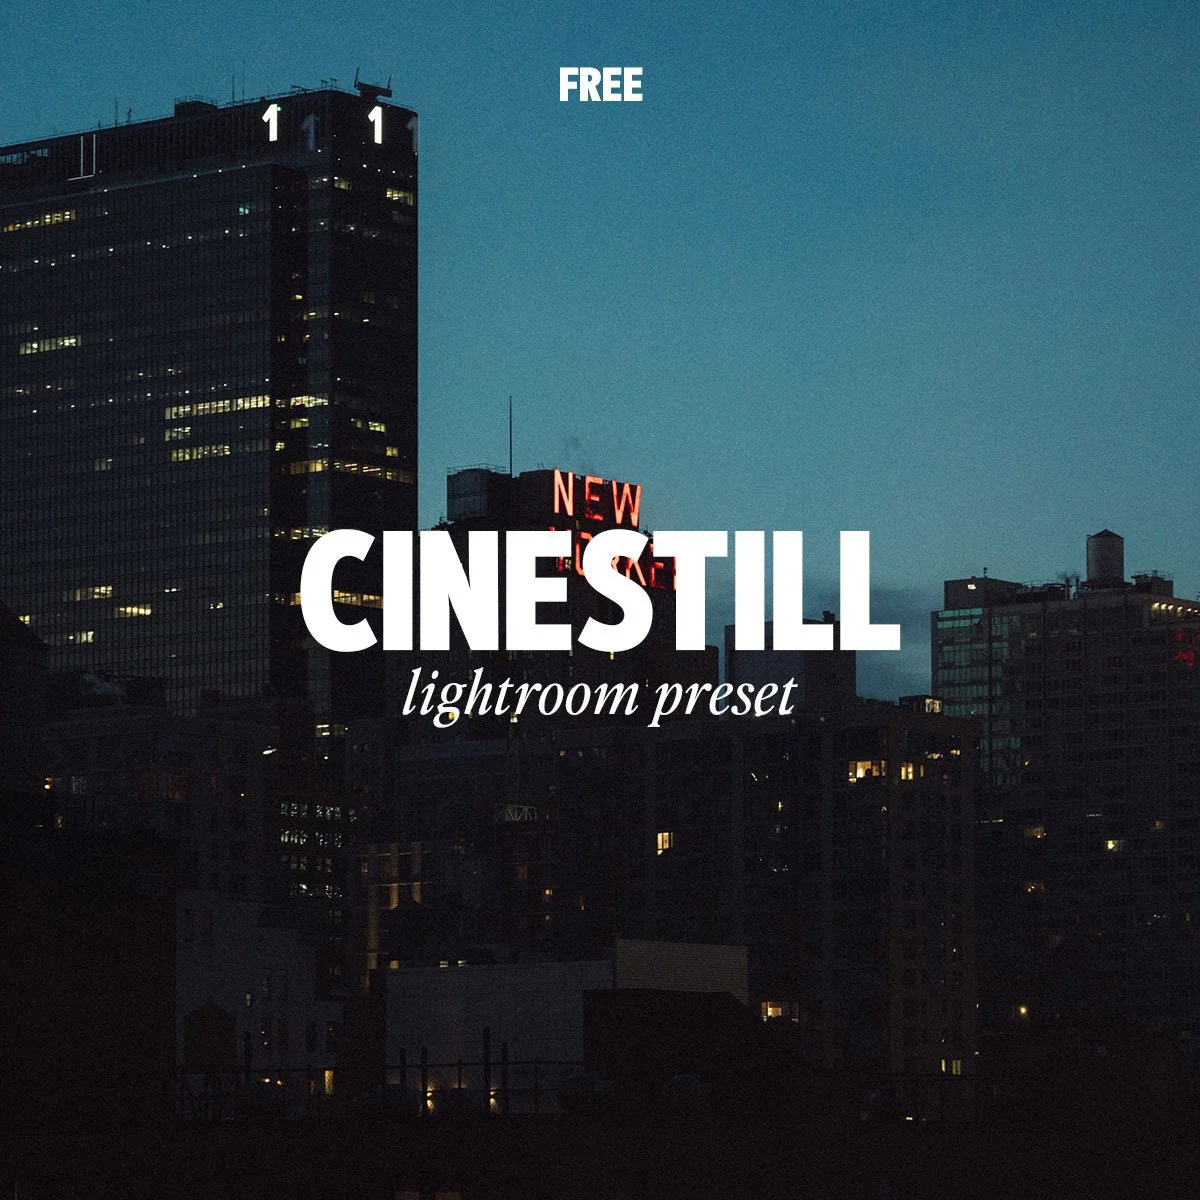
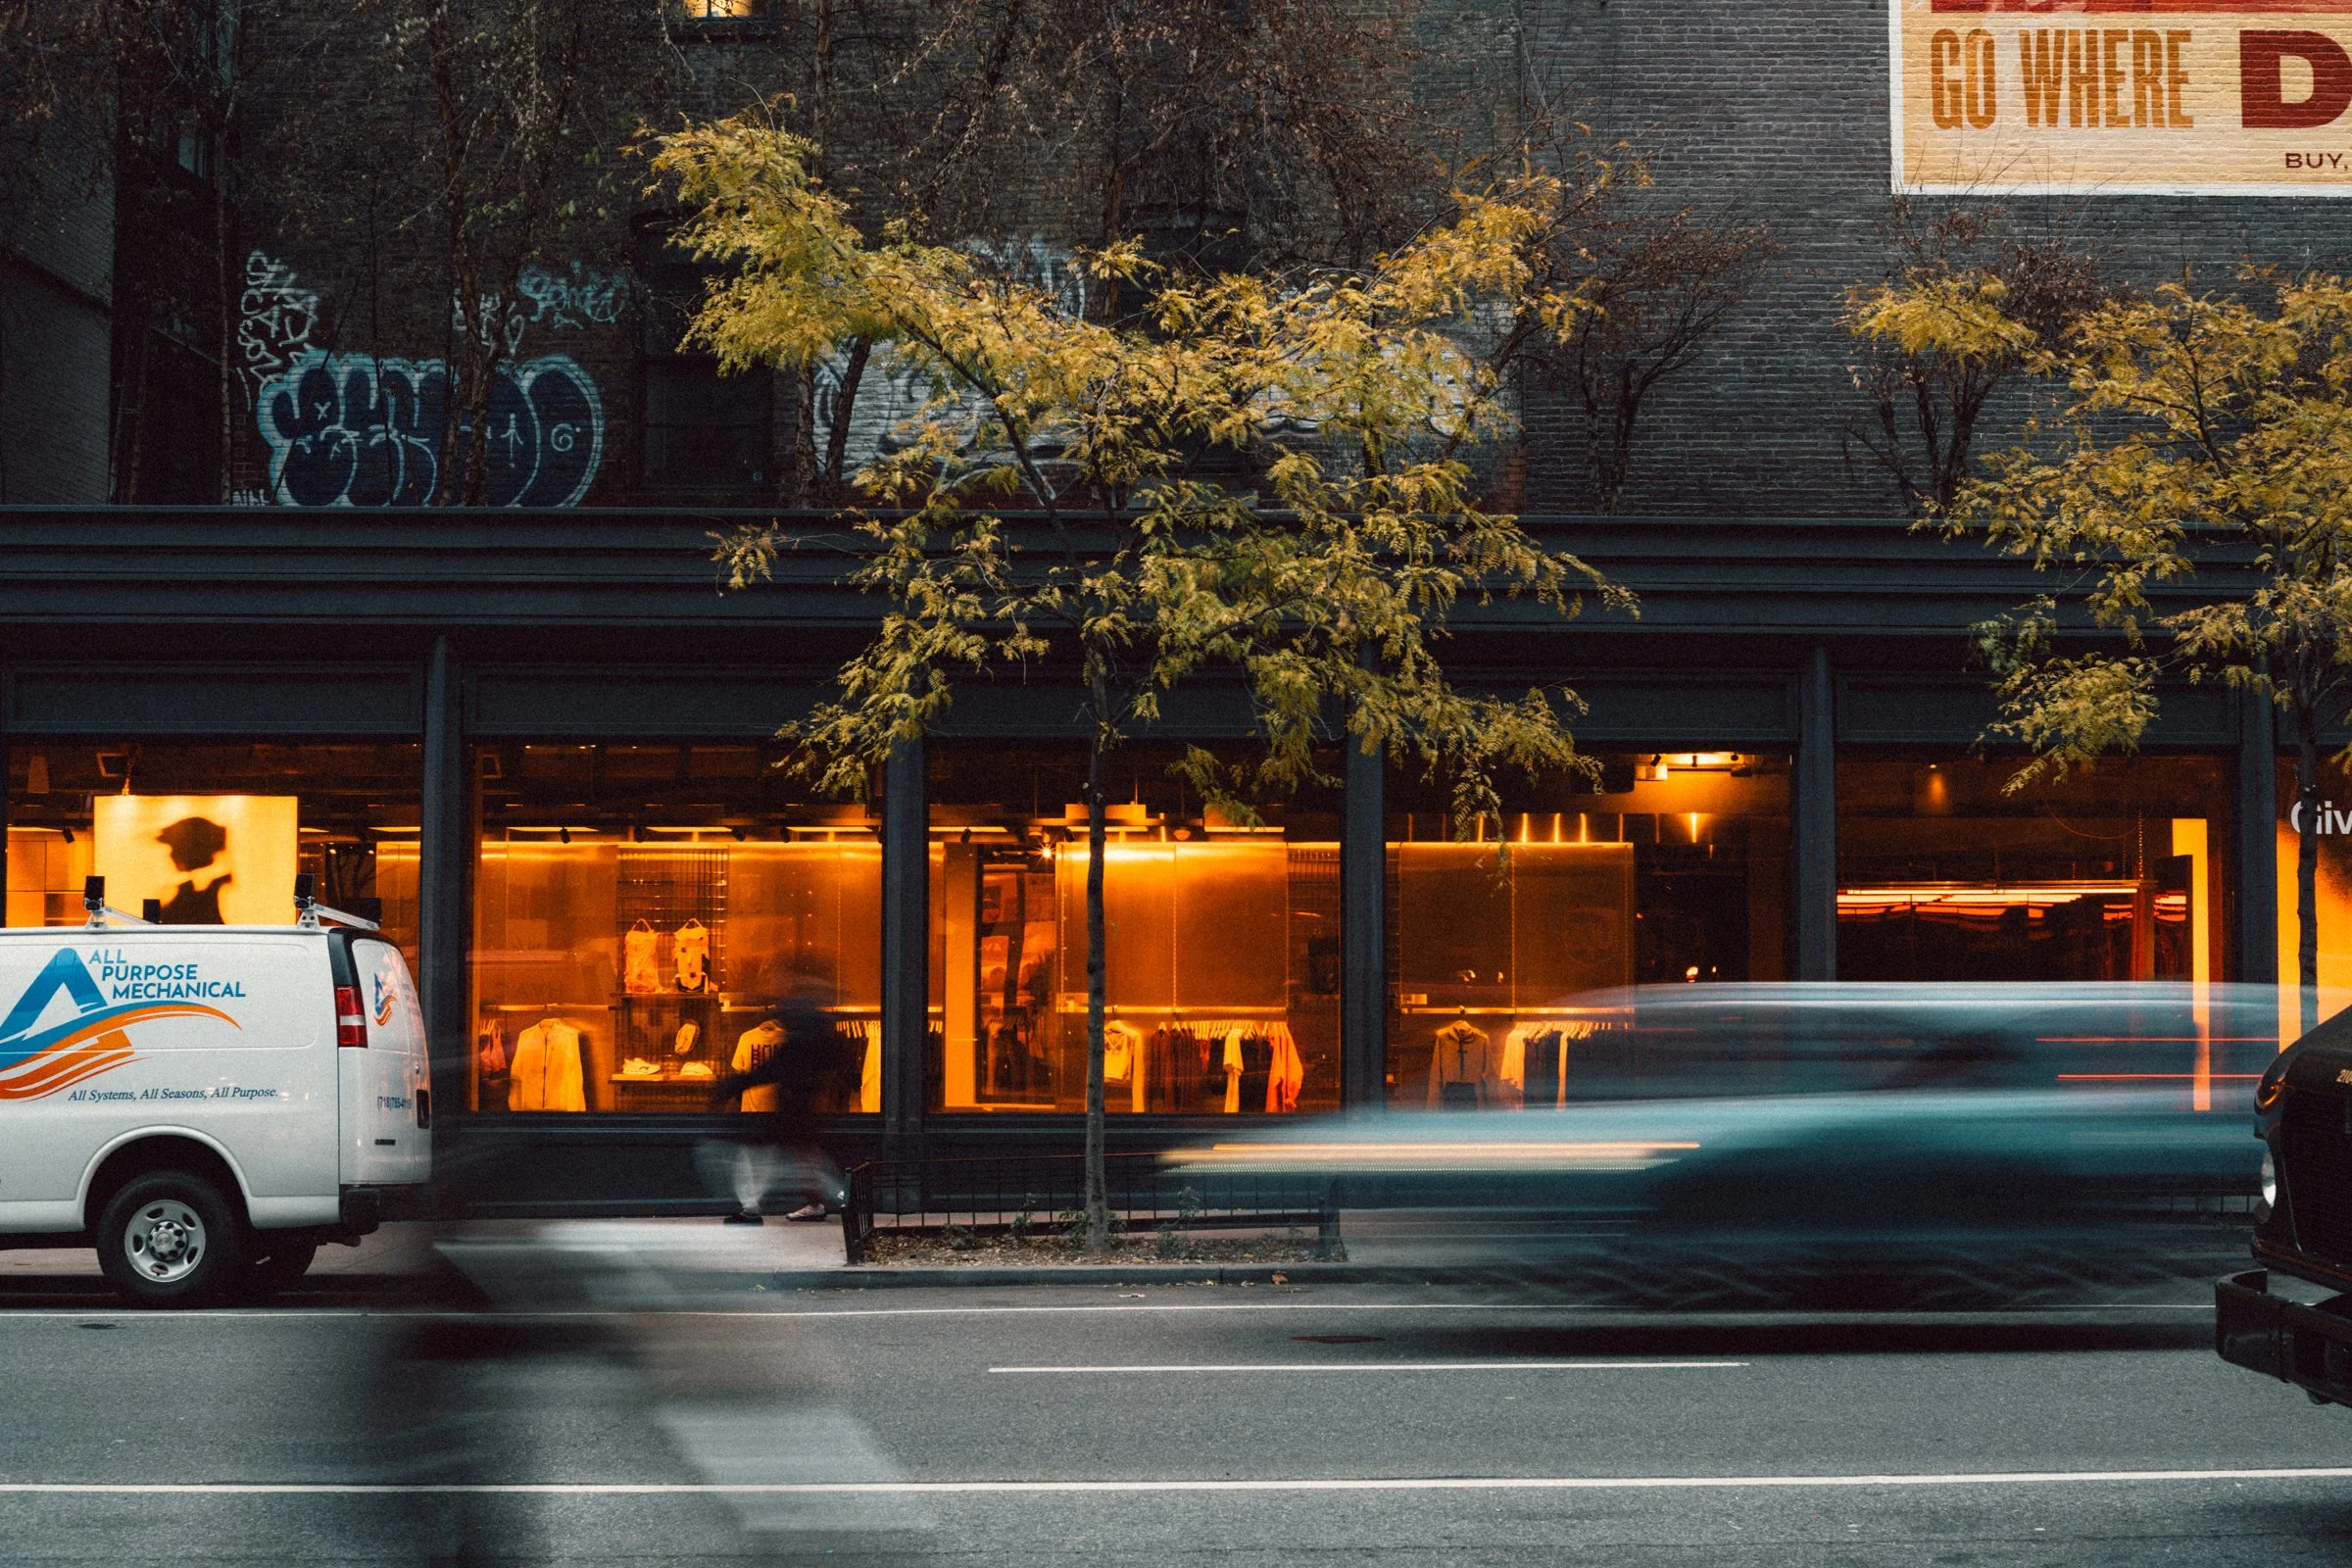
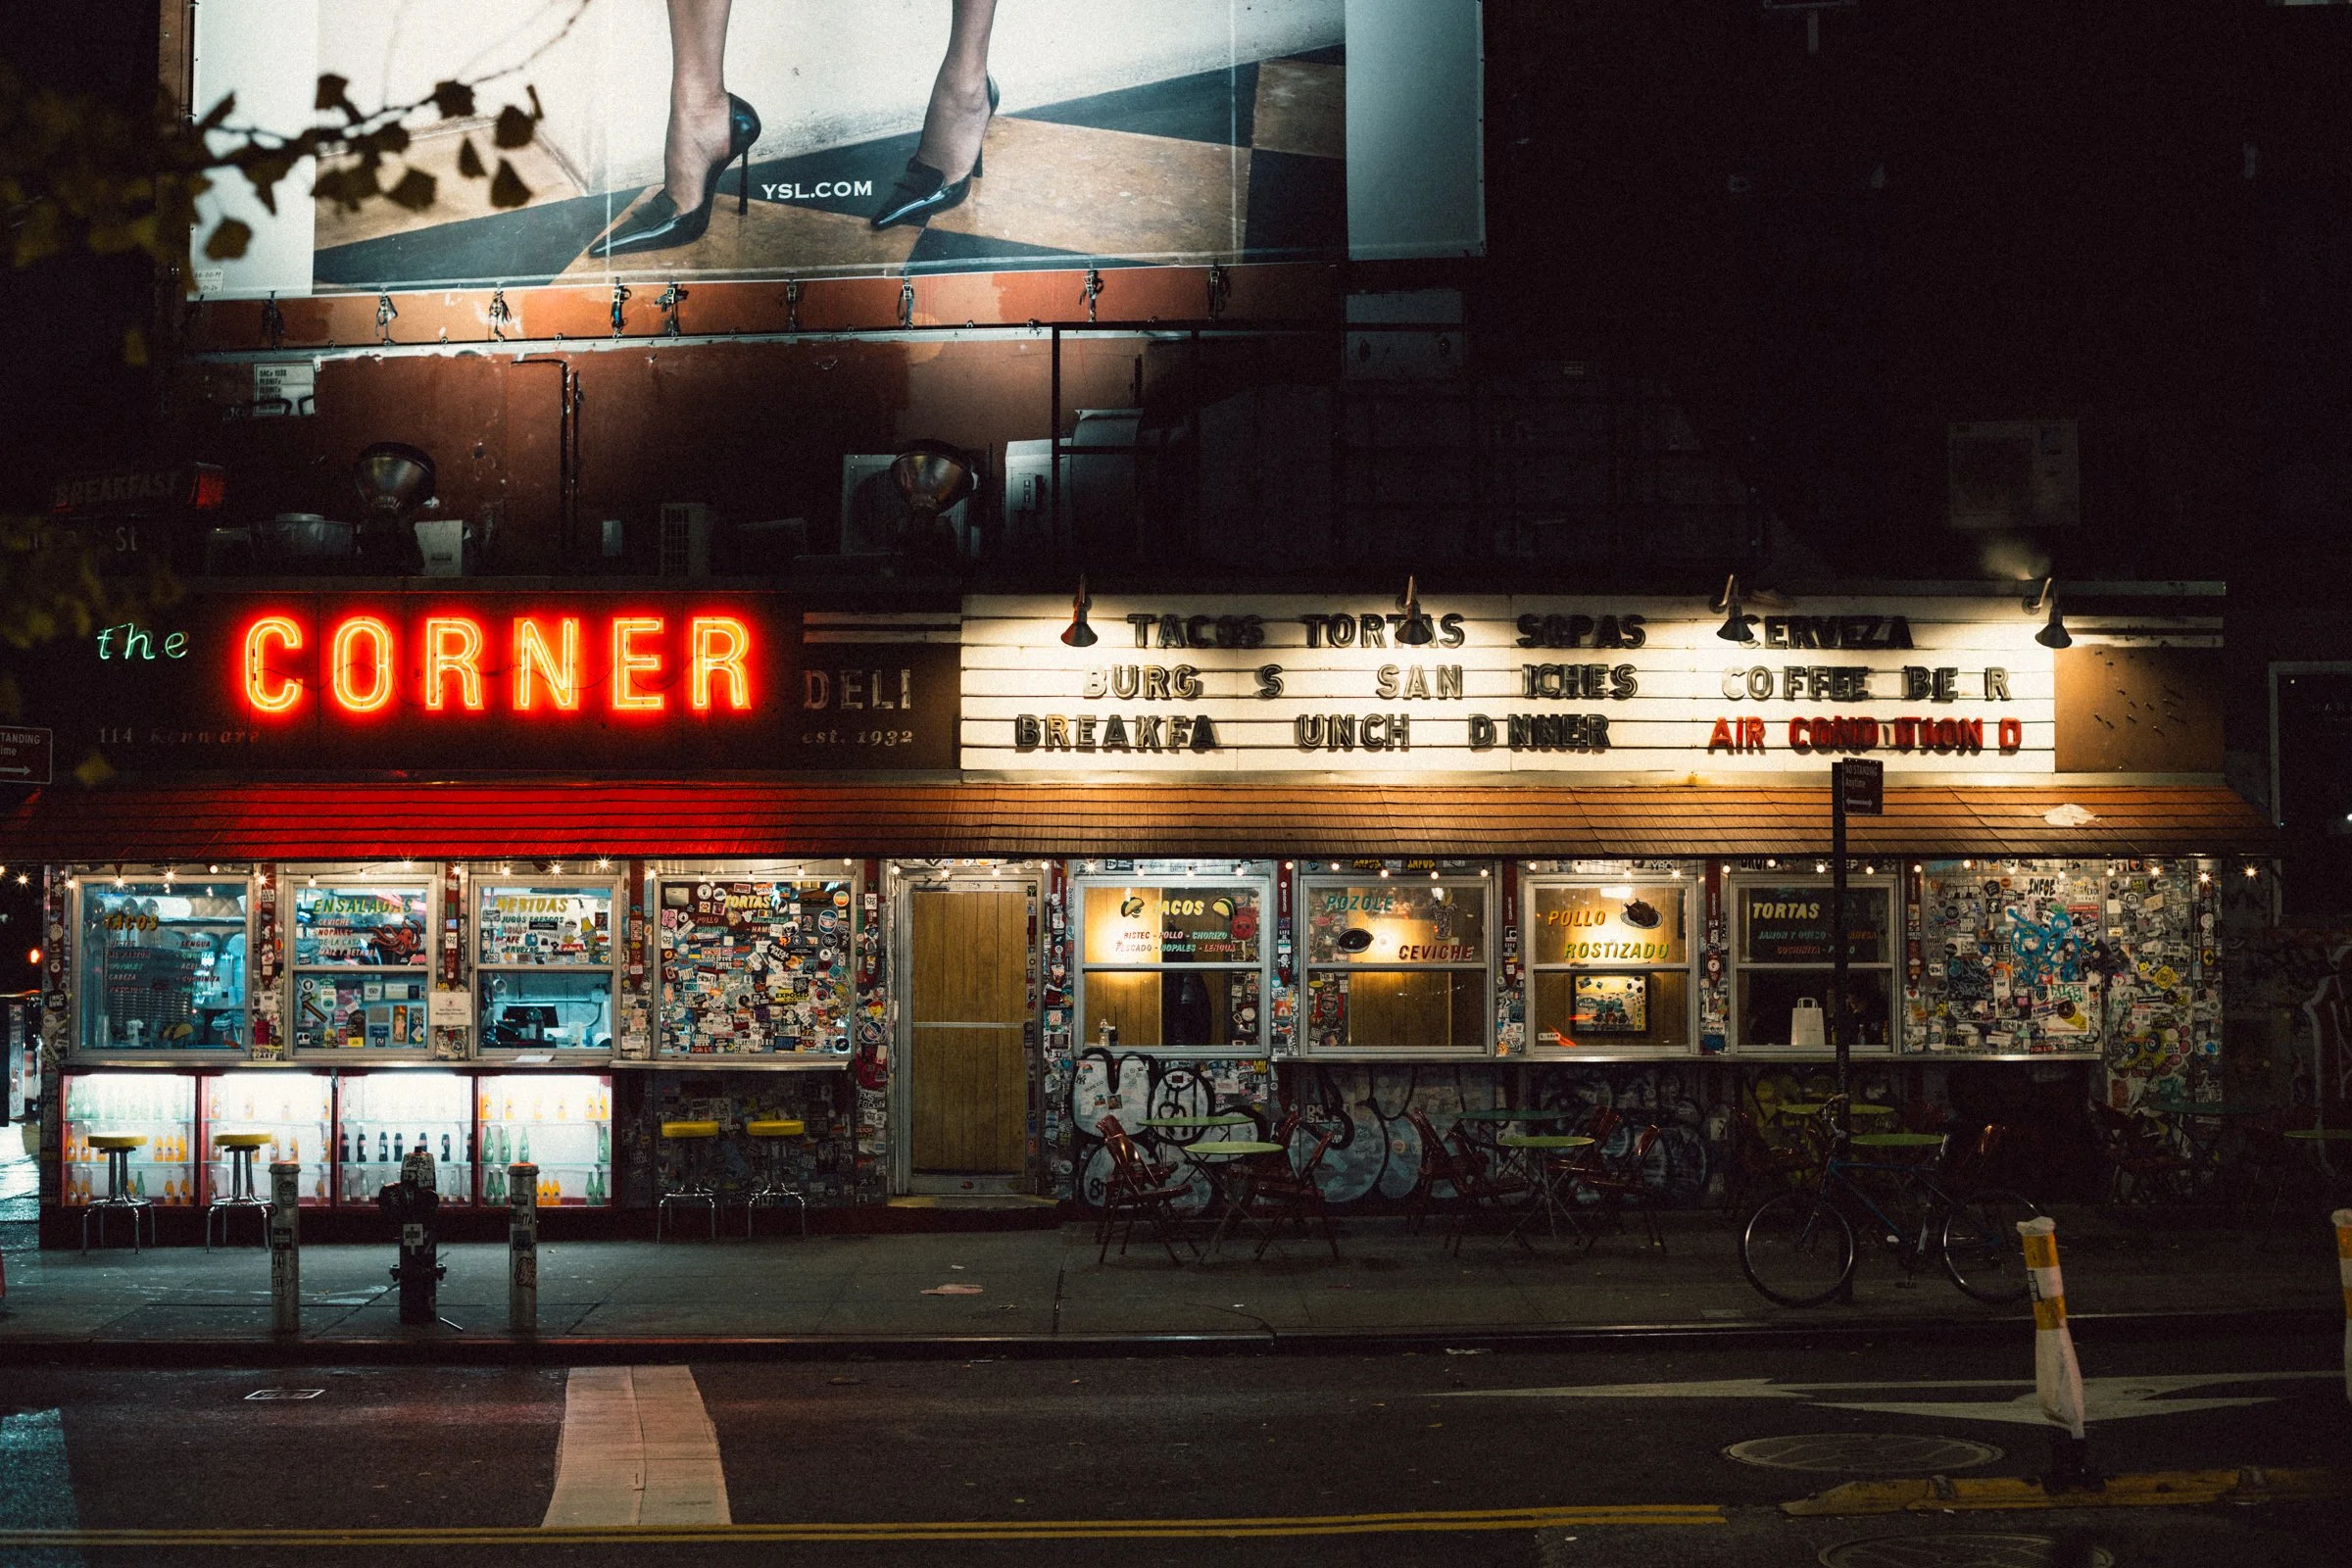
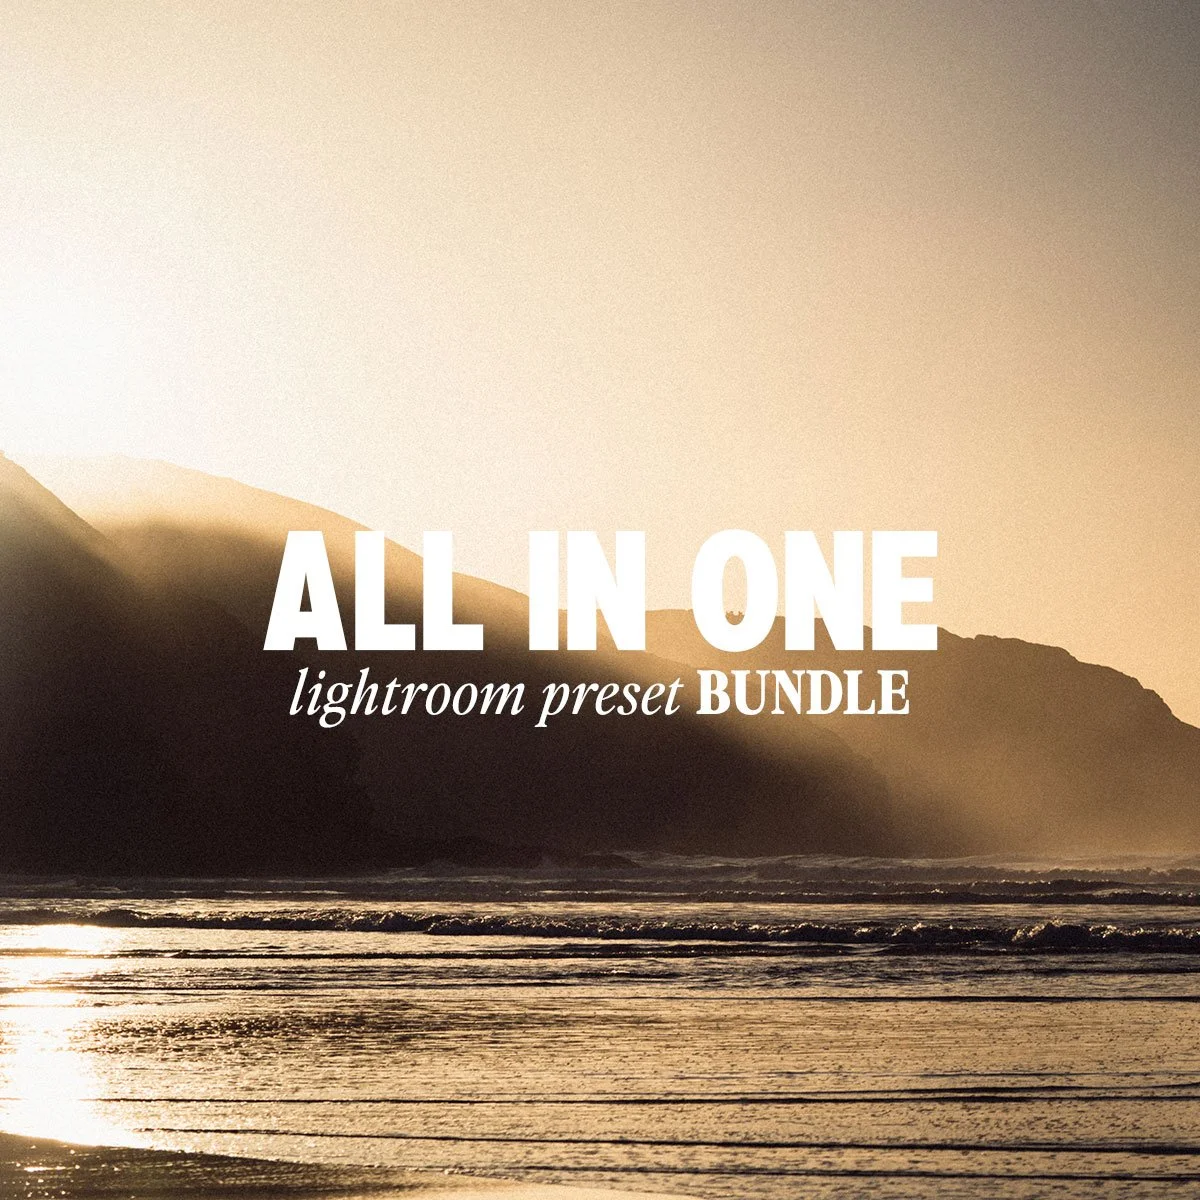
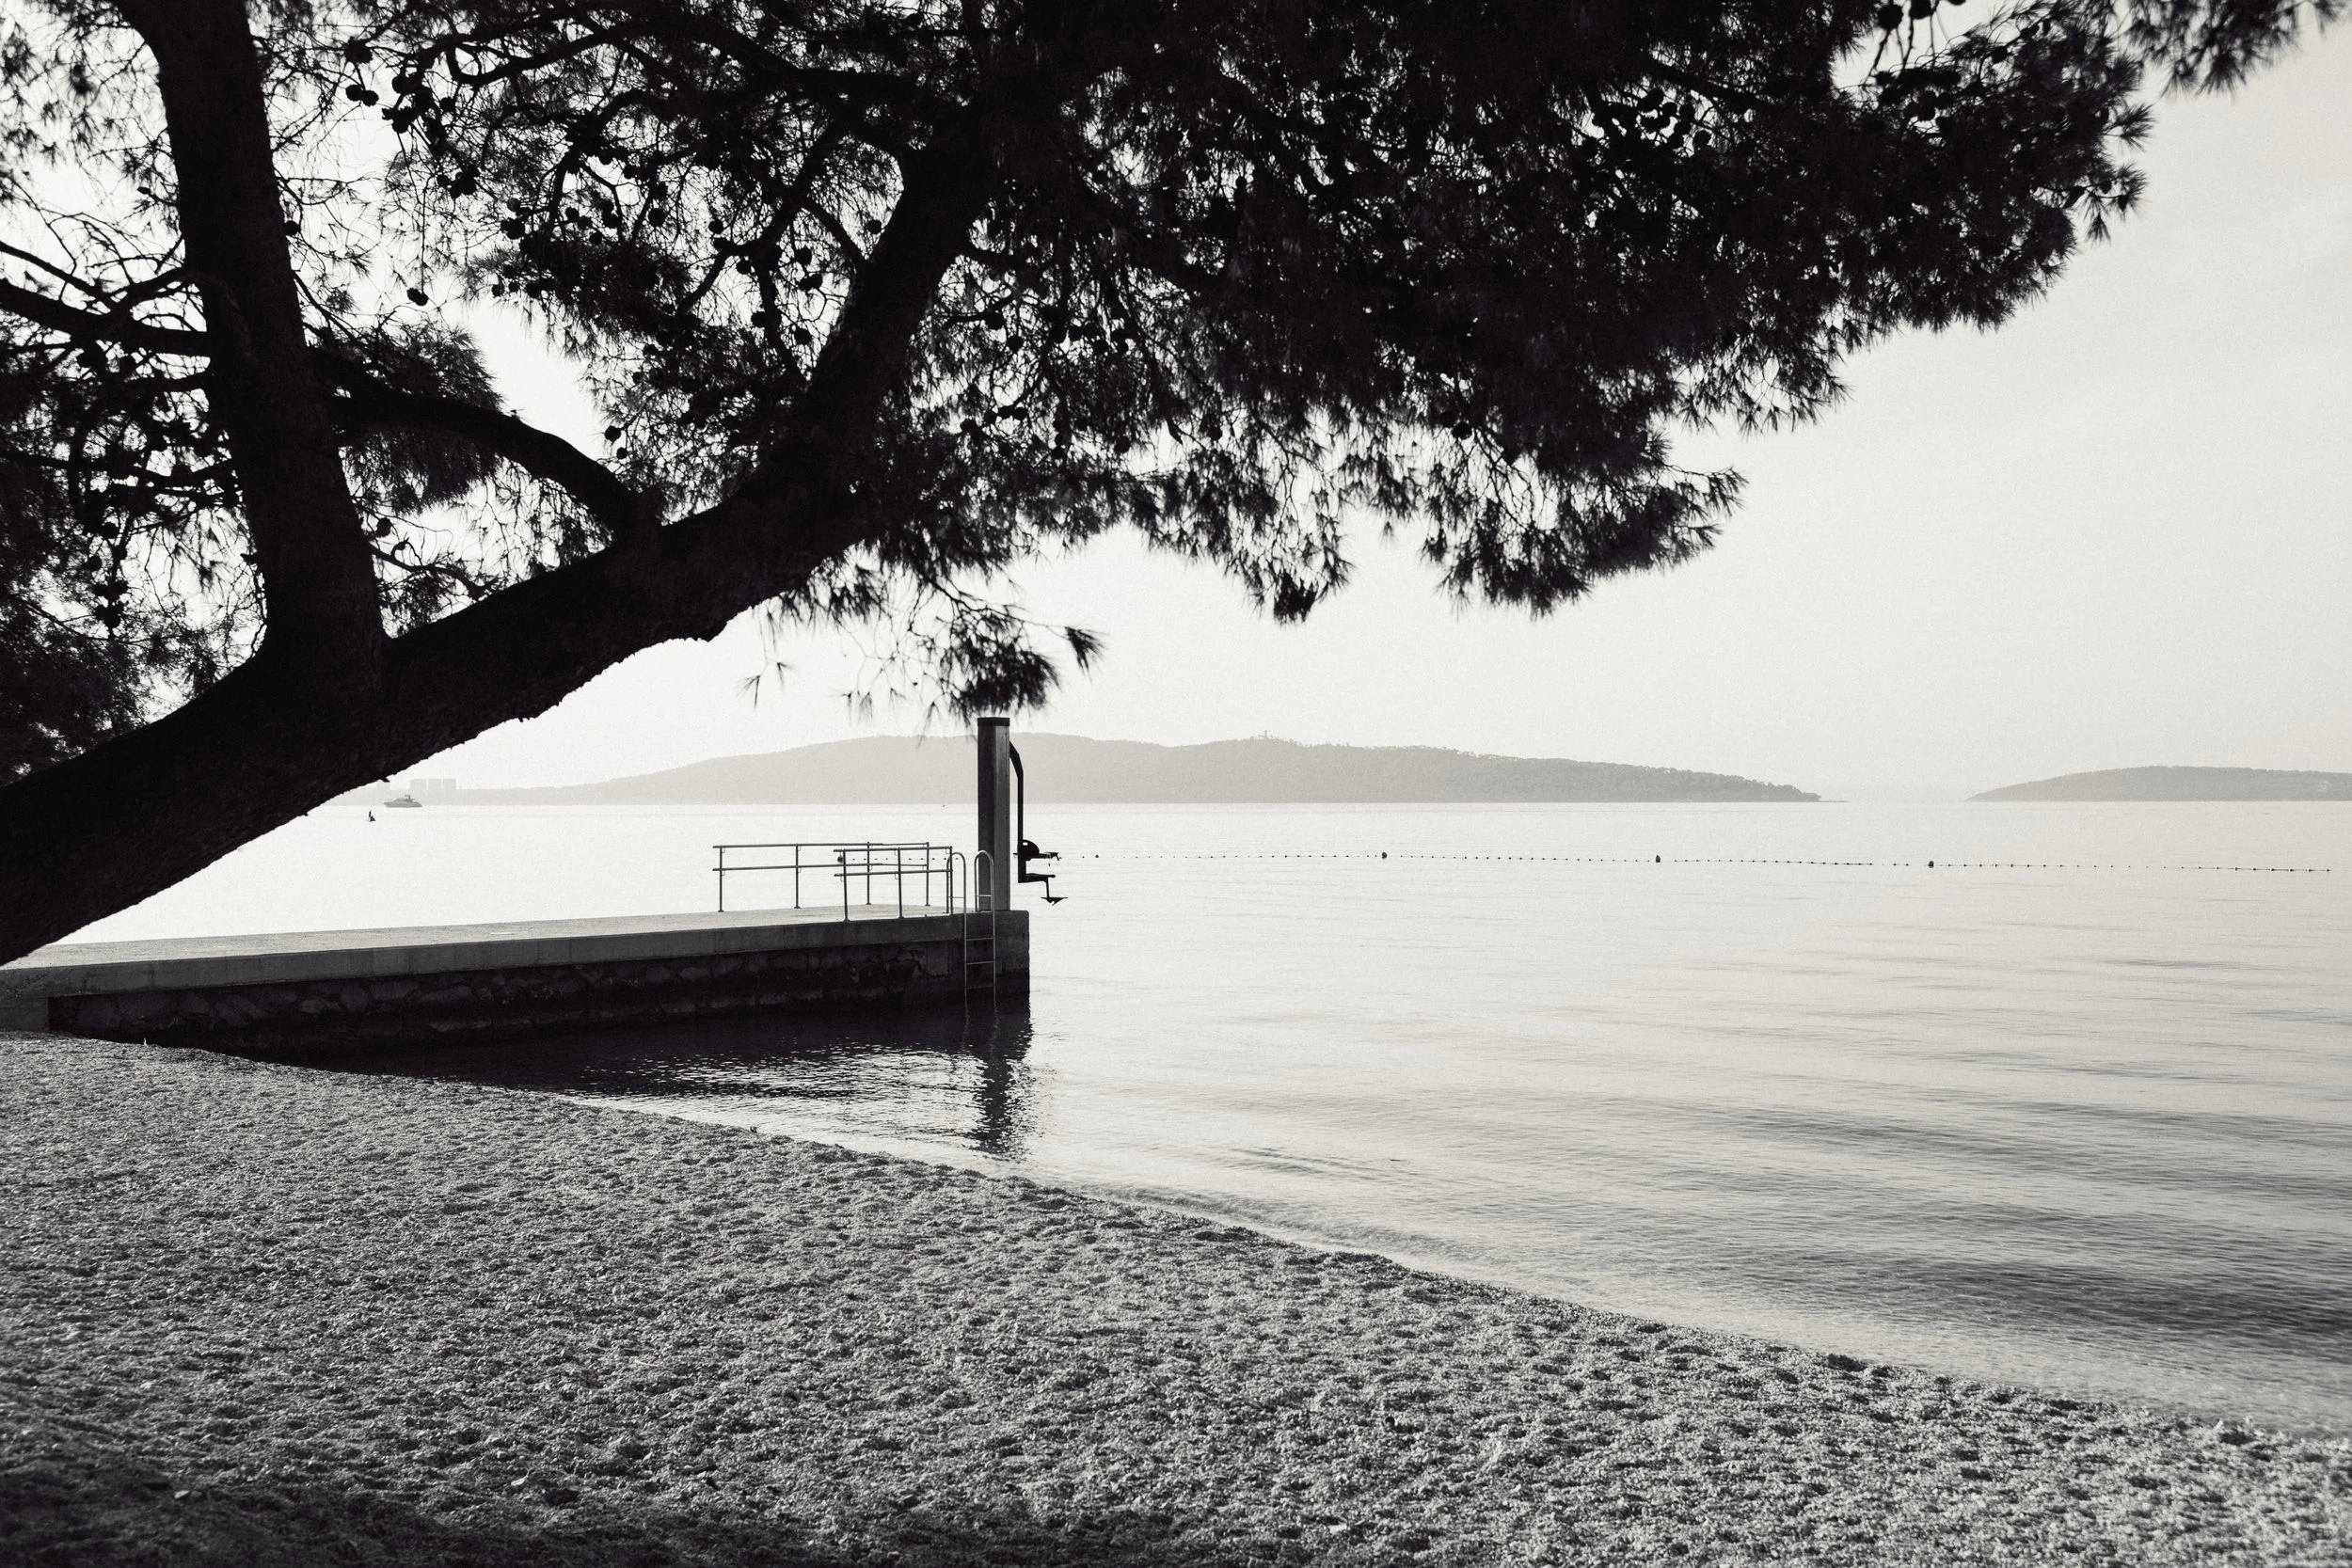
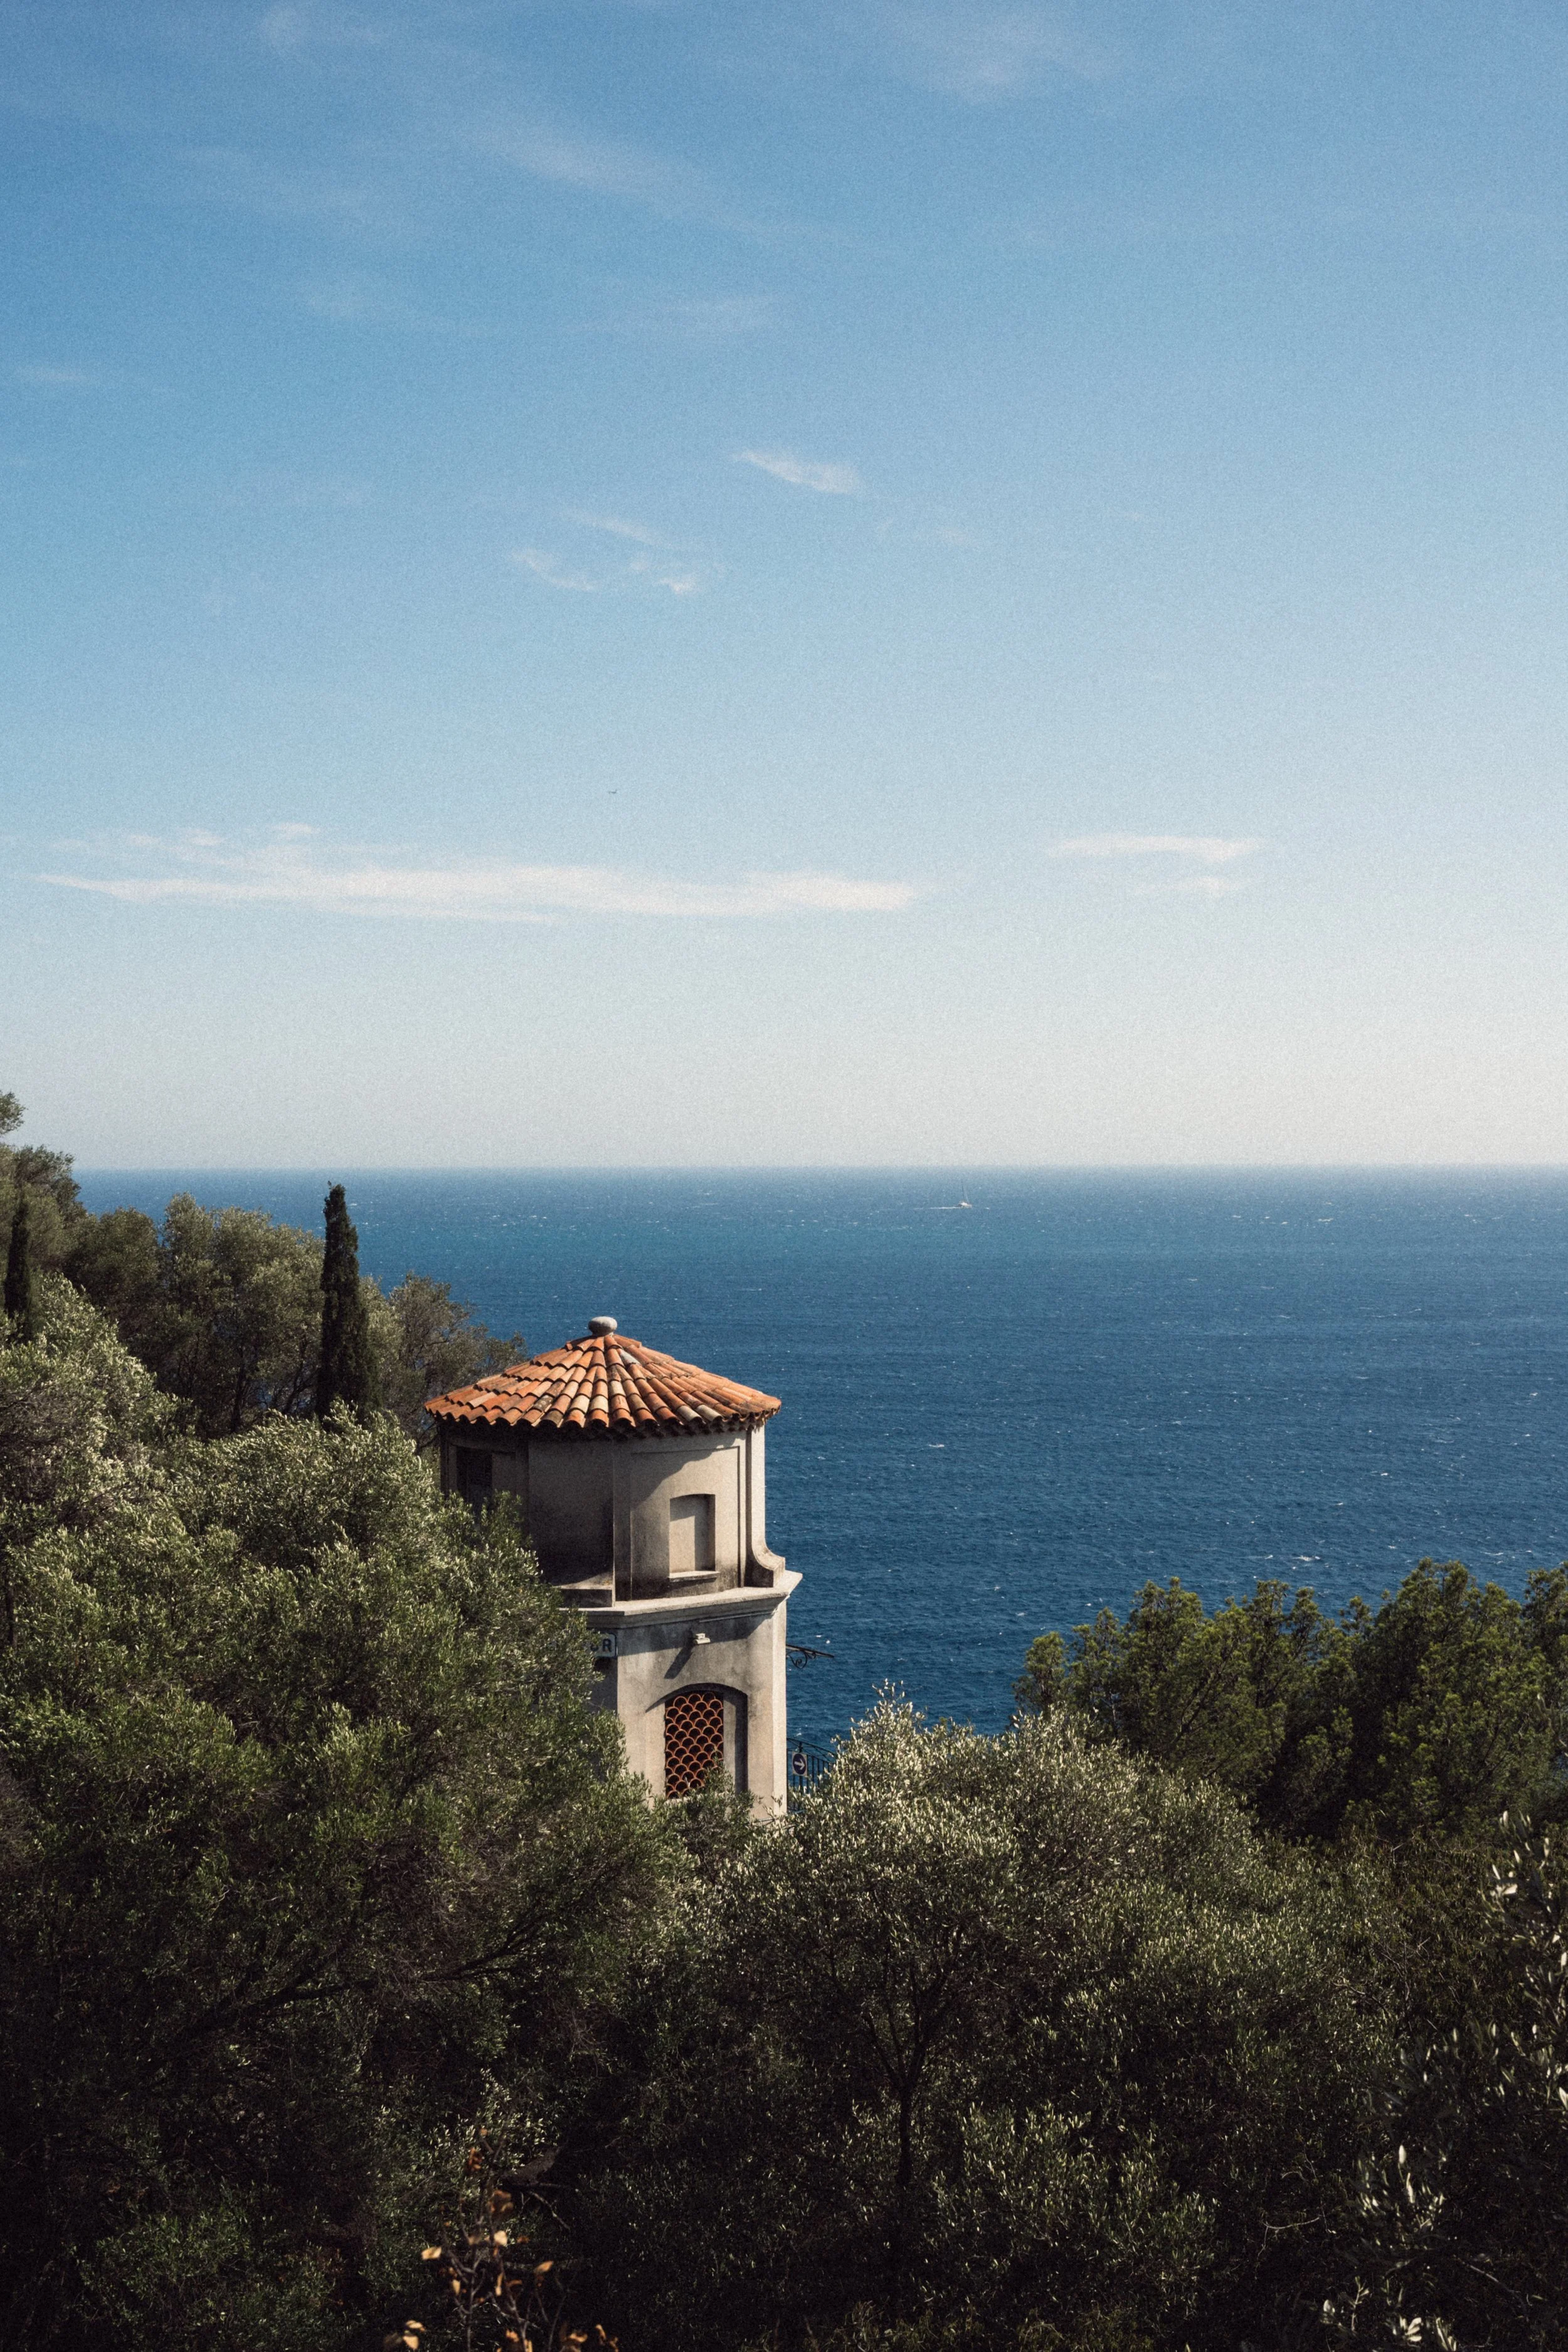
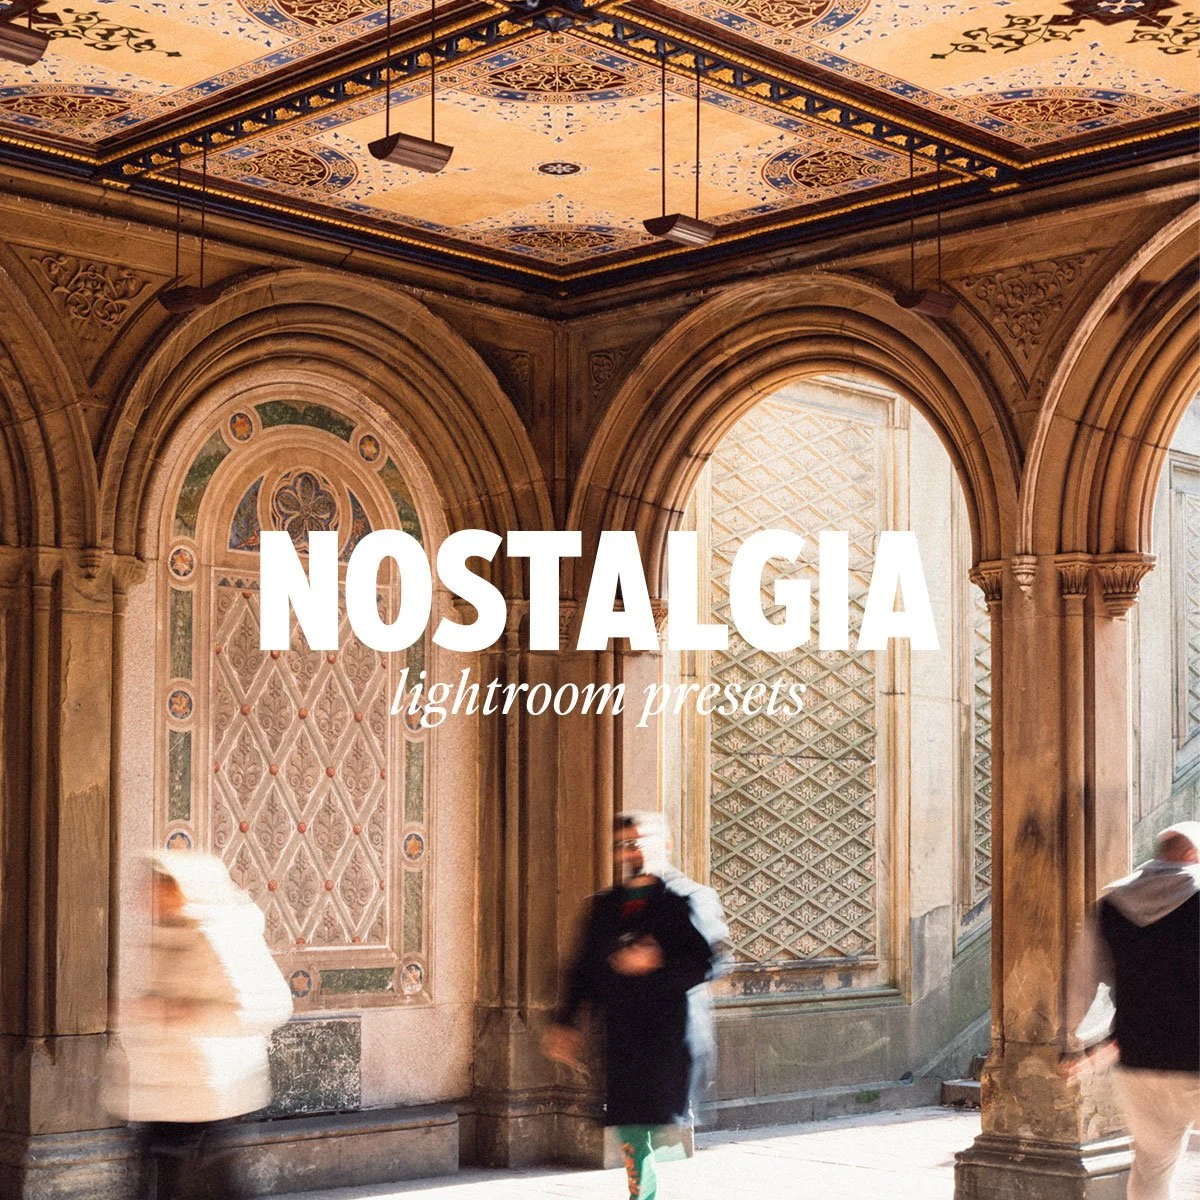
Bring the timeless look of film into your digital photography with my new Lightroom preset collection, carefully crafted to recreate the character of some of Kodak’s most iconic film stocks:
Kodak E200 – Subtle grain and balanced tones for a natural, timeless look
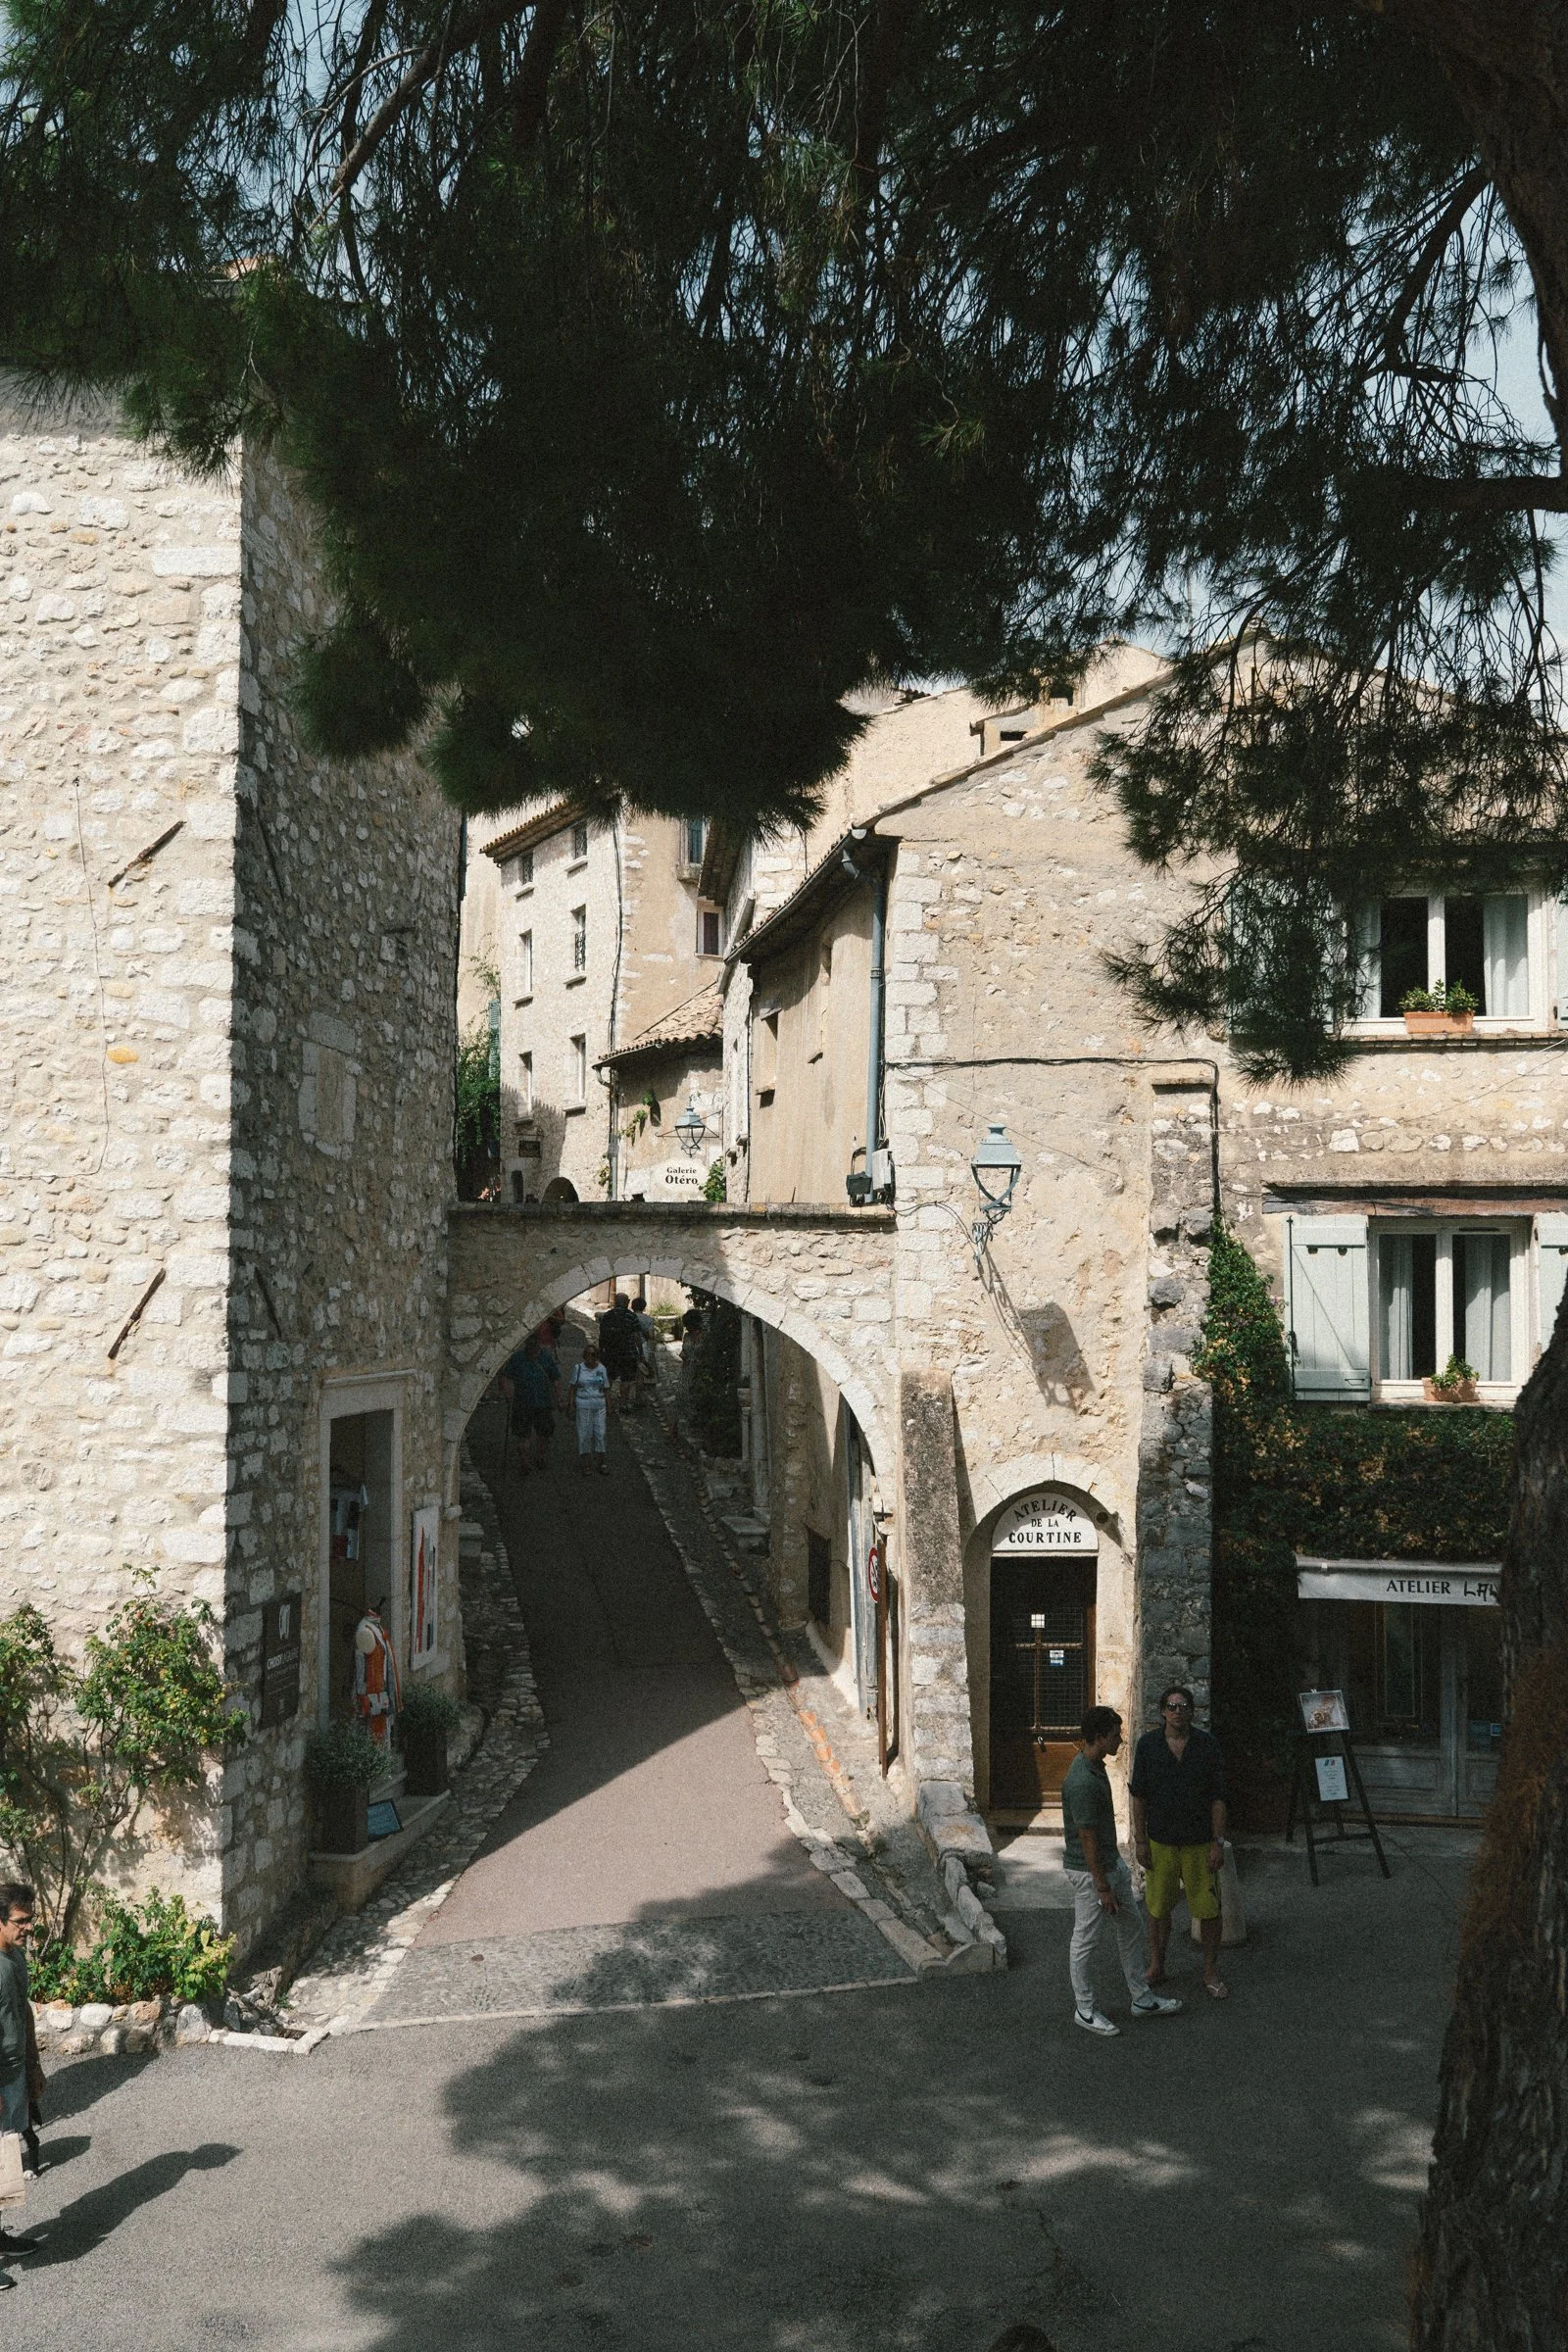
Kodak Gold 200 – Warm, vibrant colors with a nostalgic glow
Kodak Portra 400 – Soft skin tones and versatile color rendering
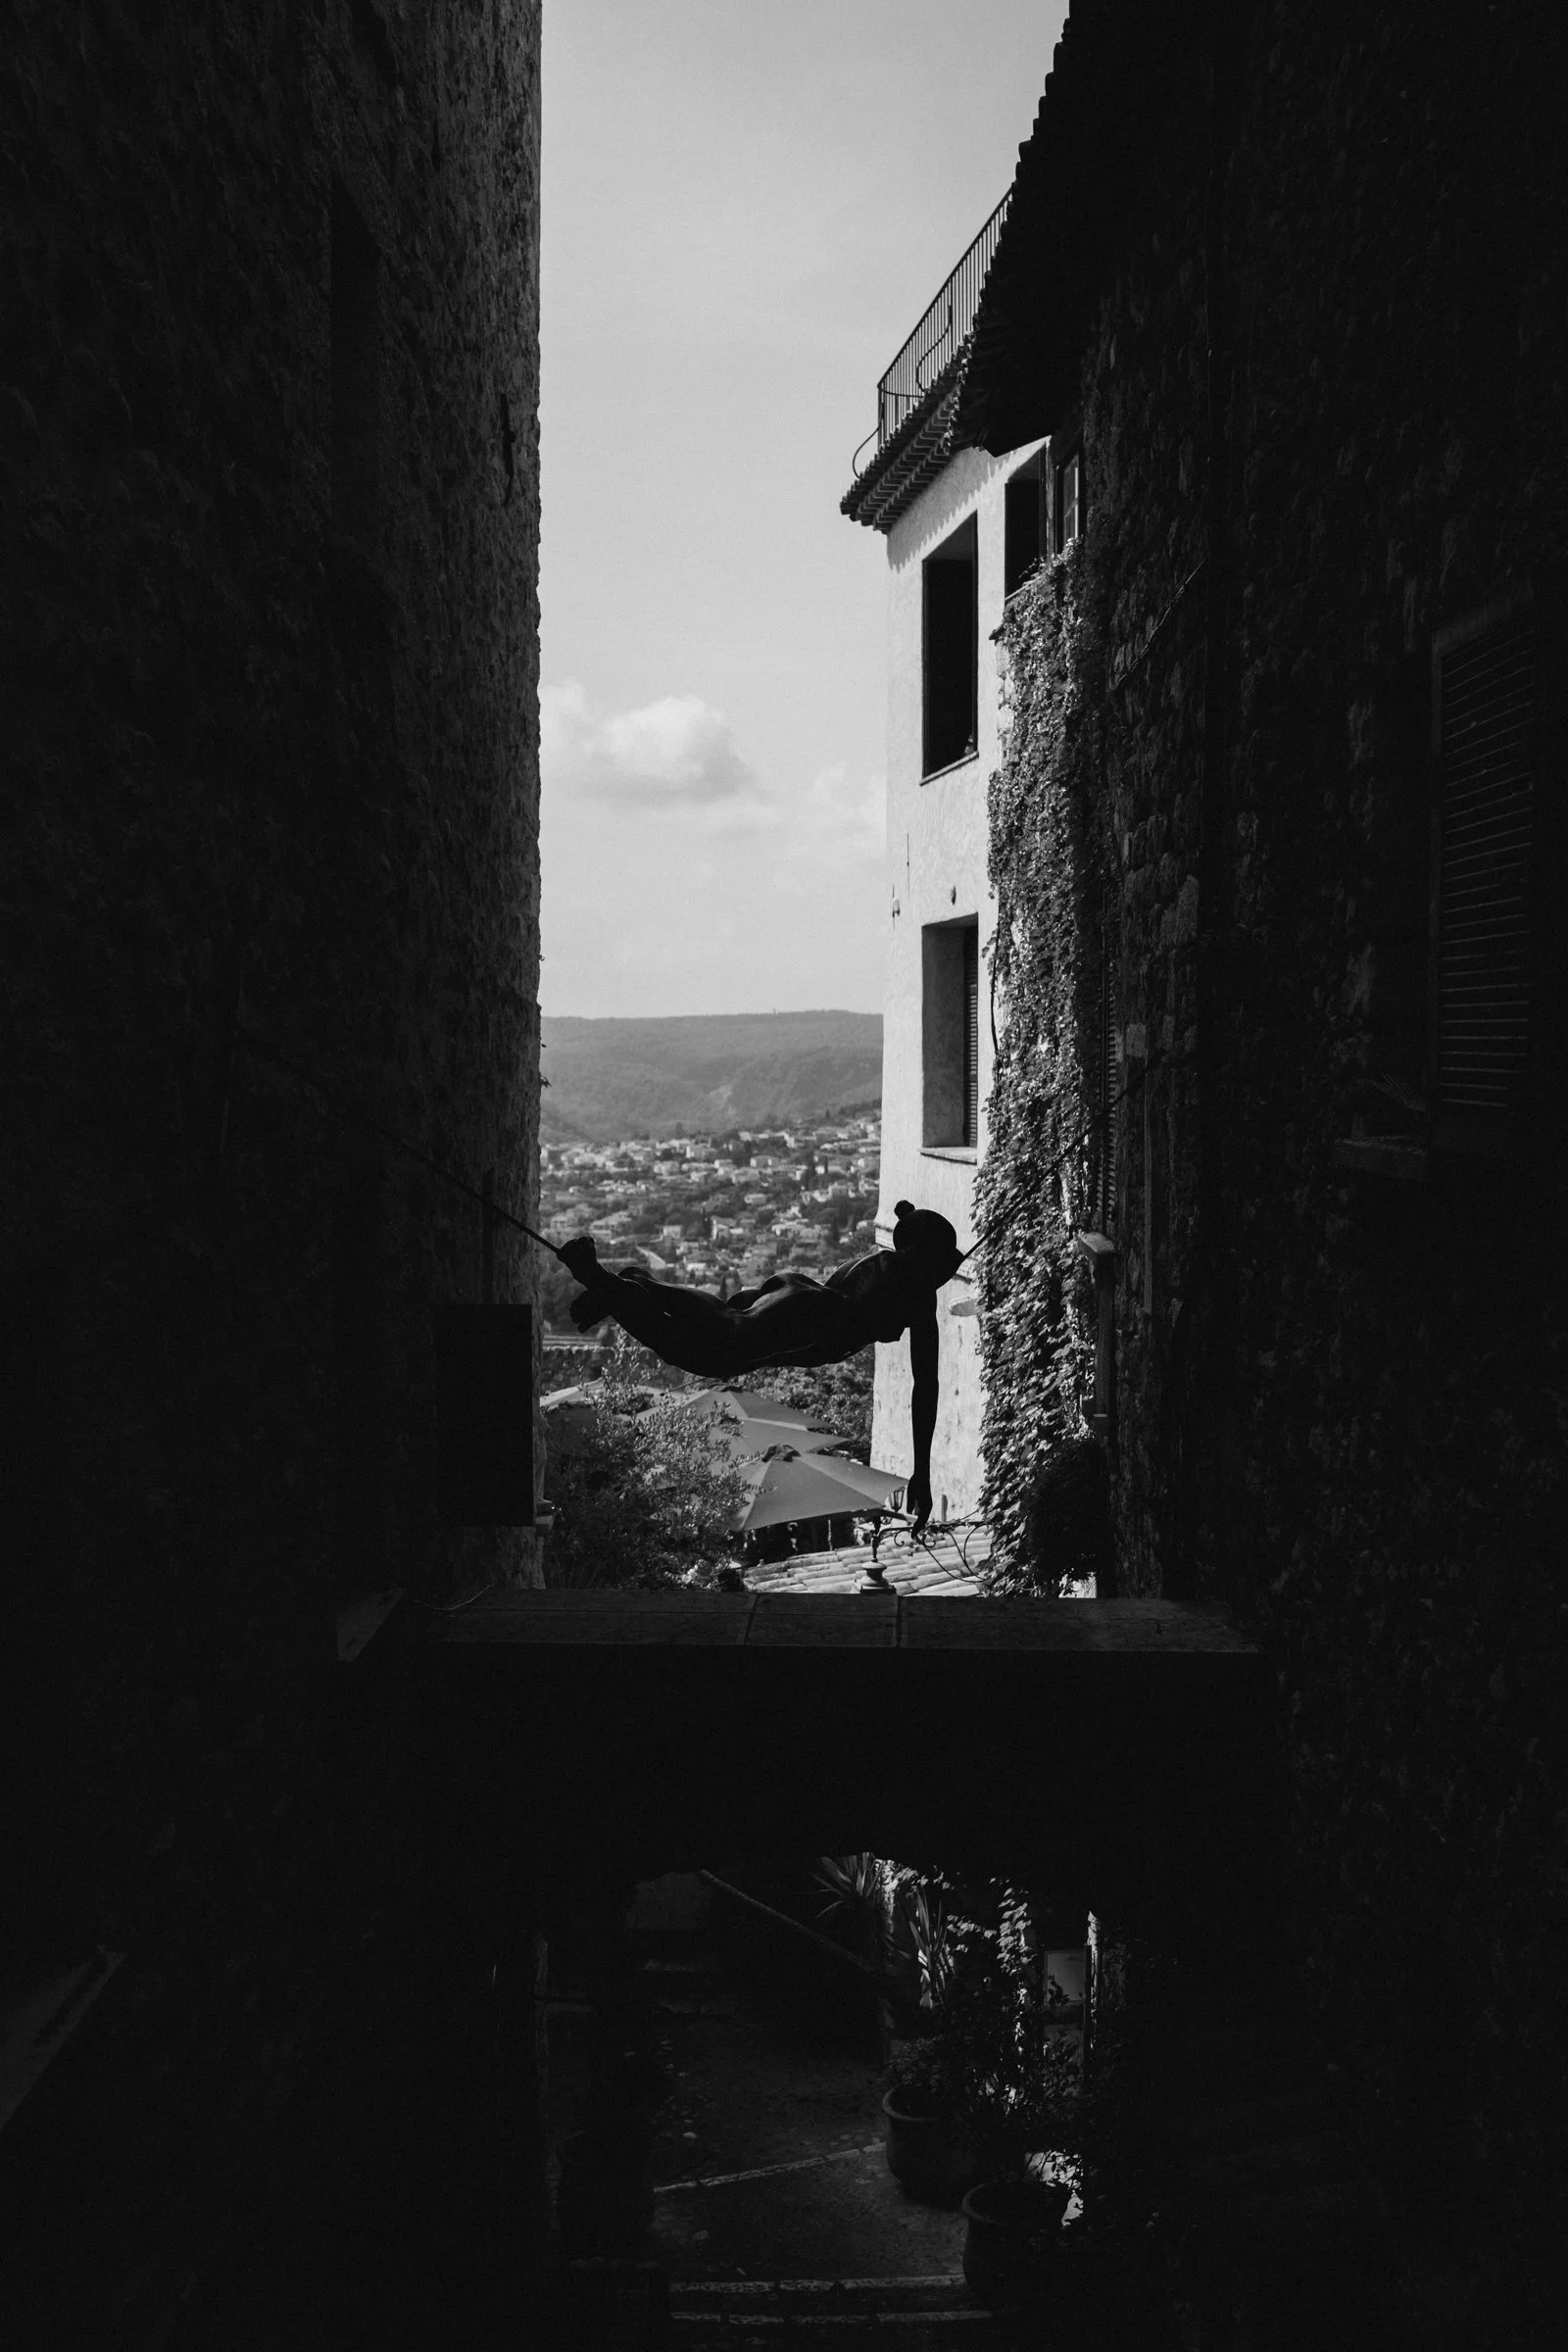
KodakPortra 800 – Rich contrasts with a cinematic edge
Kodak Ultramax 800 – Bold colors and strong character for everyday shots
With just one click, these presets transform your images into nostalgic works of art—perfect for adding warmth, depth, and vintage charm to your photography.
HOW TO USE
💻 Lightroom Desktop (.xmp files)
Download & unzip your preset folder.
Open Lightroom Classic on your computer.
Go to the Develop Module.
In the left panel under Presets, click the “+” icon.
Select Import Presets.
Choose the .xmp files from your folder and click Import.
Your presets will now appear in the Presets Panel (usually under User Presets or in the provided folder).
👉 Using your presets: Open a photo → Go to Develop → Click on a preset → Fine-tune exposure, contrast, and white balance for best results.
📱 Lightroom Mobile (.dng files)
Download the .dng files to your phone.
Open the Lightroom Mobile App.
Import the .dng files (they may look like blank/grey images).
Open one .dng file.
Tap the “…” menu → Select Create Preset.
Give it a name and save it to a group (e.g., “My Presets”).
Repeat for each .dng file.
👉 Using your presets: Open a photo → Go to Presets → Tap your saved preset → Adjust exposure/temperature to suit your image.
🌟 Tips for Best Results
Presets are a starting point, not a one-click solution — adjust exposure and white balance to match your photo.
Shoot in RAW for maximum flexibility.
Experiment! Different presets work best in different lighting conditions.
Now includes .XMP and .DNG files.
Bring the timeless look of film into your digital photography with my new Lightroom preset collection, carefully crafted to recreate the character of some of Kodak’s most iconic film stocks:
Kodak E200 – Subtle grain and balanced tones for a natural, timeless look
Kodak Gold 200 – Warm, vibrant colors with a nostalgic glow
Kodak Portra 400 – Soft skin tones and versatile color rendering
KodakPortra 800 – Rich contrasts with a cinematic edge
Kodak Ultramax 800 – Bold colors and strong character for everyday shots
With just one click, these presets transform your images into nostalgic works of art—perfect for adding warmth, depth, and vintage charm to your photography.
HOW TO USE
💻 Lightroom Desktop (.xmp files)
Download & unzip your preset folder.
Open Lightroom Classic on your computer.
Go to the Develop Module.
In the left panel under Presets, click the “+” icon.
Select Import Presets.
Choose the .xmp files from your folder and click Import.
Your presets will now appear in the Presets Panel (usually under User Presets or in the provided folder).
👉 Using your presets: Open a photo → Go to Develop → Click on a preset → Fine-tune exposure, contrast, and white balance for best results.
📱 Lightroom Mobile (.dng files)
Download the .dng files to your phone.
Open the Lightroom Mobile App.
Import the .dng files (they may look like blank/grey images).
Open one .dng file.
Tap the “…” menu → Select Create Preset.
Give it a name and save it to a group (e.g., “My Presets”).
Repeat for each .dng file.
👉 Using your presets: Open a photo → Go to Presets → Tap your saved preset → Adjust exposure/temperature to suit your image.
🌟 Tips for Best Results
Presets are a starting point, not a one-click solution — adjust exposure and white balance to match your photo.
Shoot in RAW for maximum flexibility.
Experiment! Different presets work best in different lighting conditions.

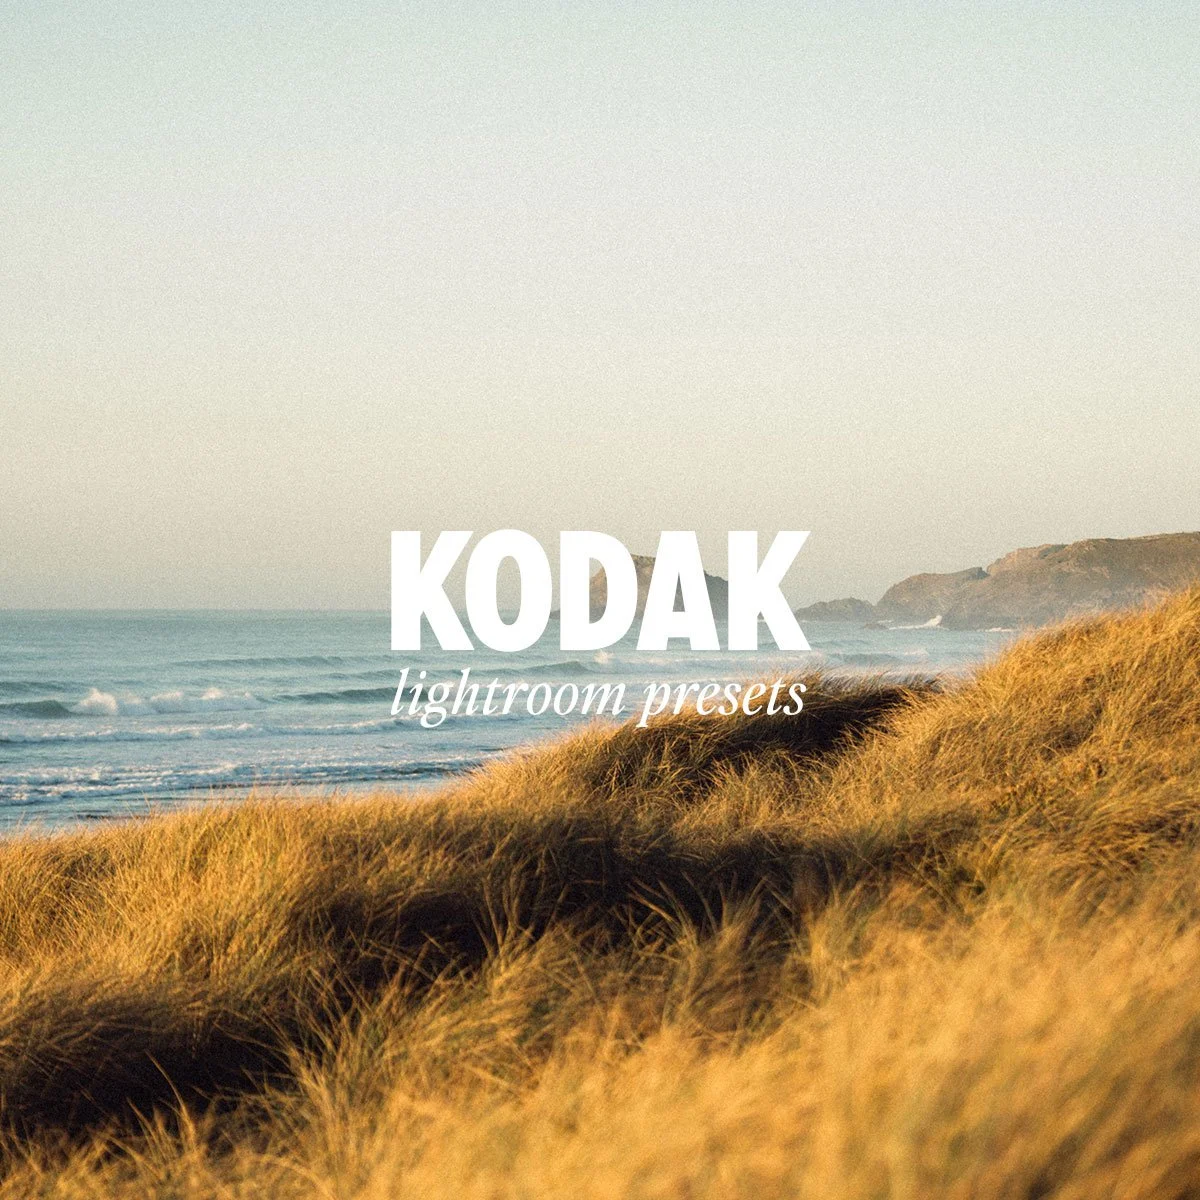 Image 1 of 6
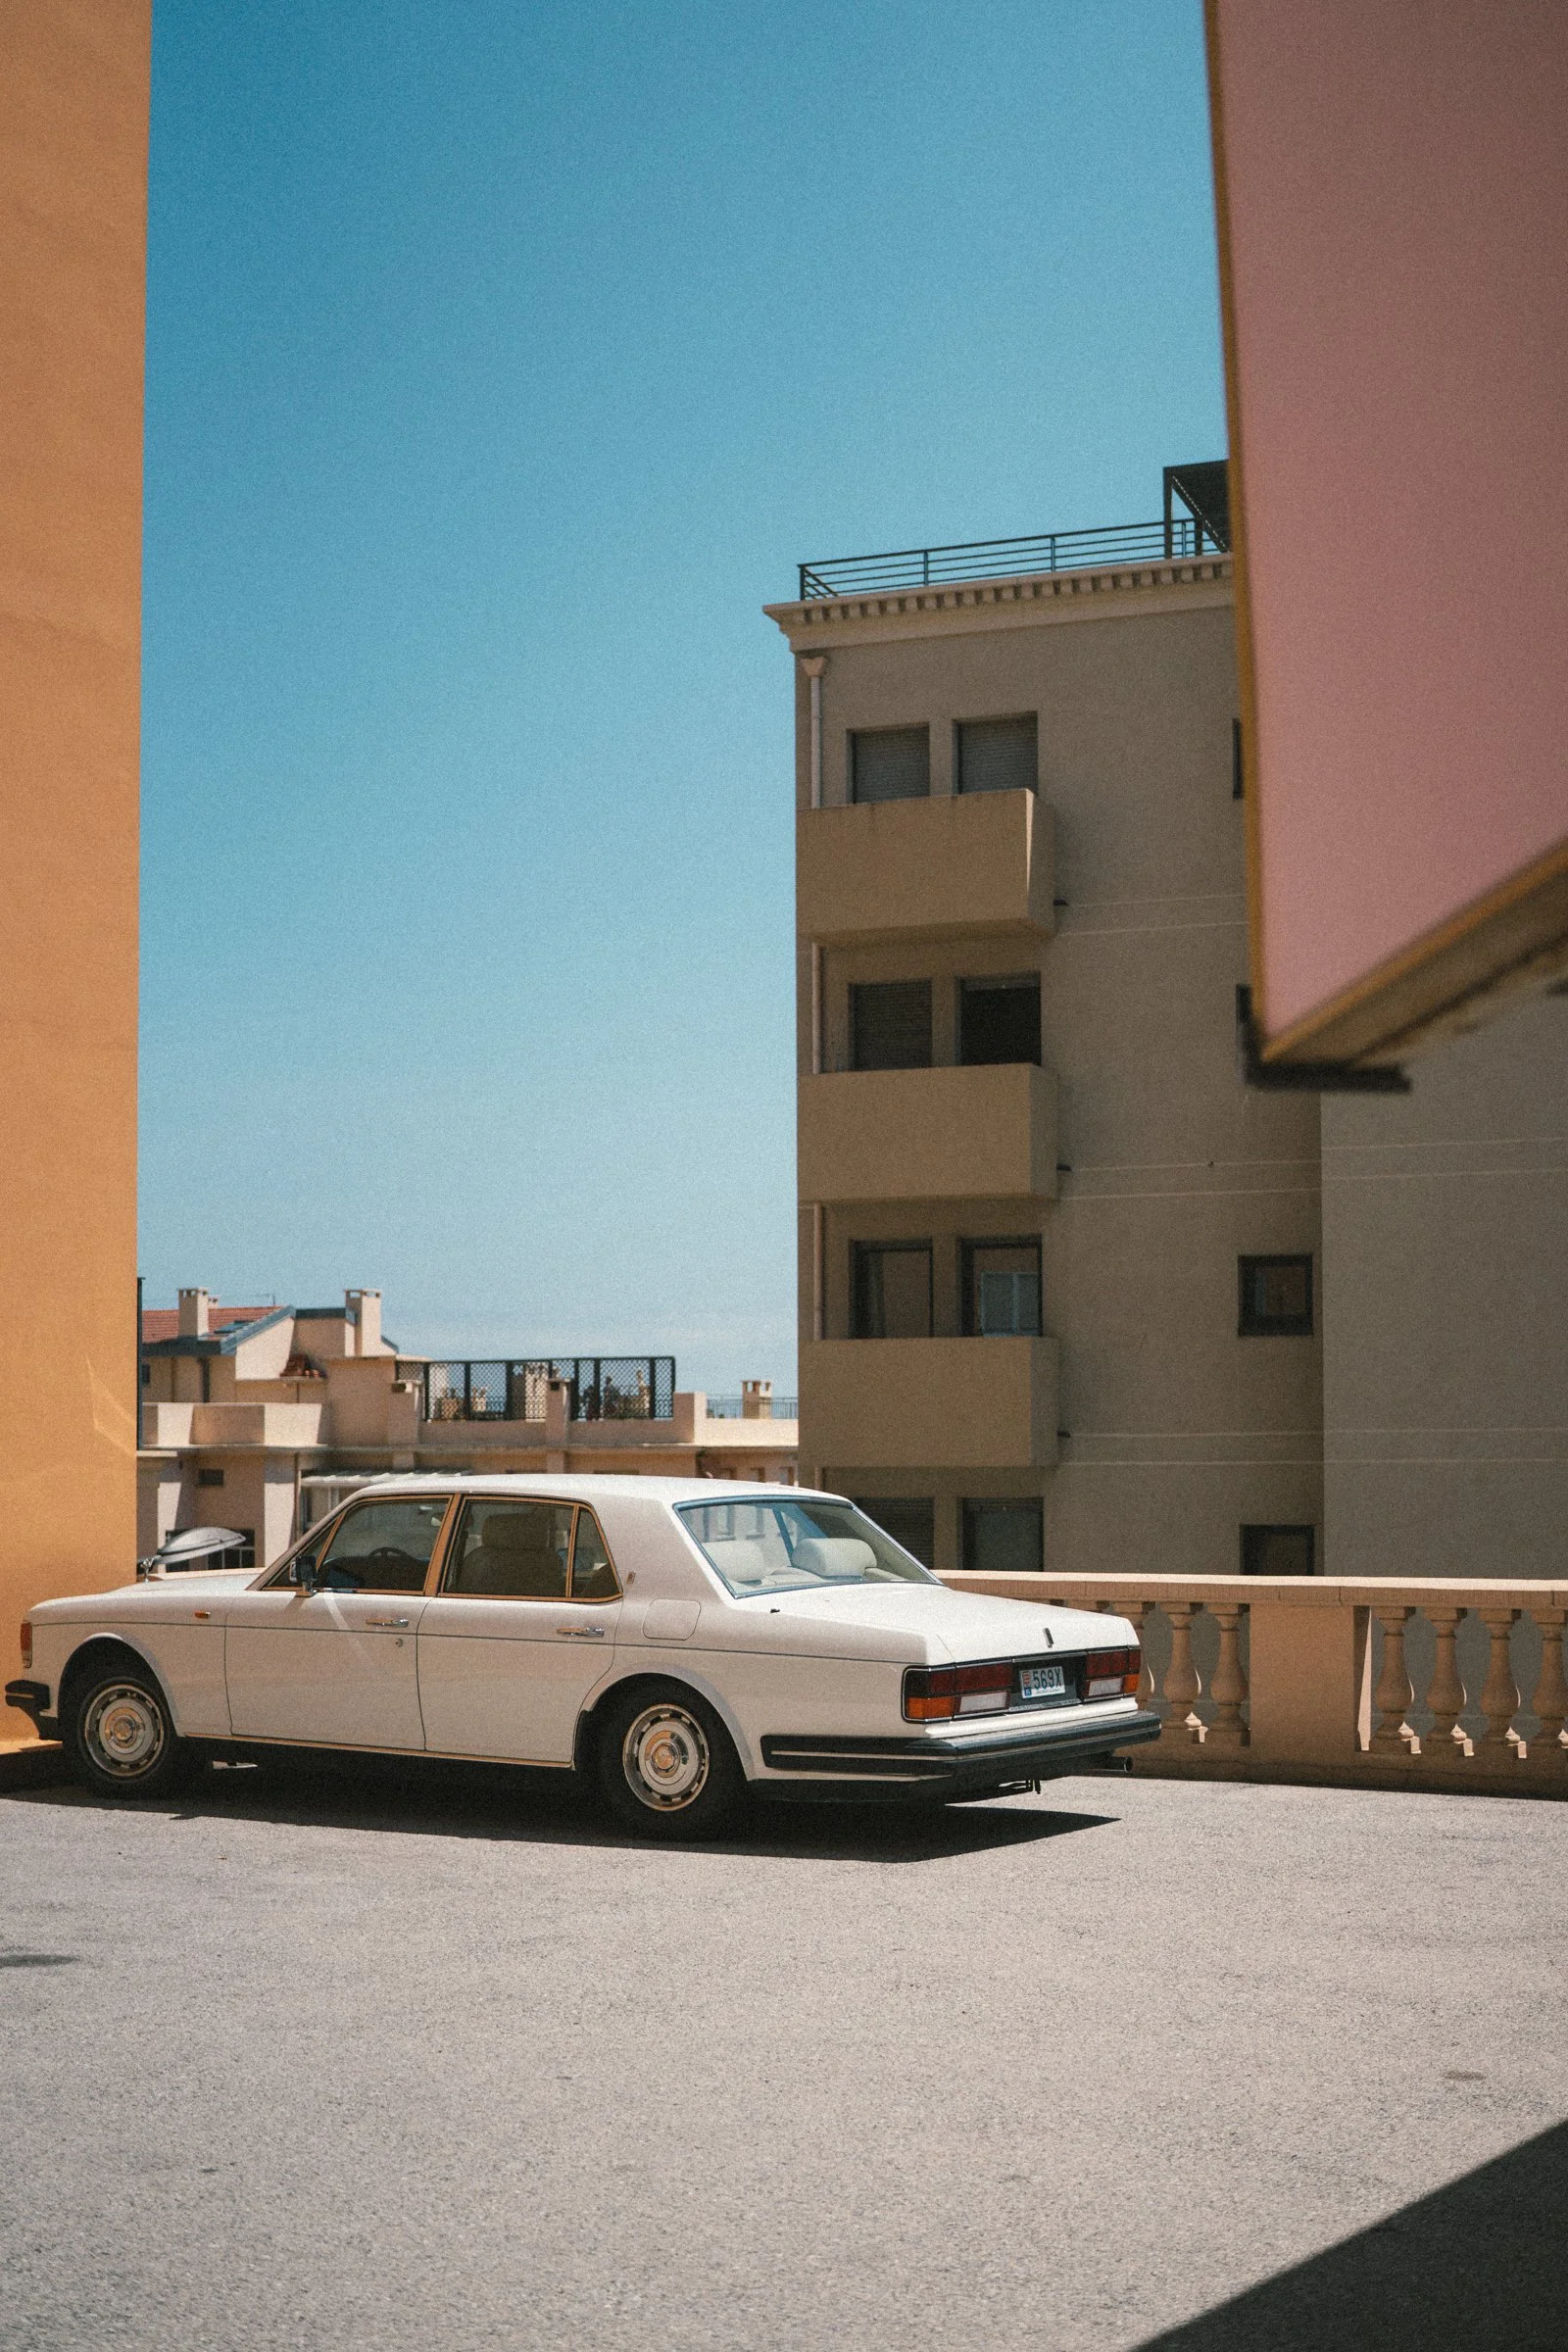 Image 2 of 6
 Image 3 of 6
 Image 4 of 6
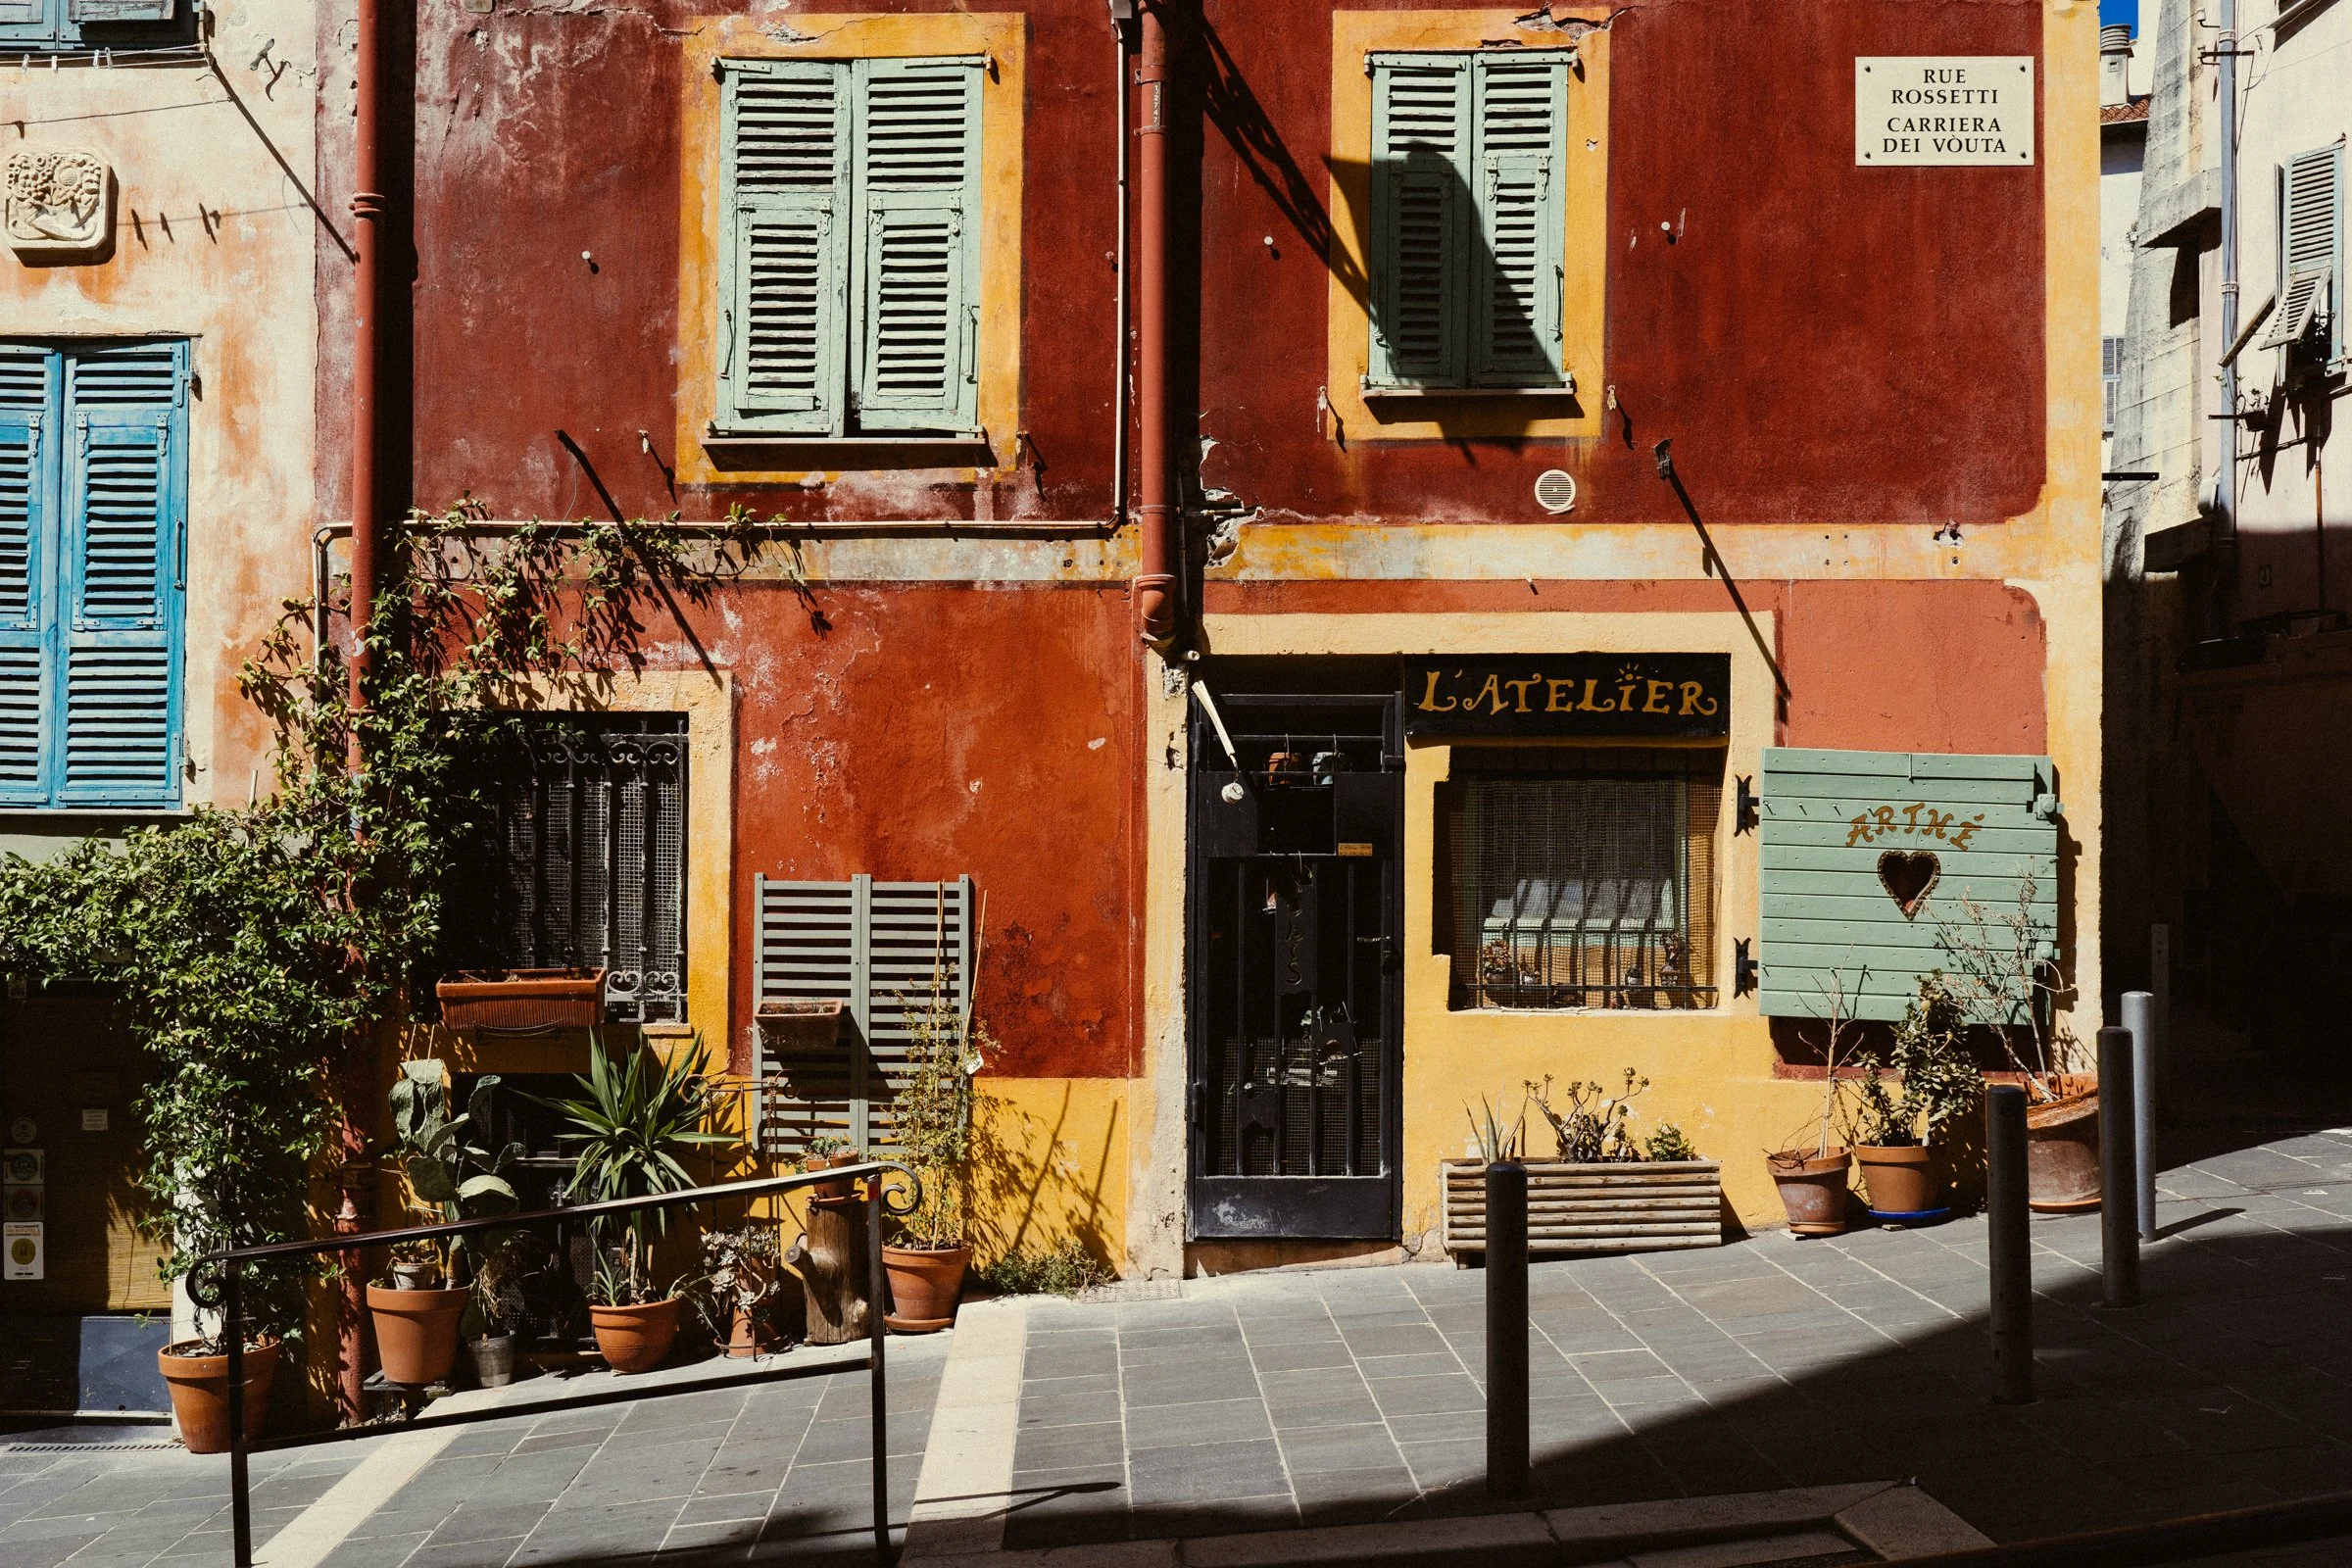 Image 5 of 6
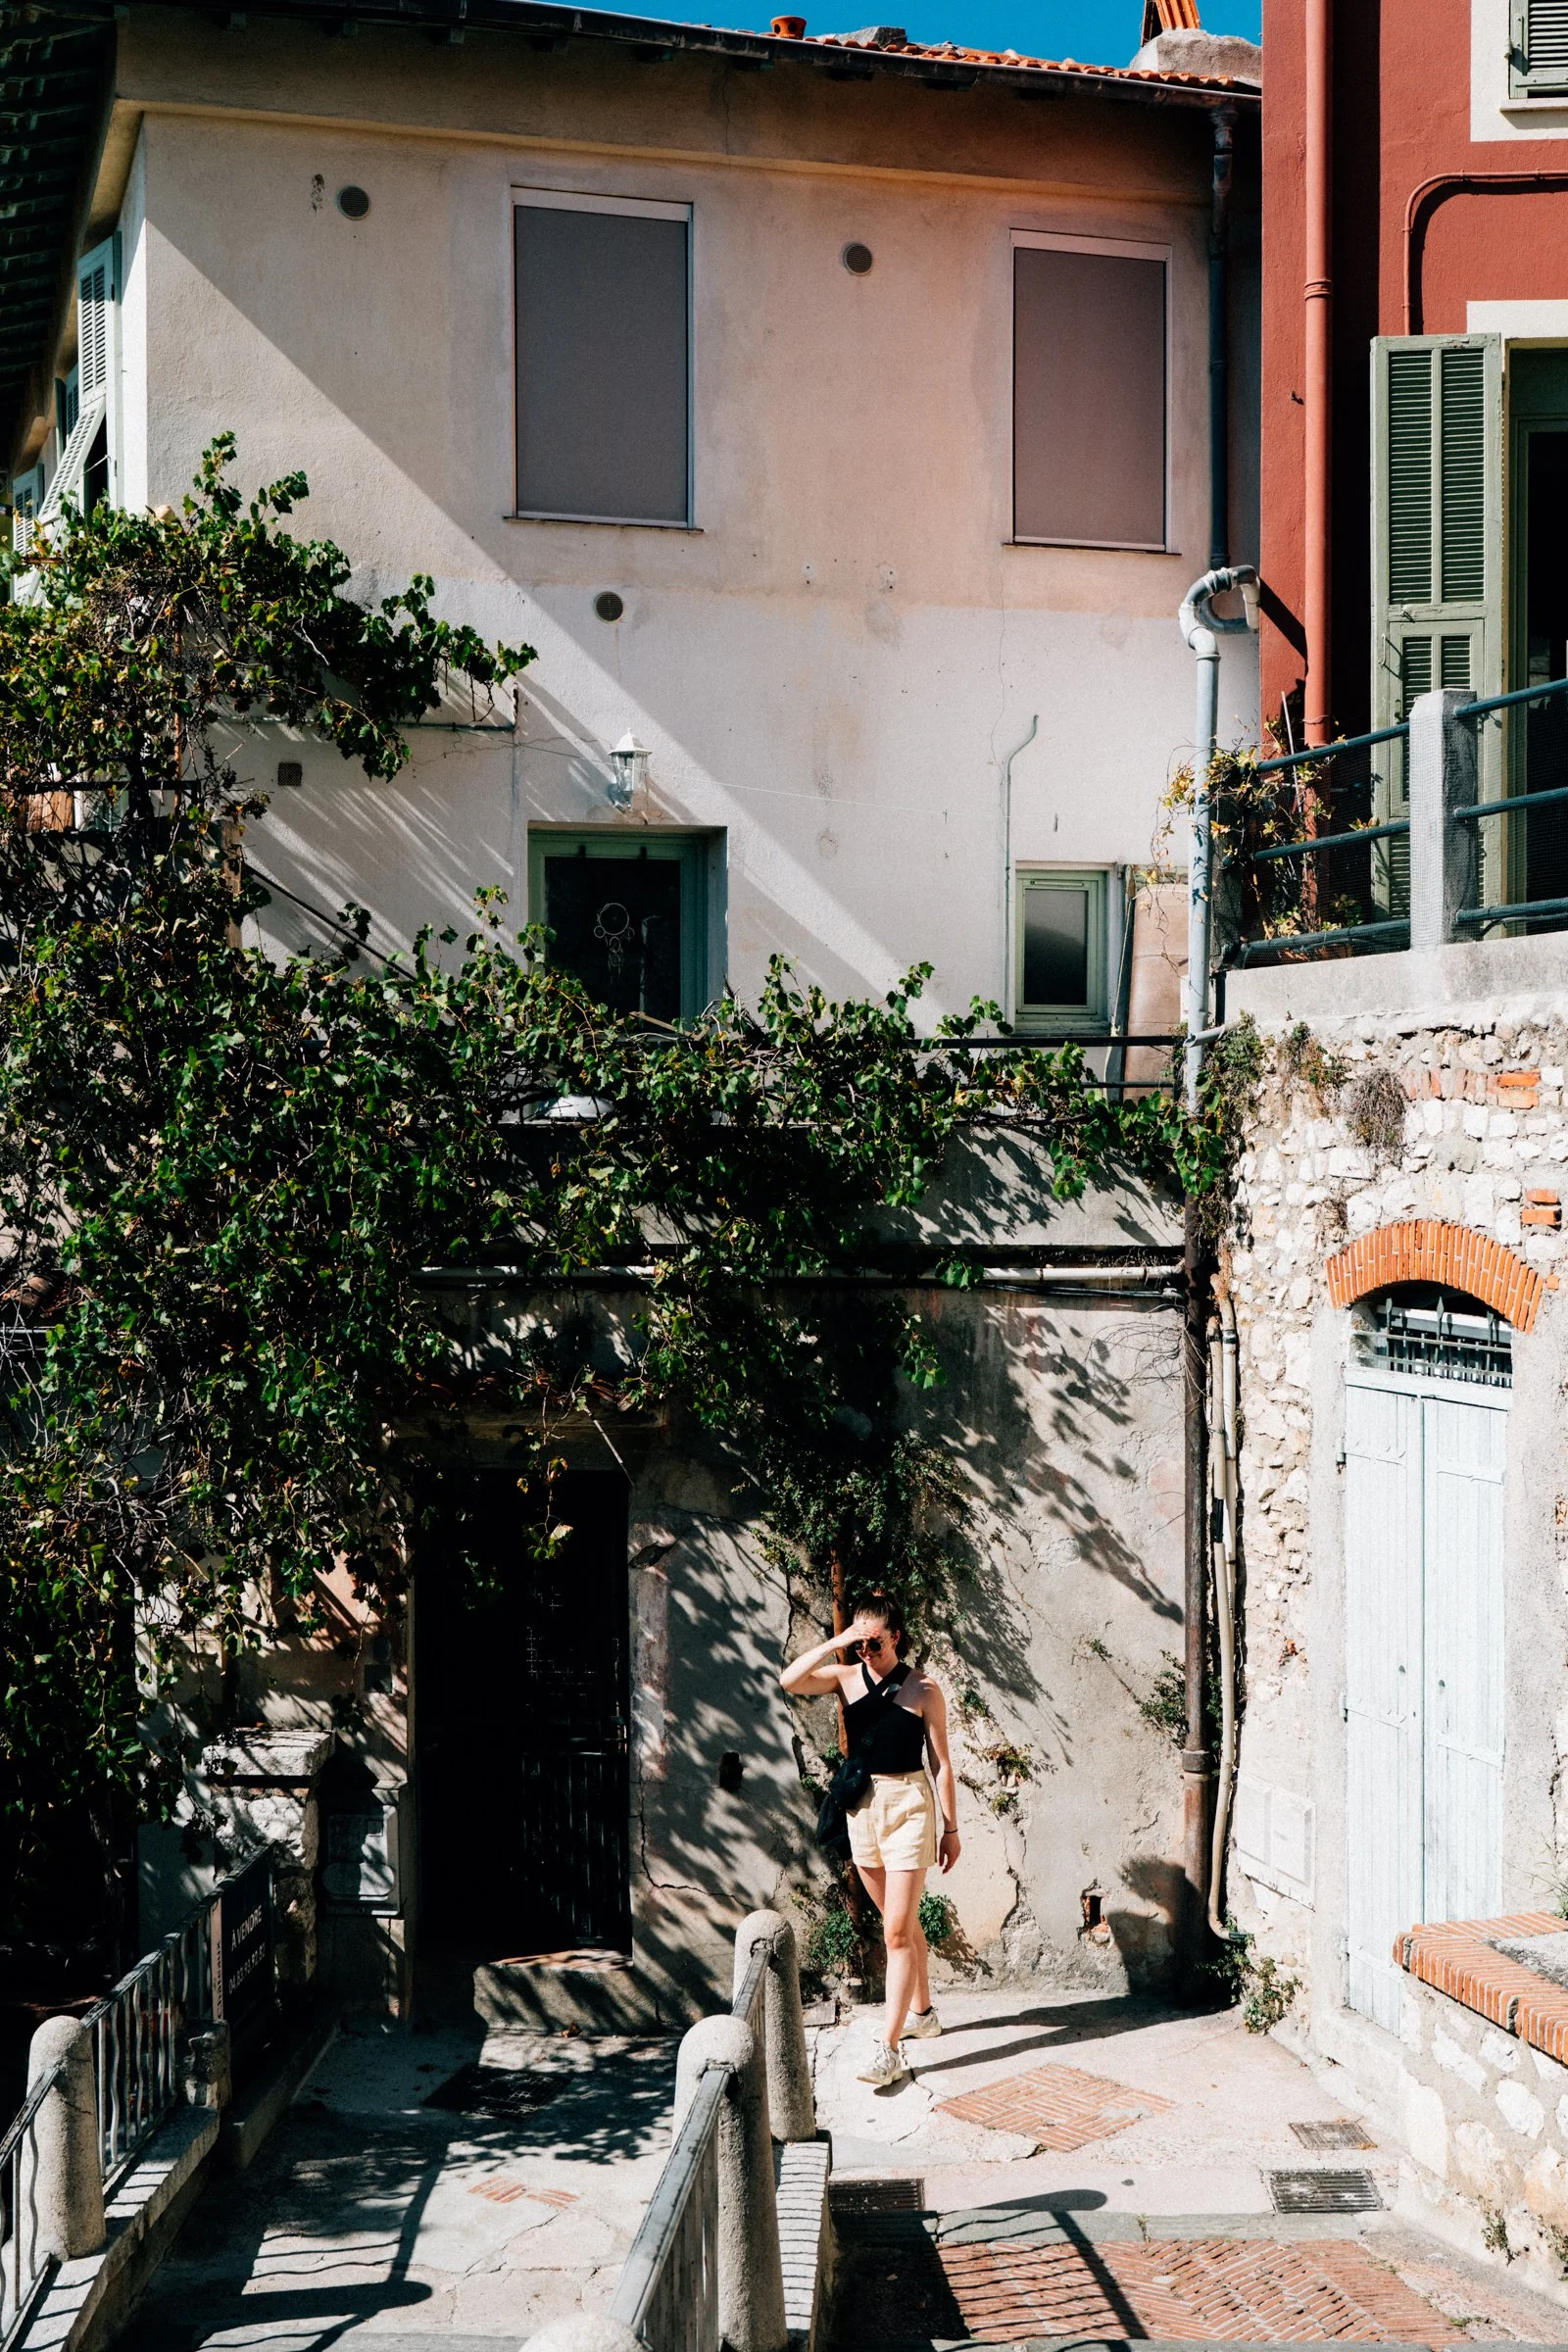 Image 6 of 6