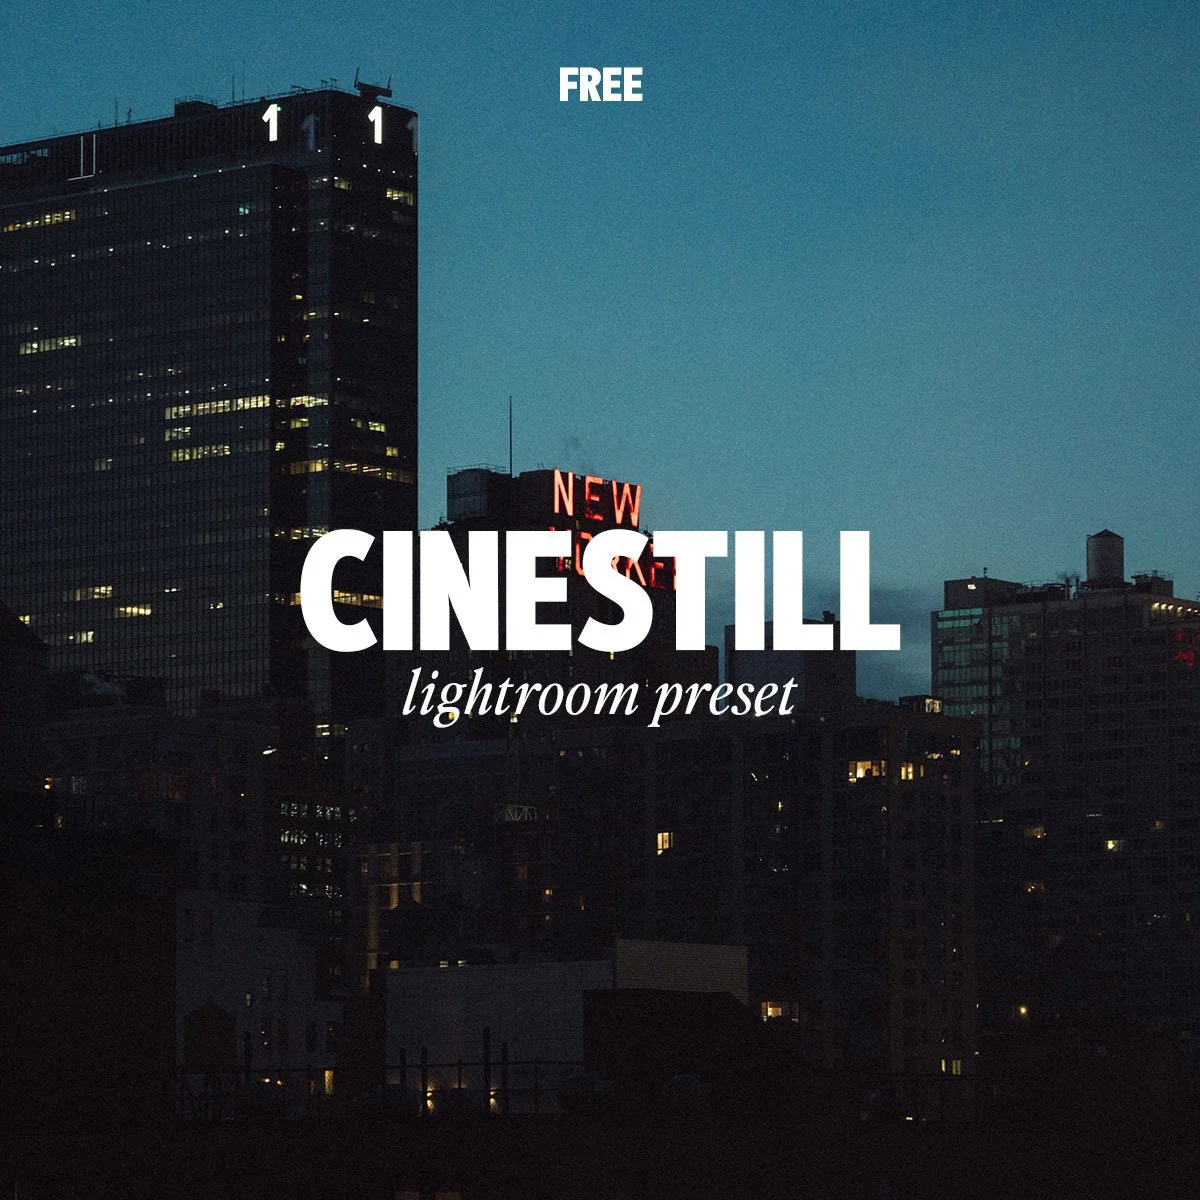
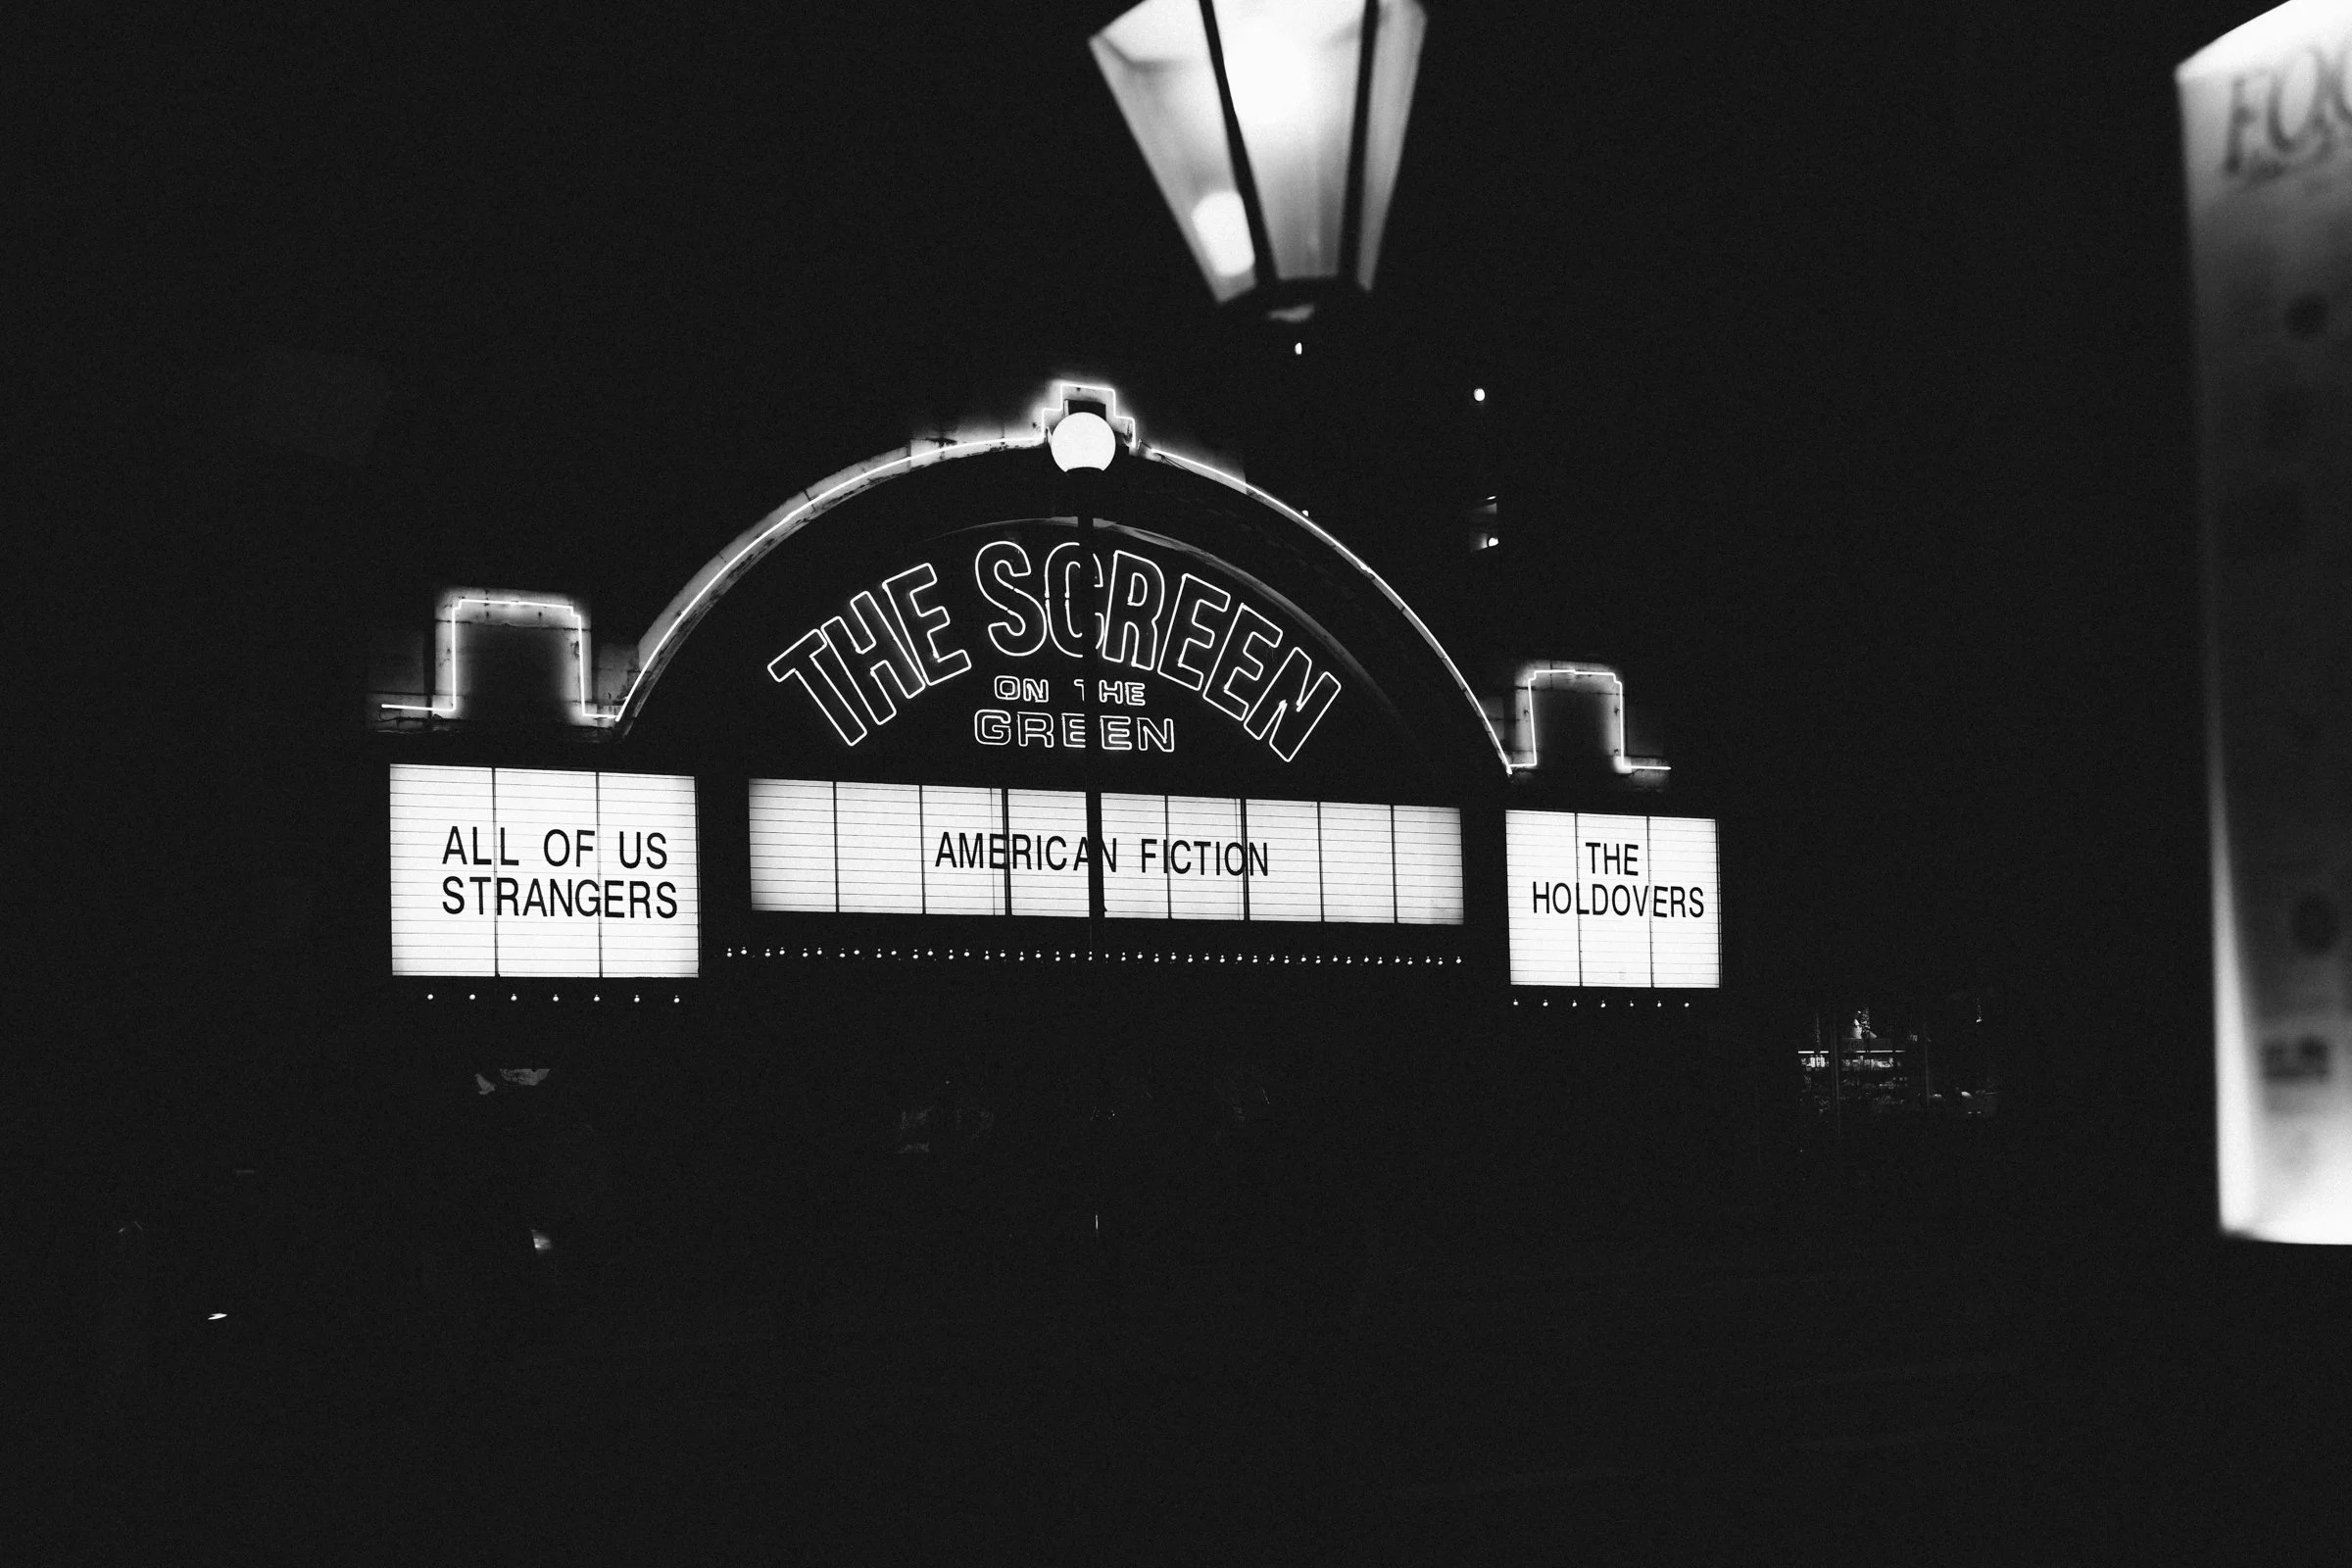
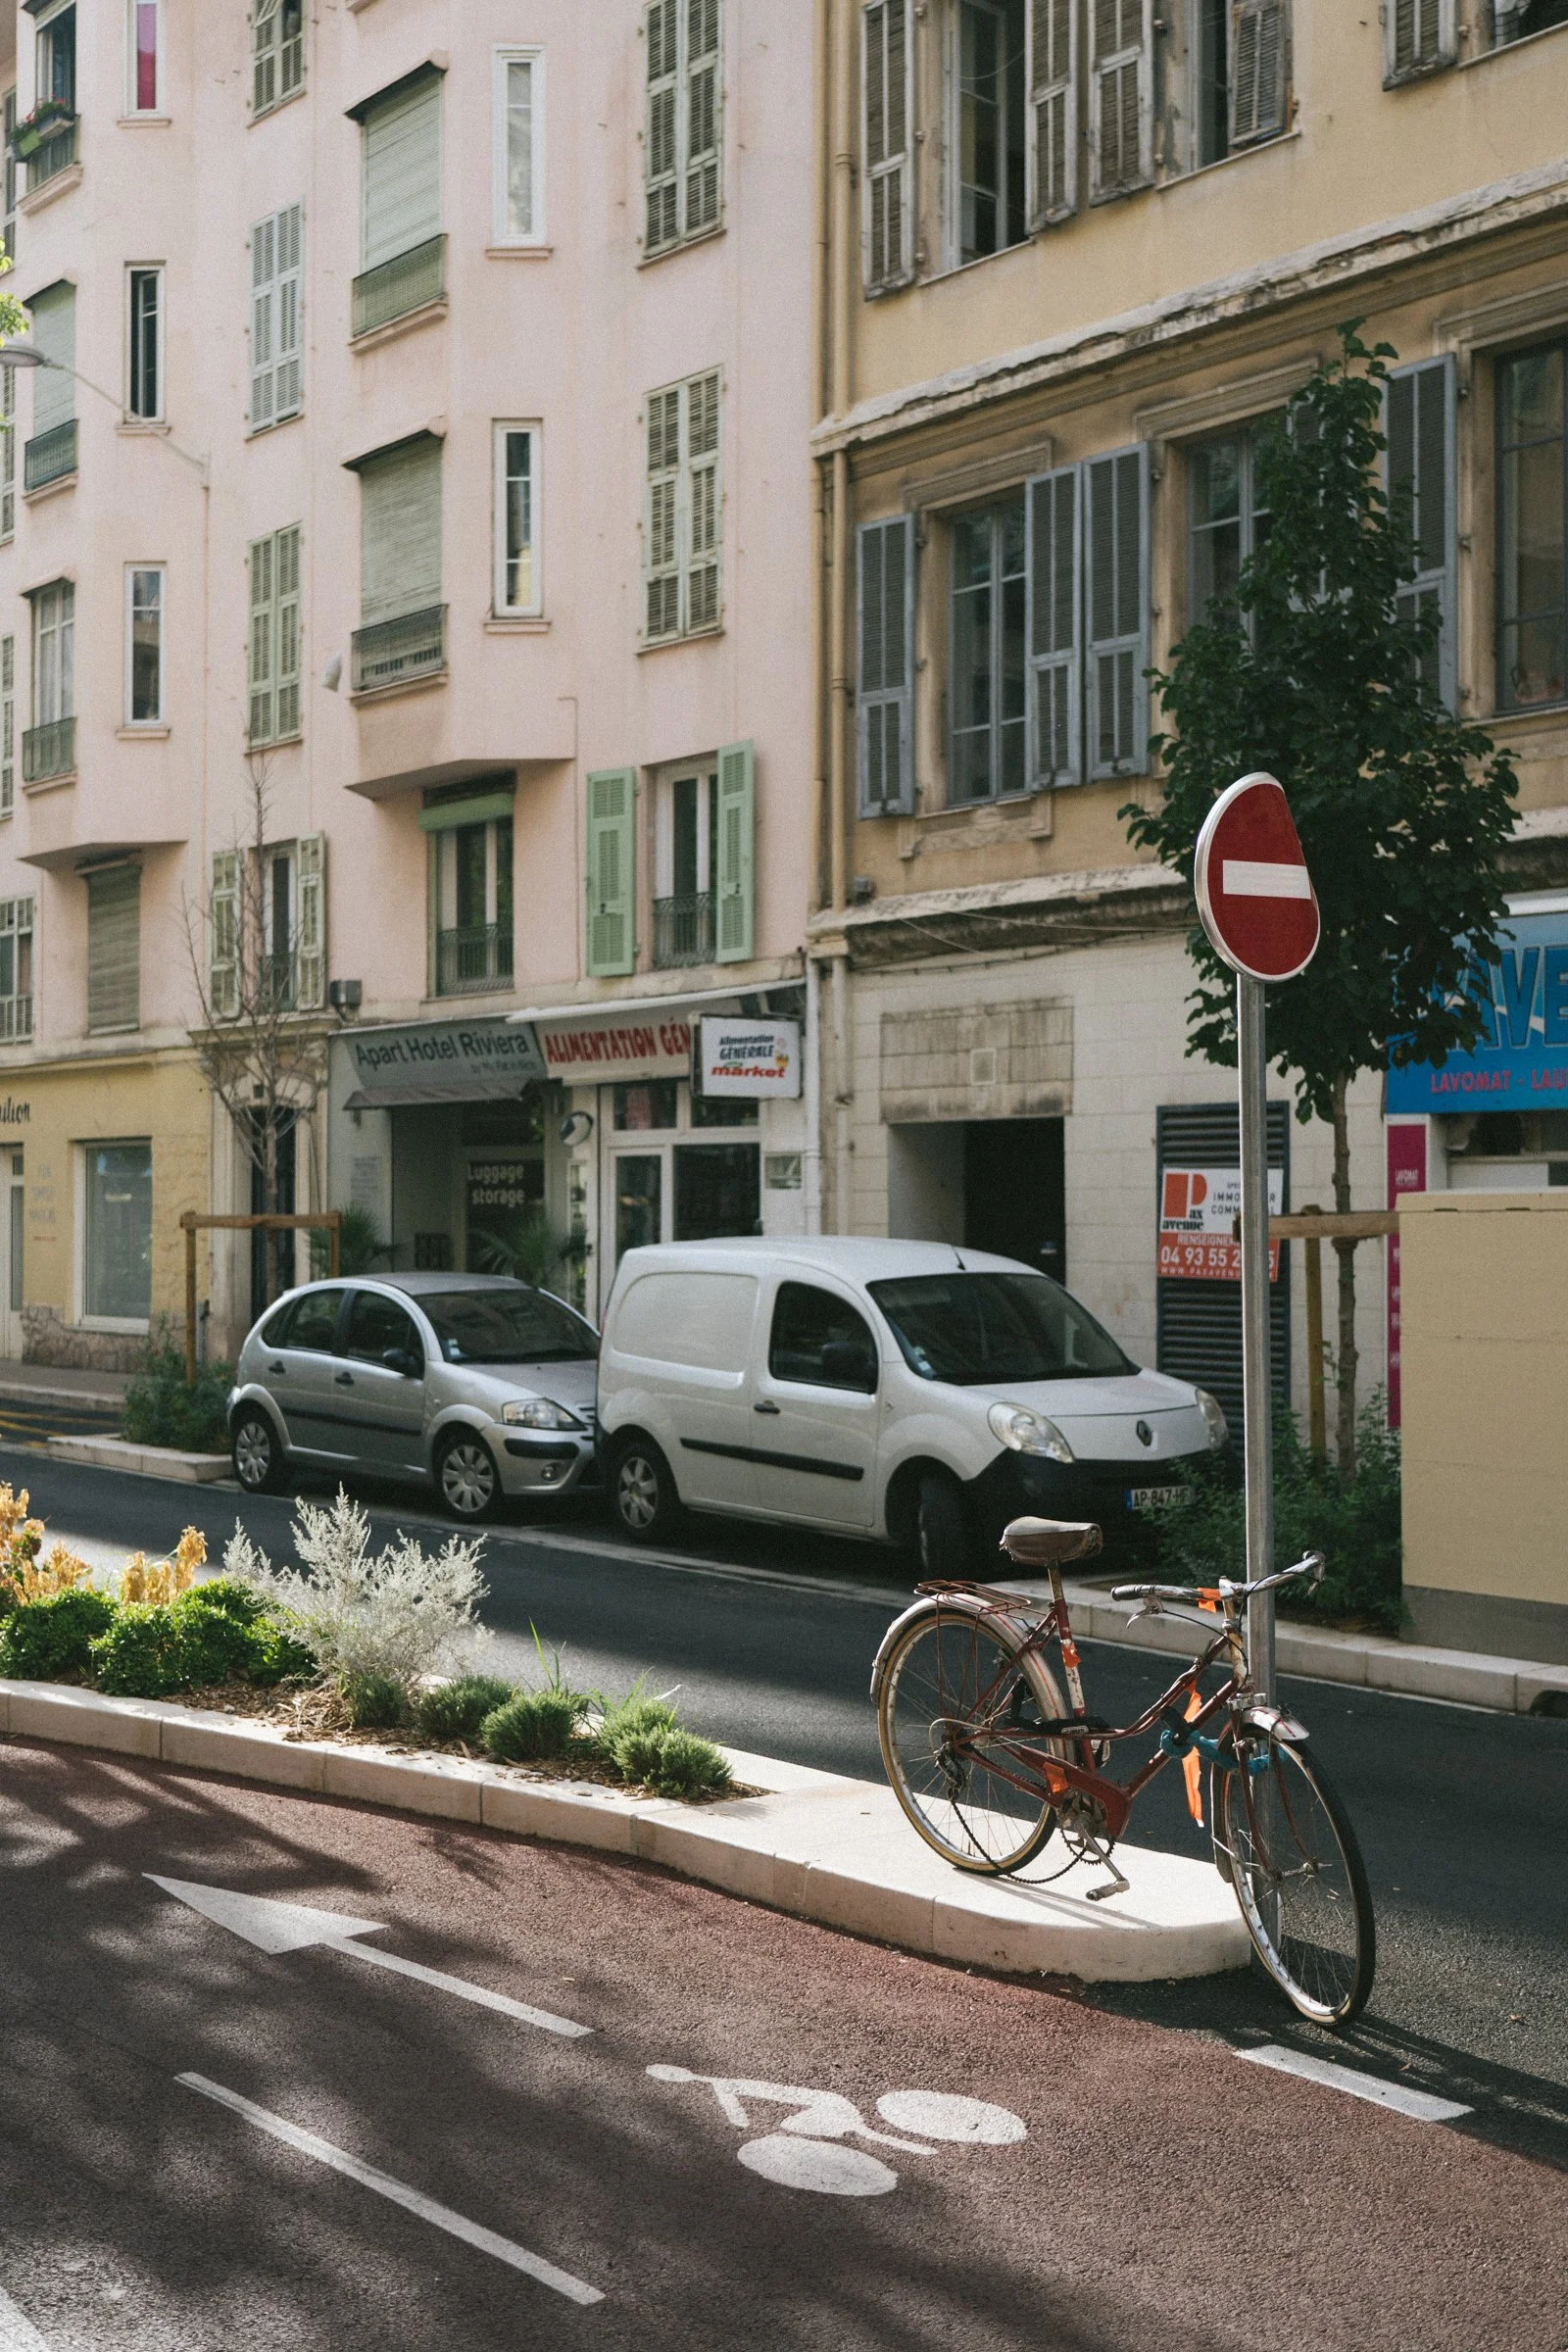
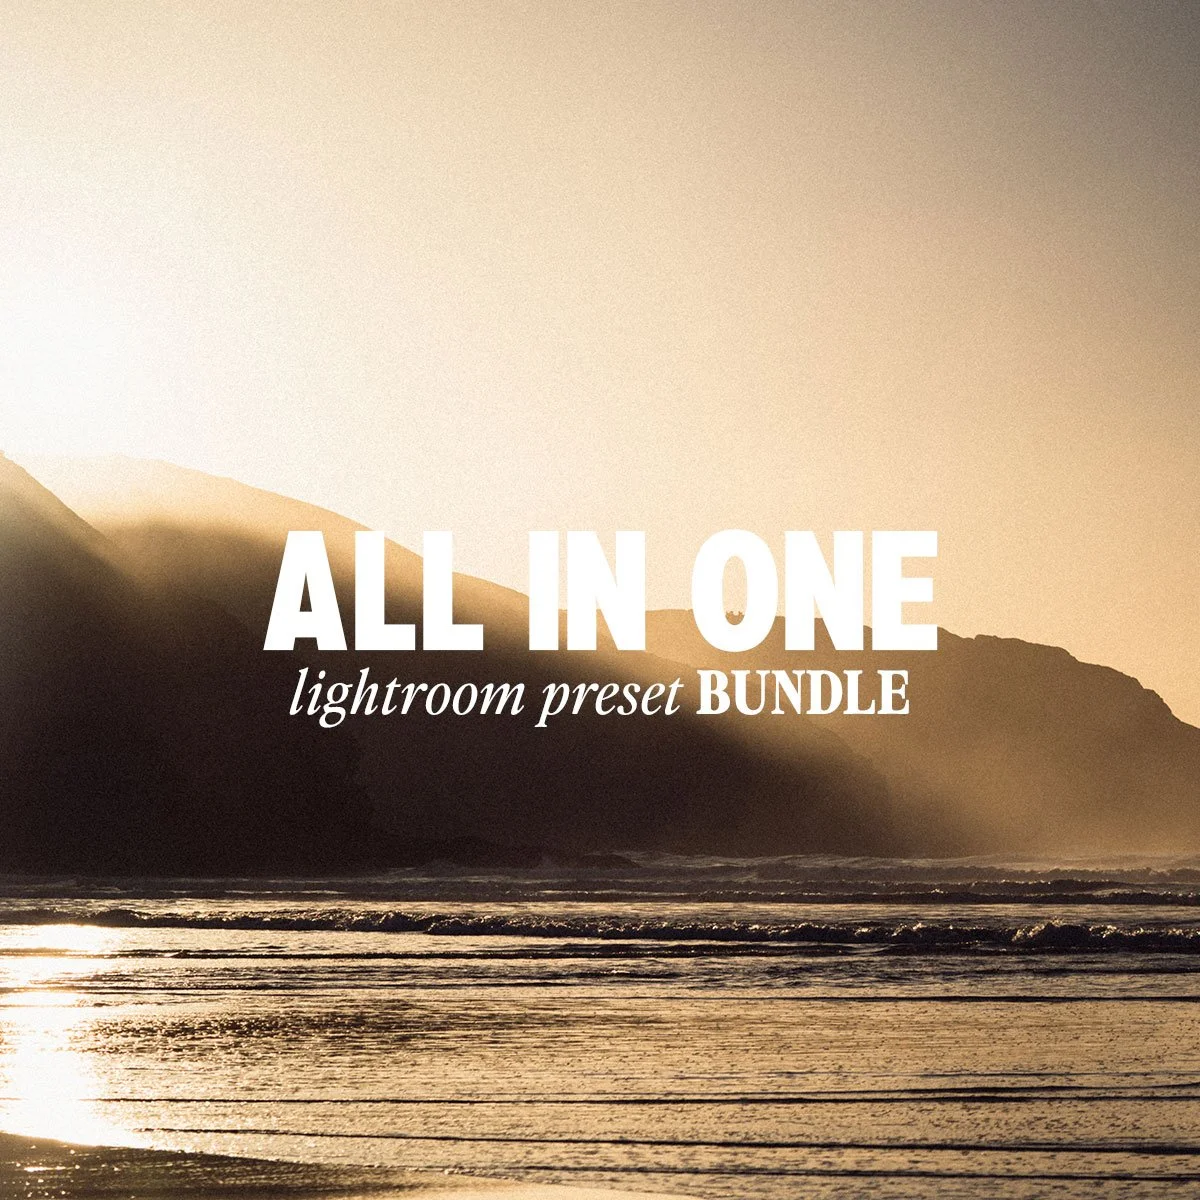
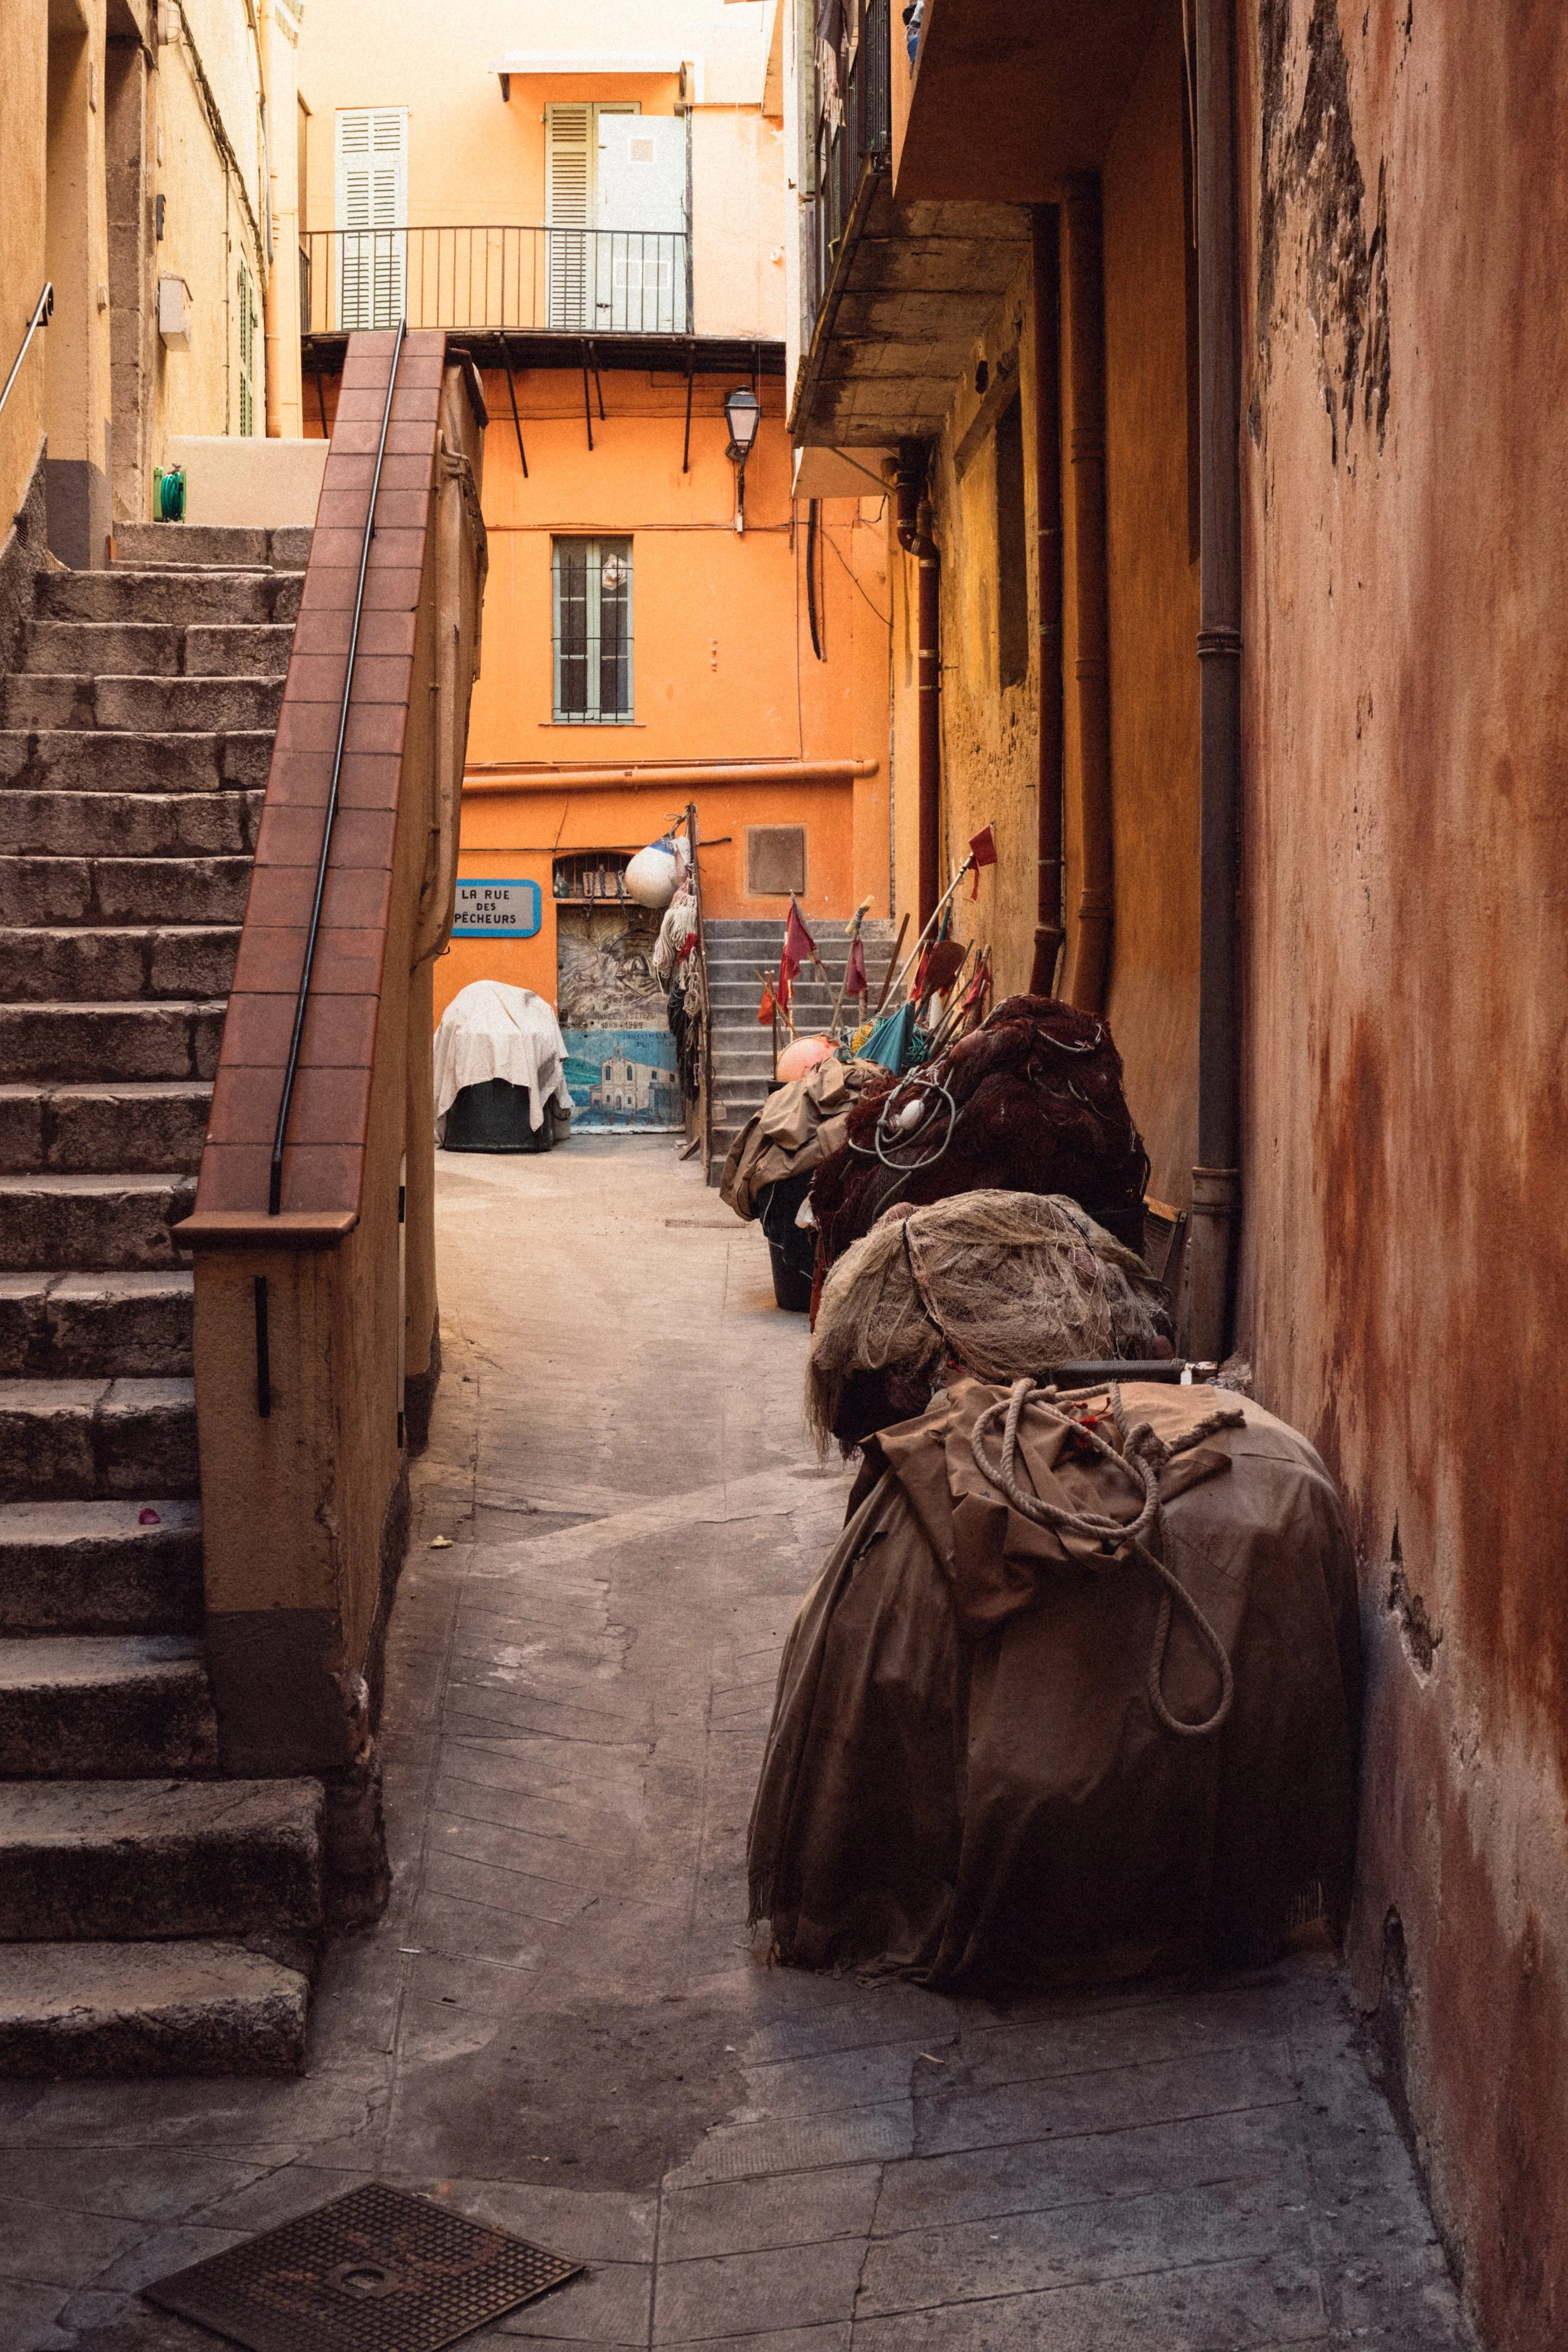
 Image 1 of 5
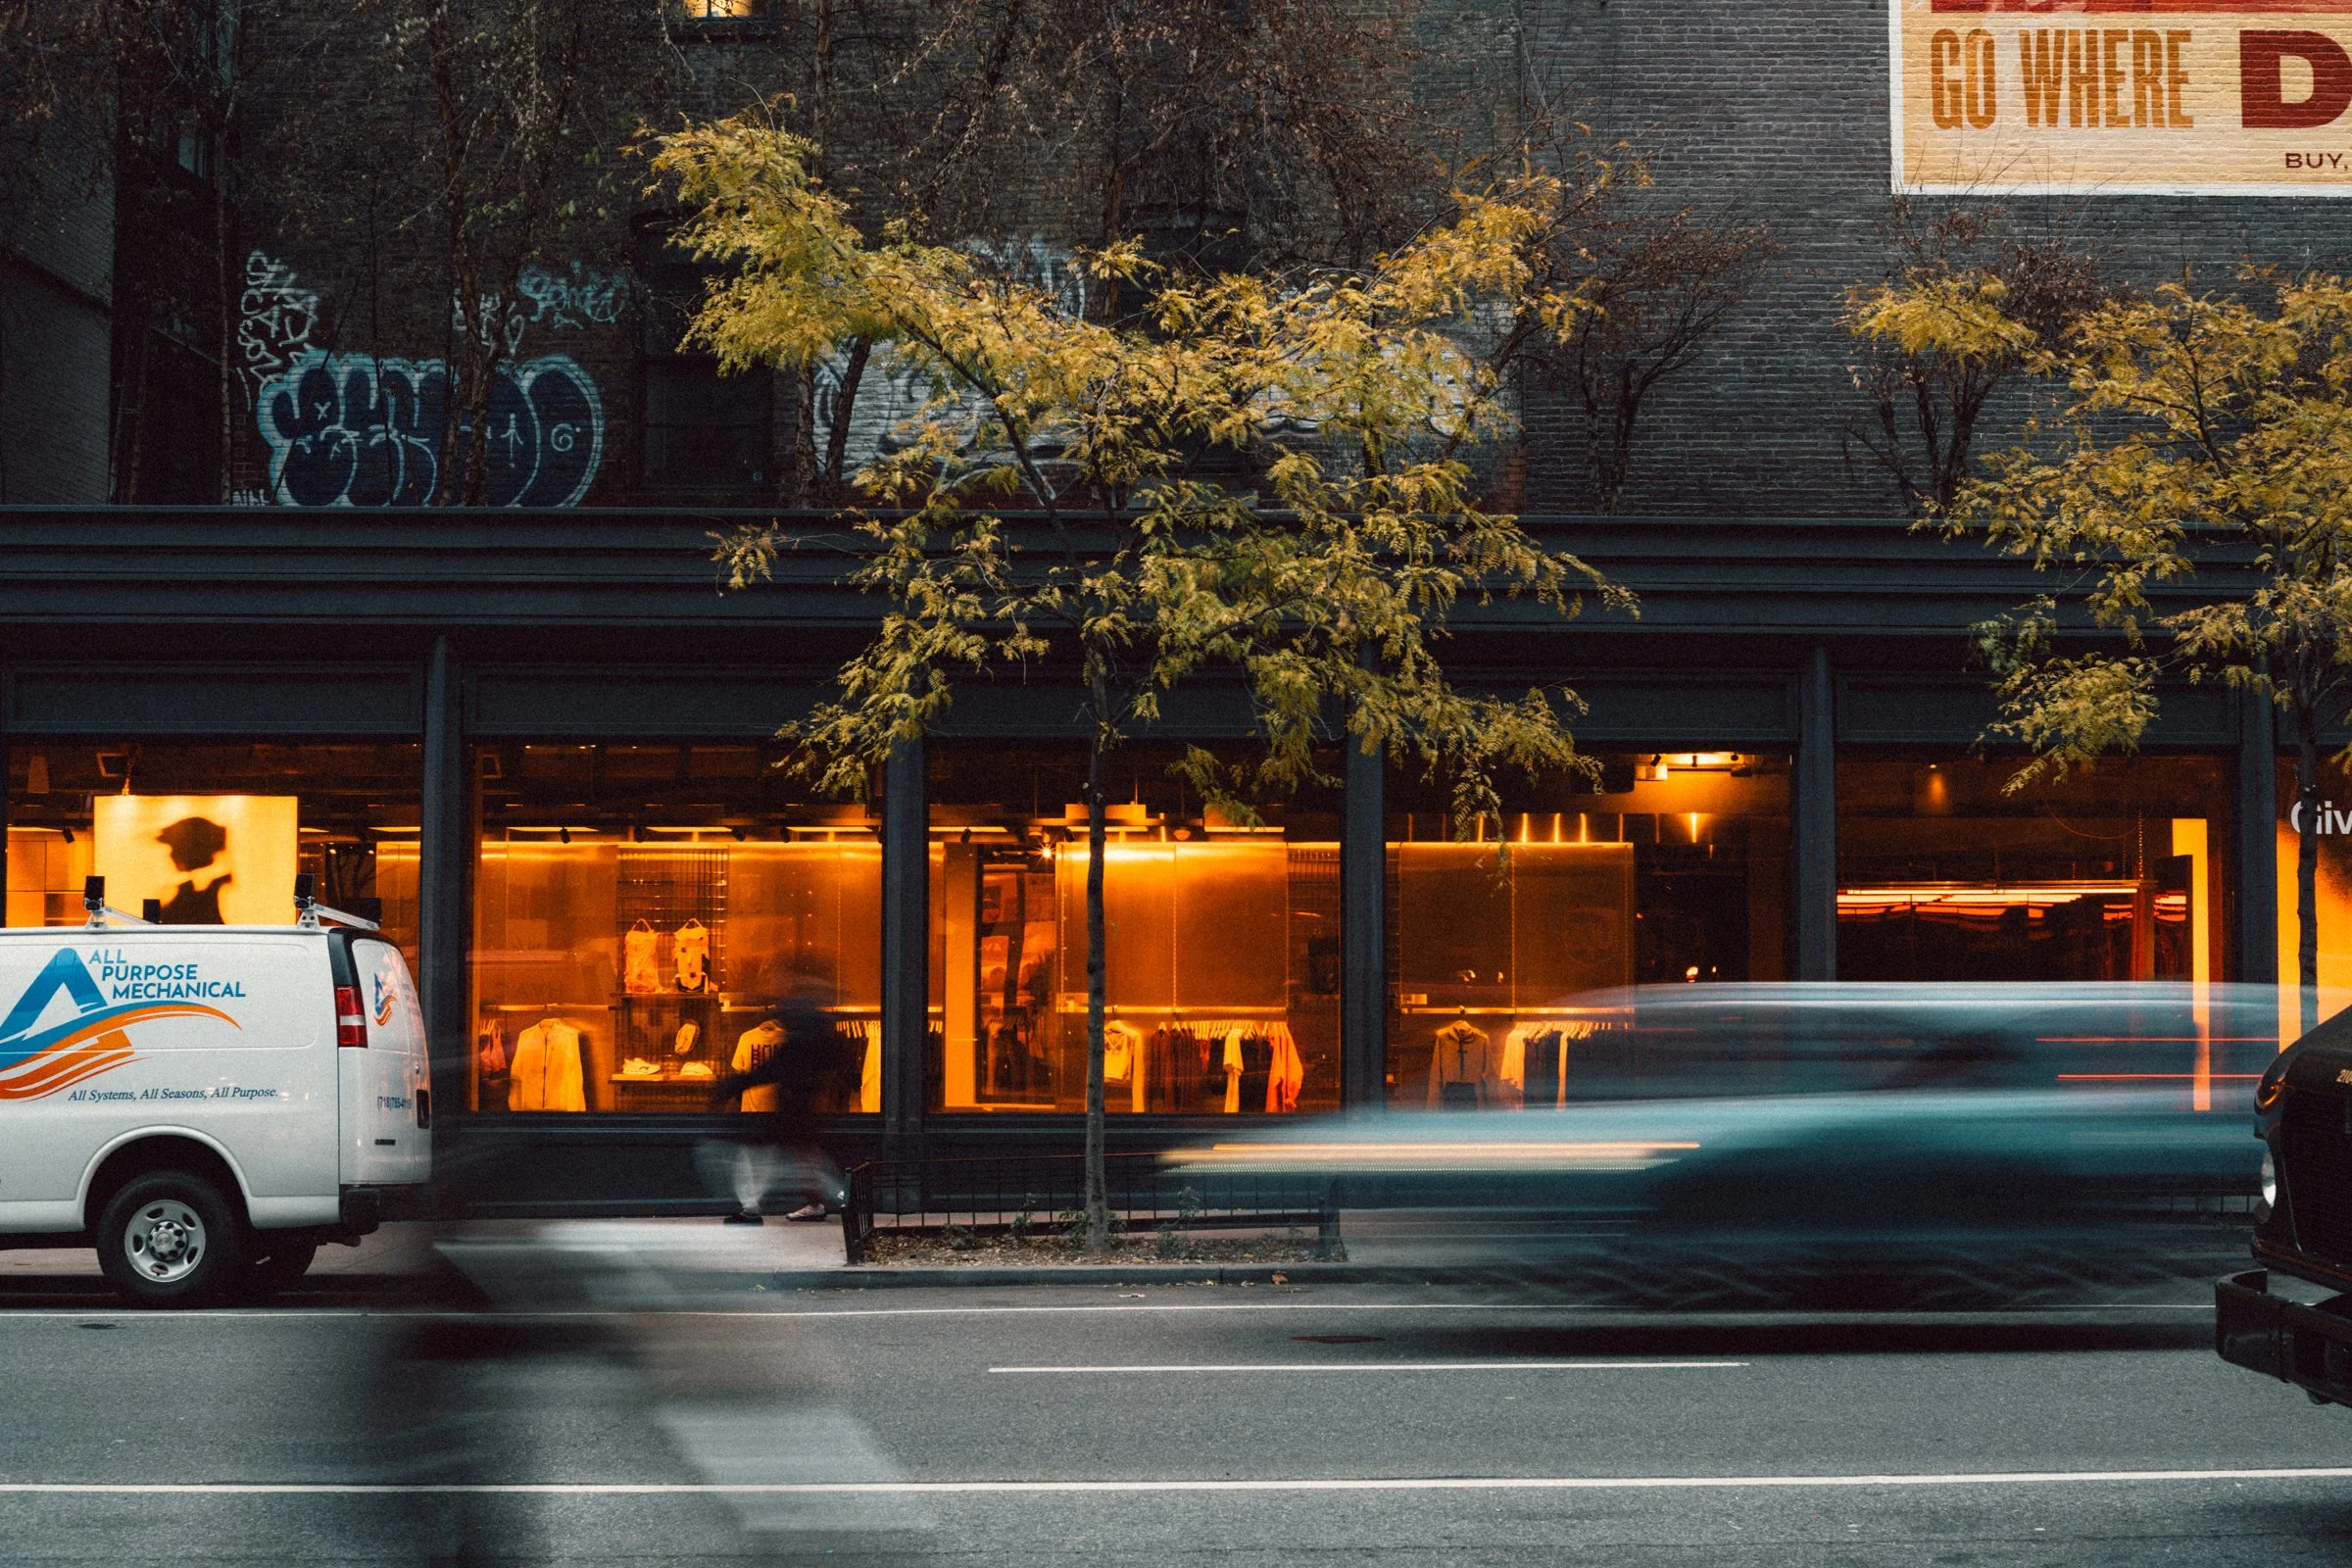
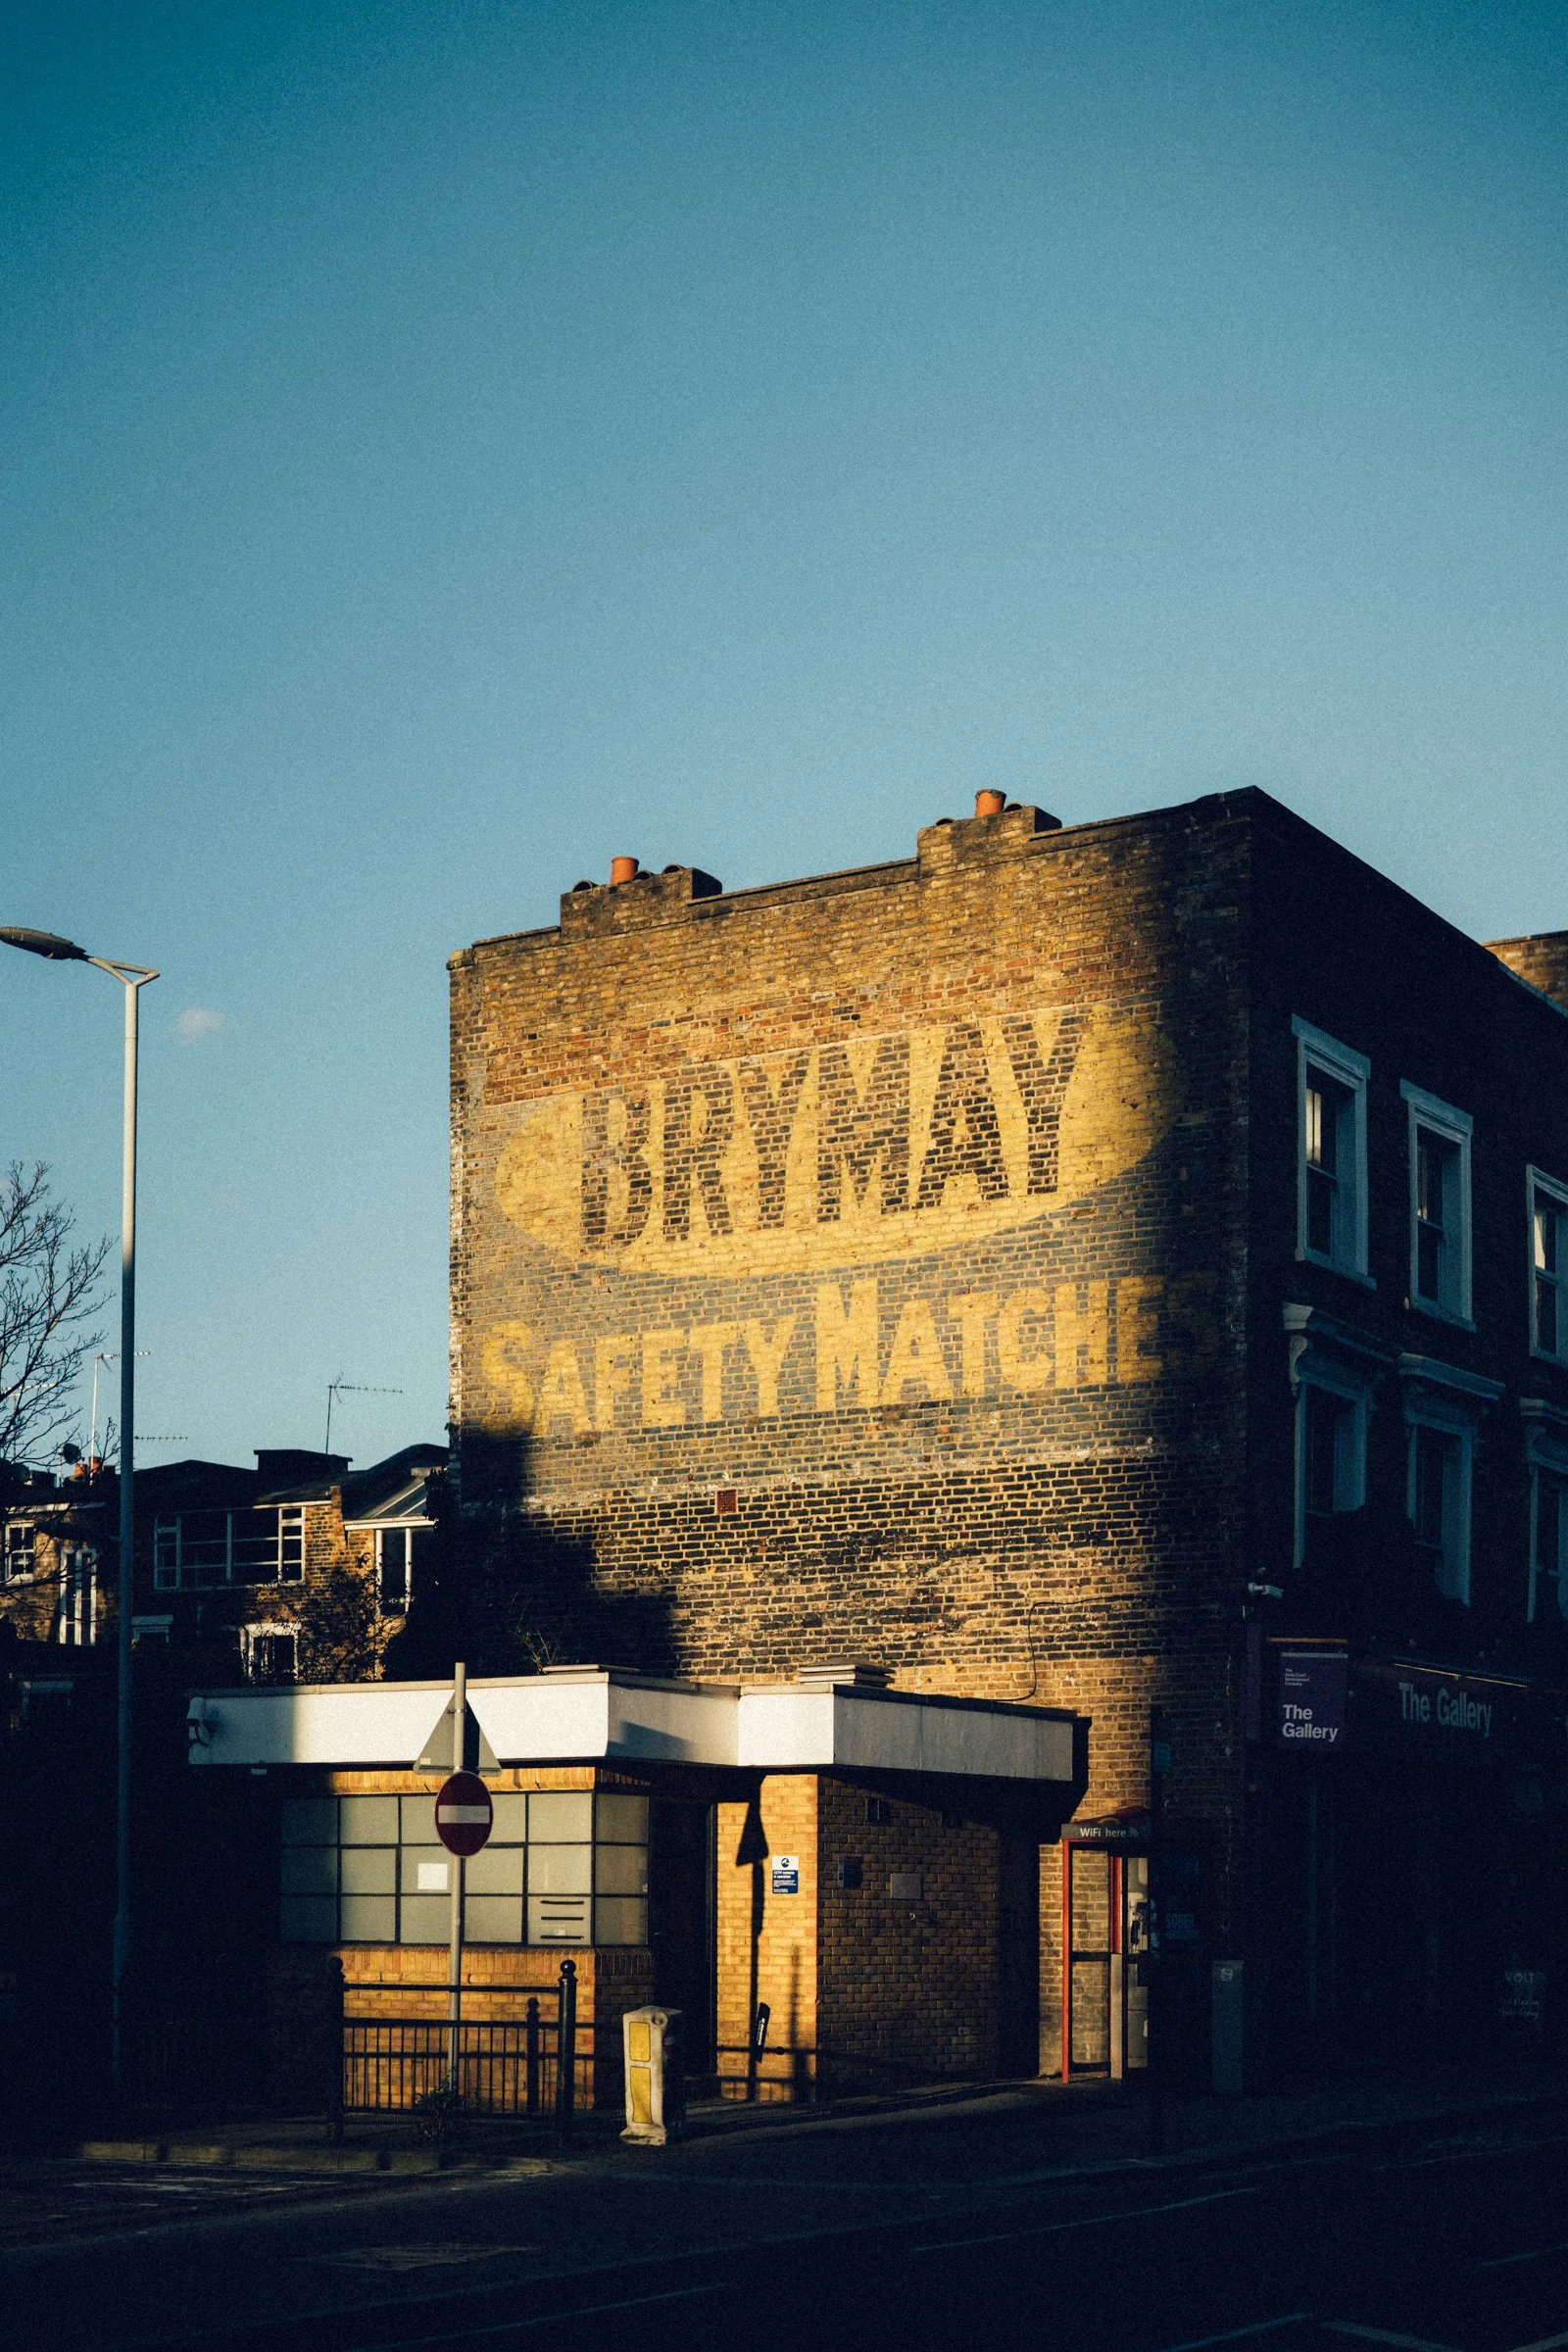
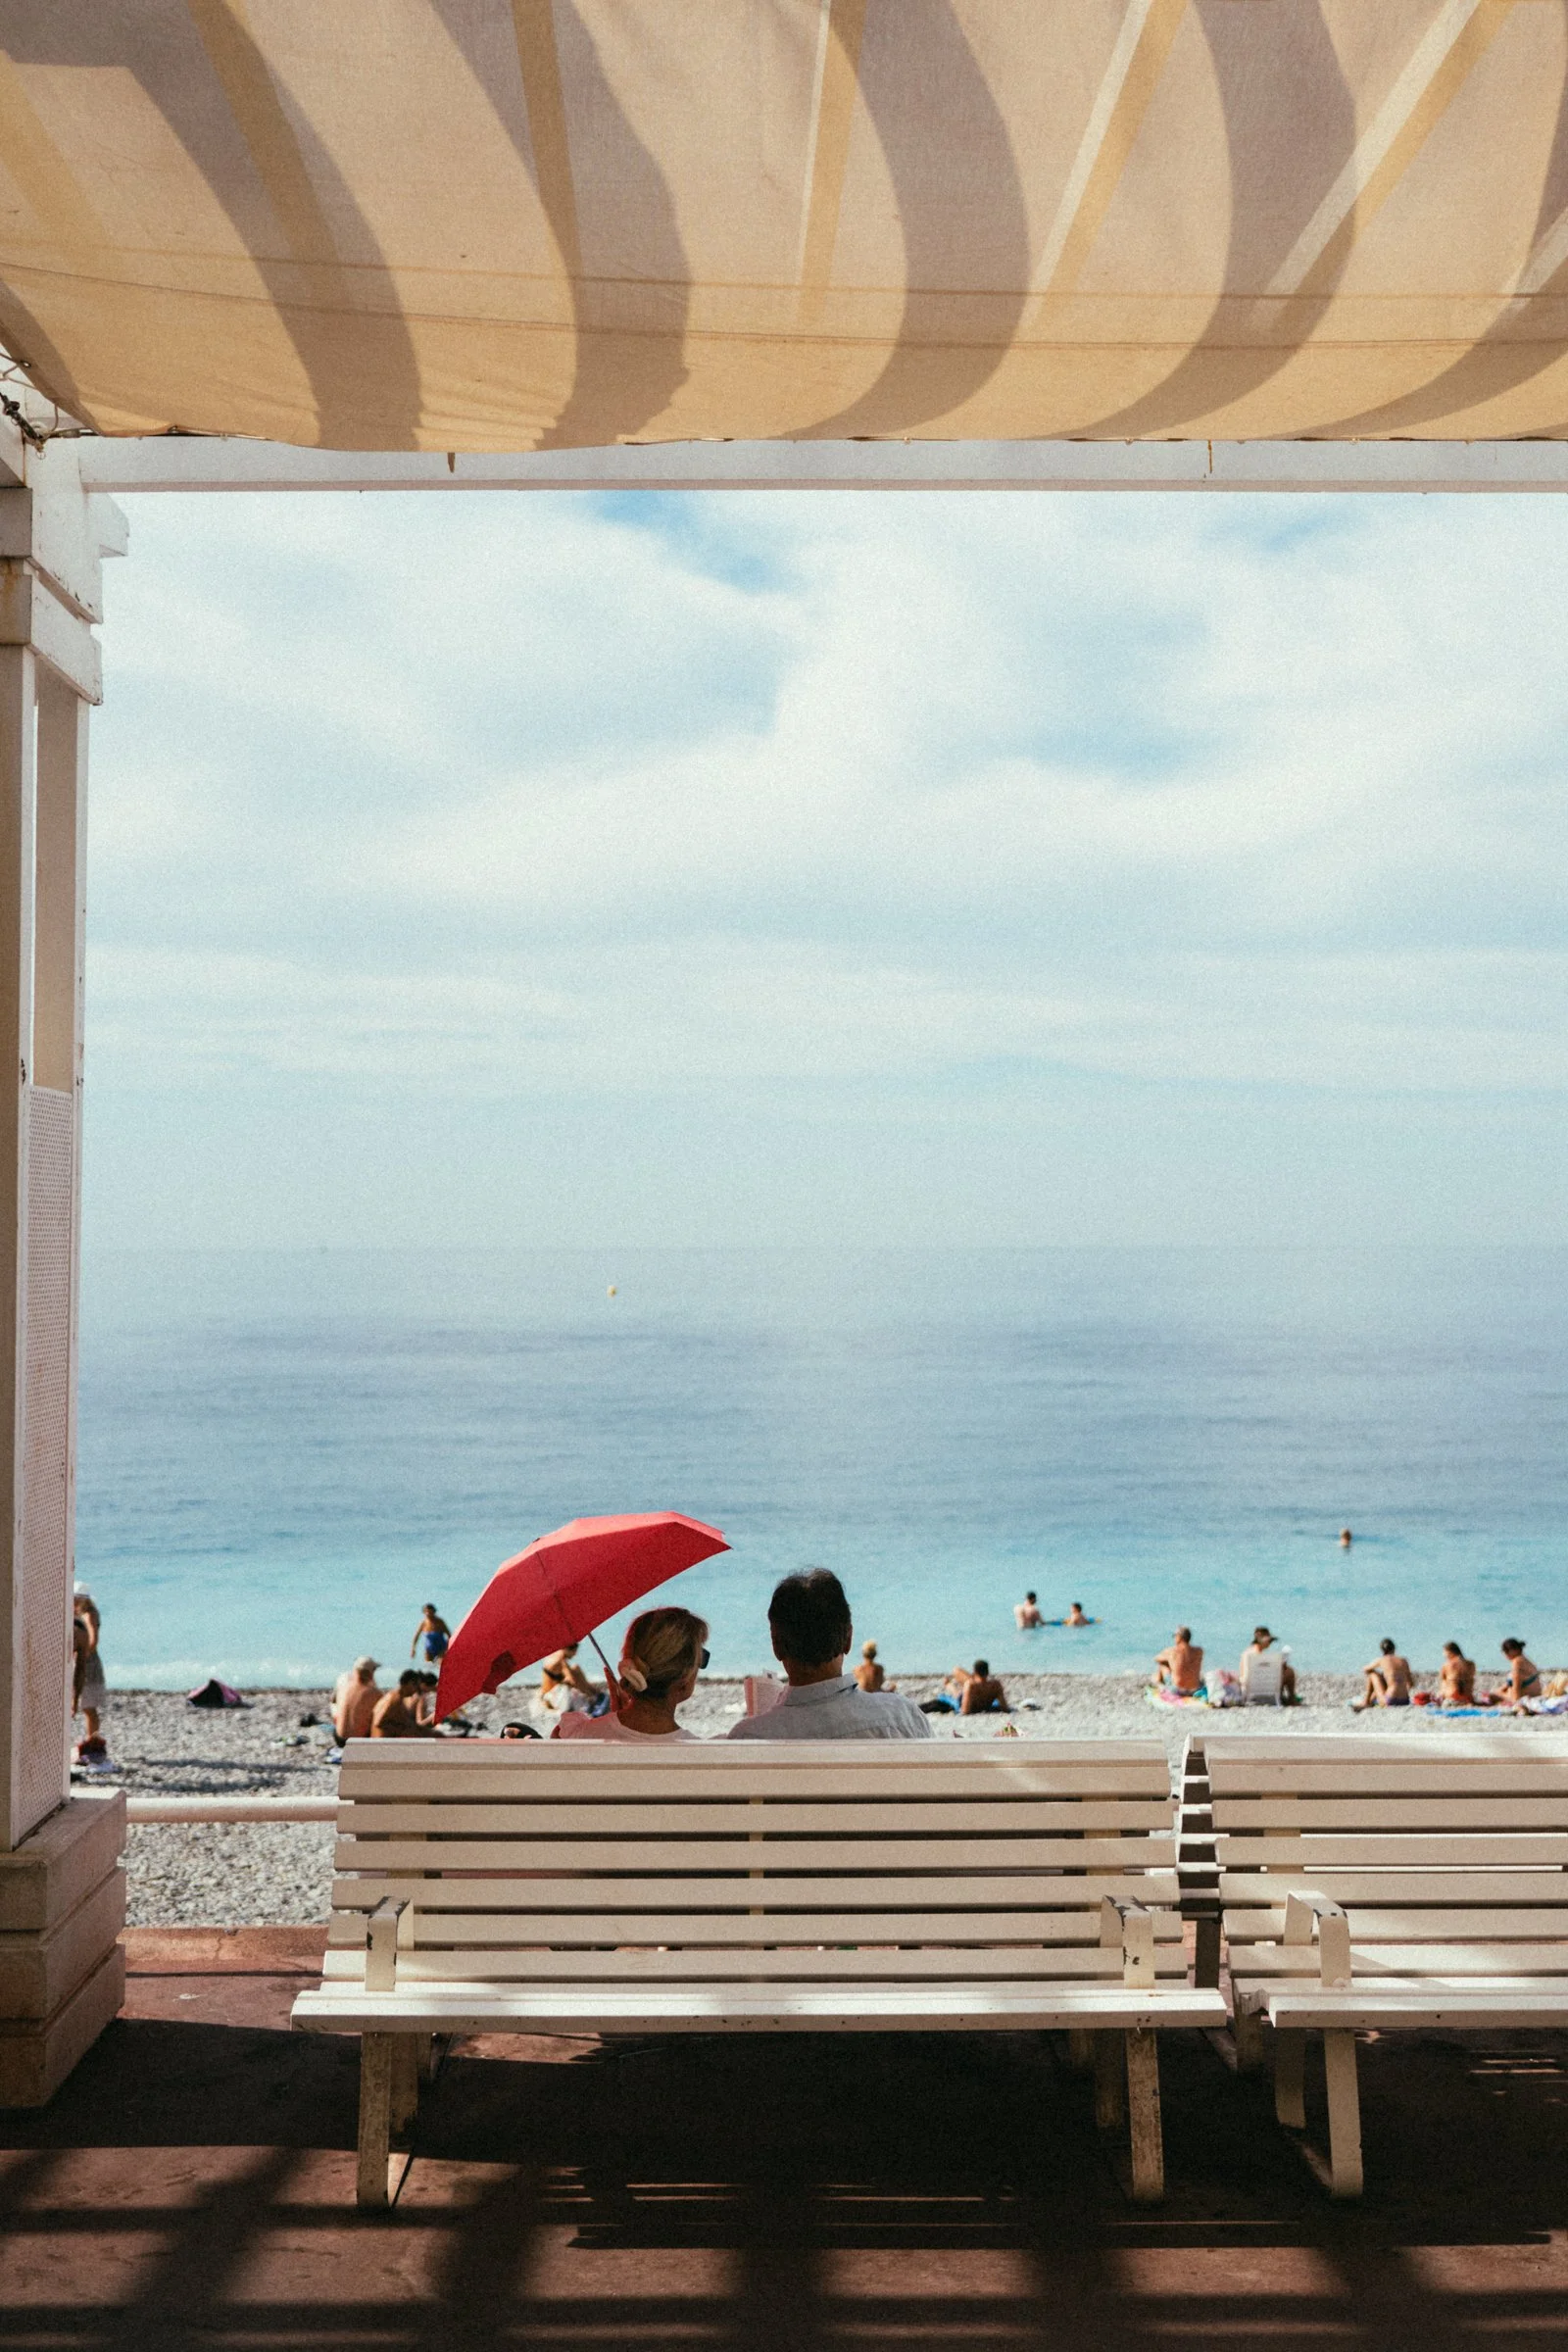
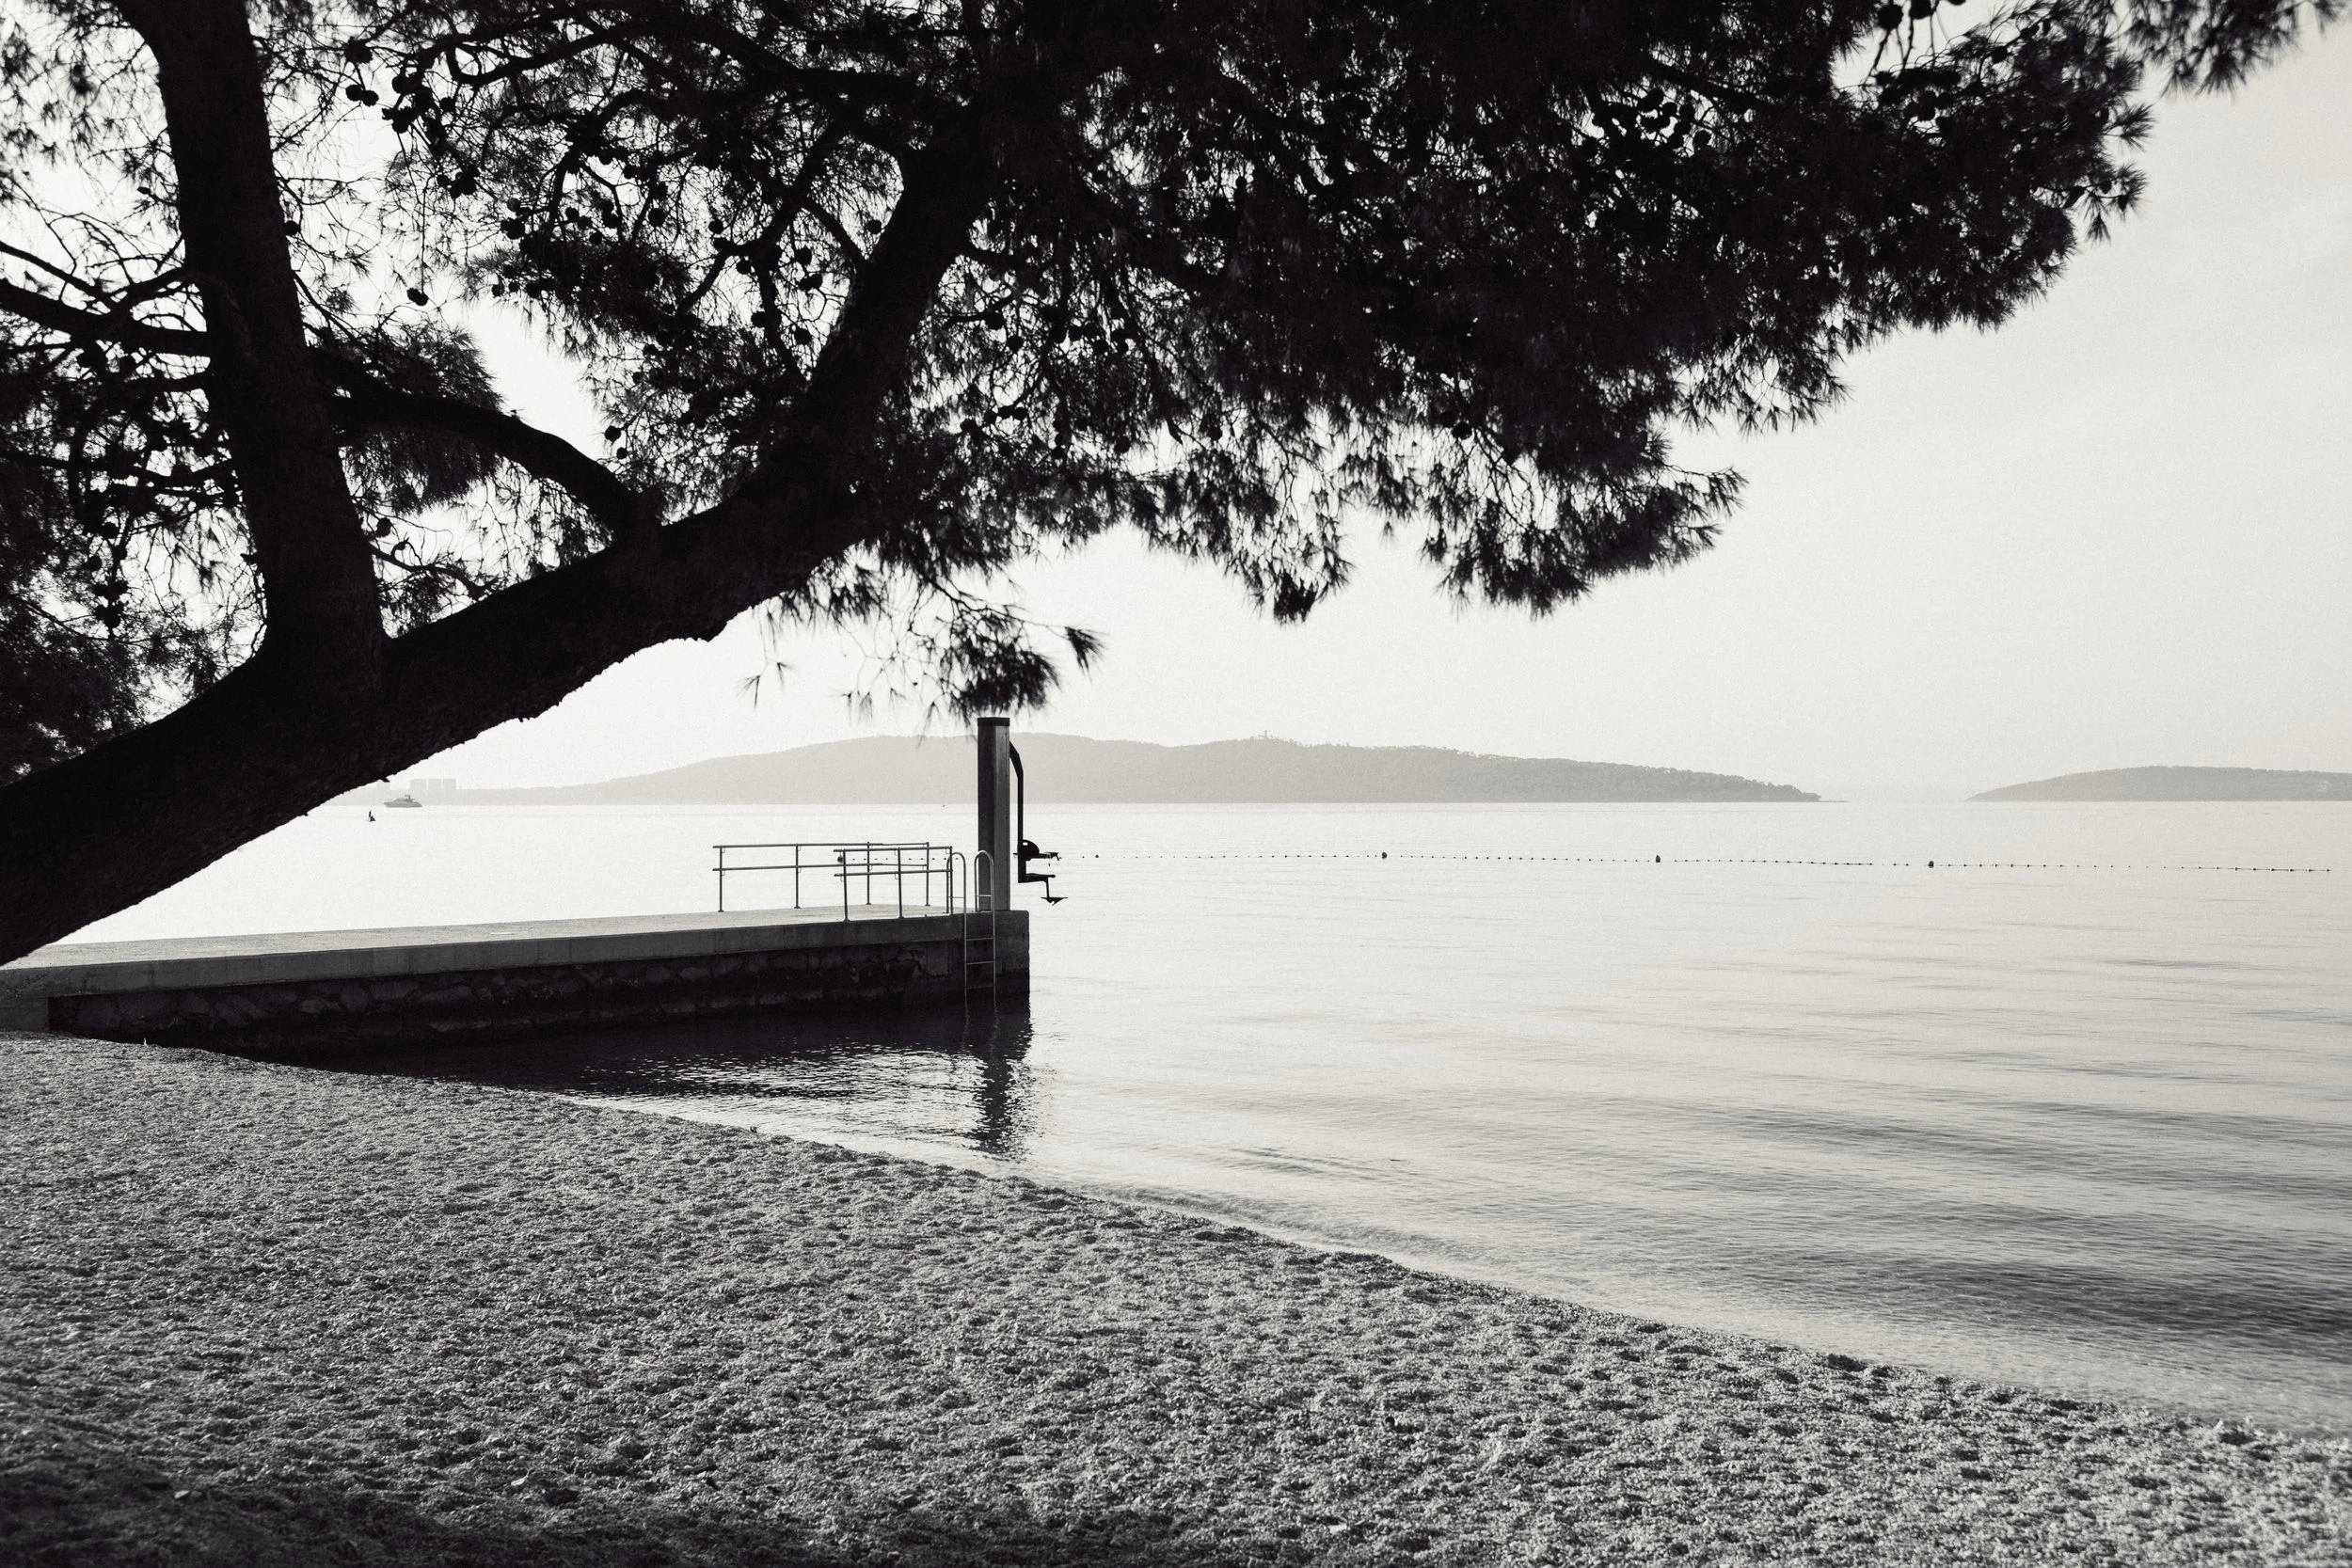
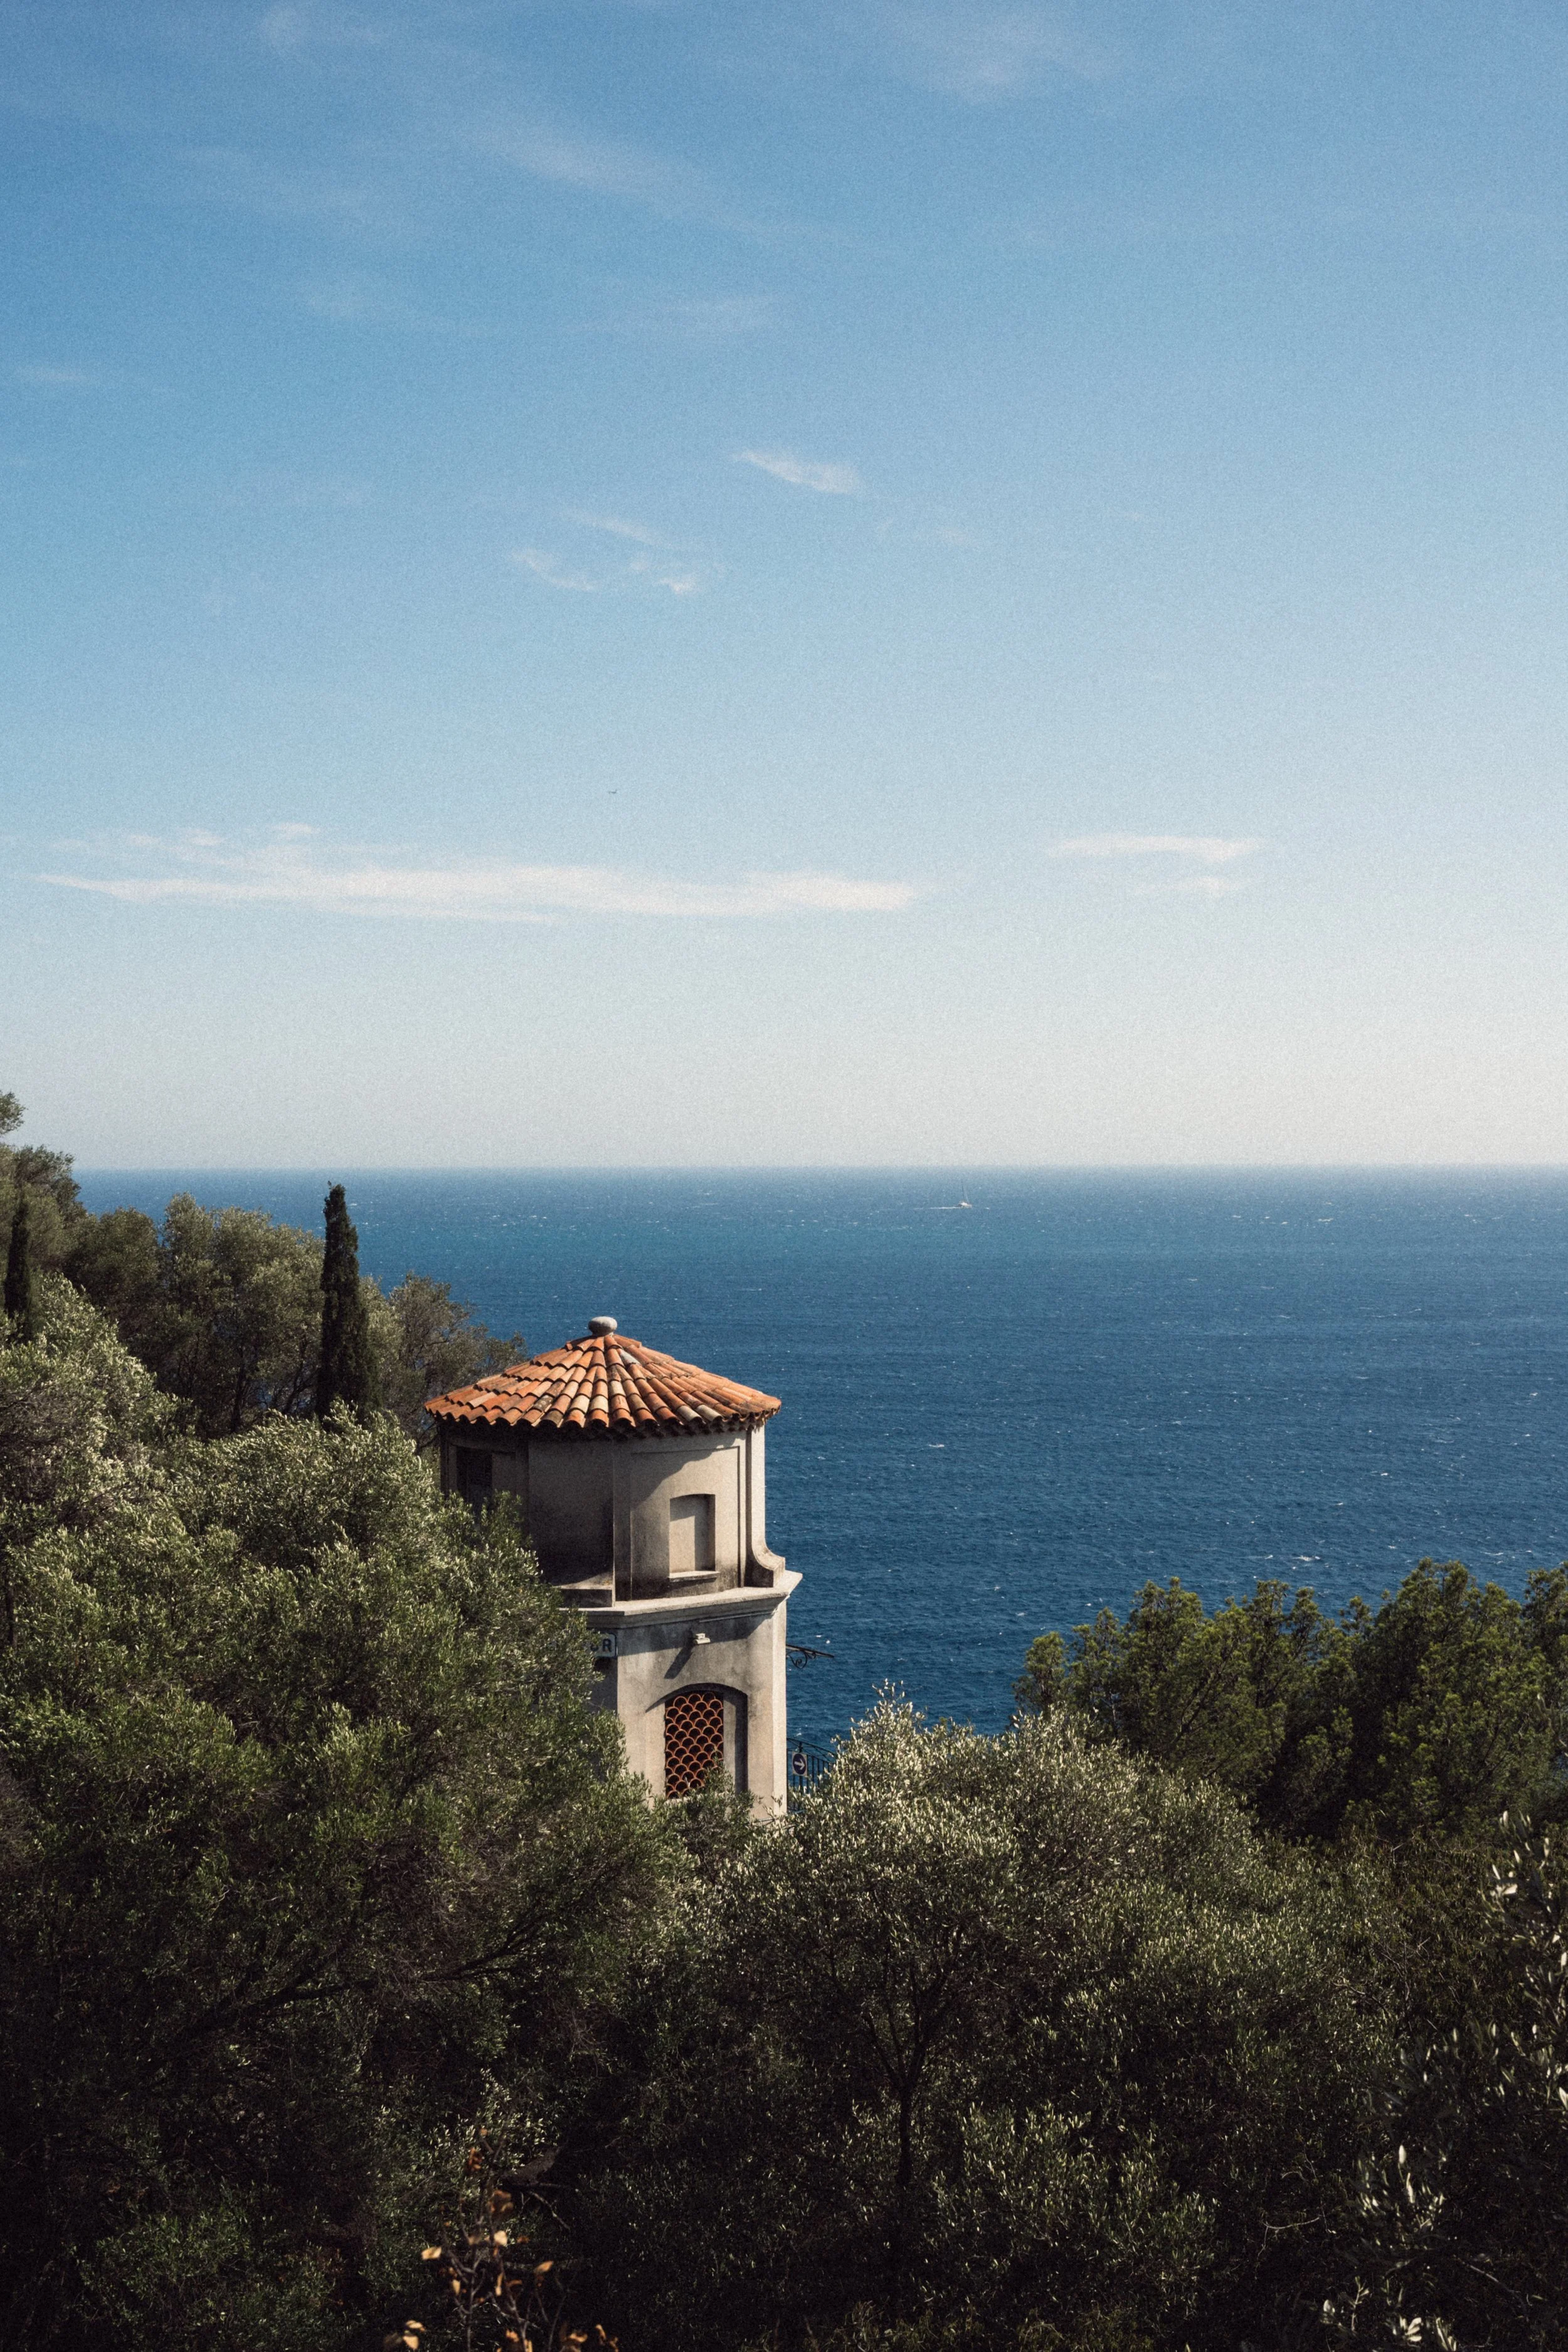
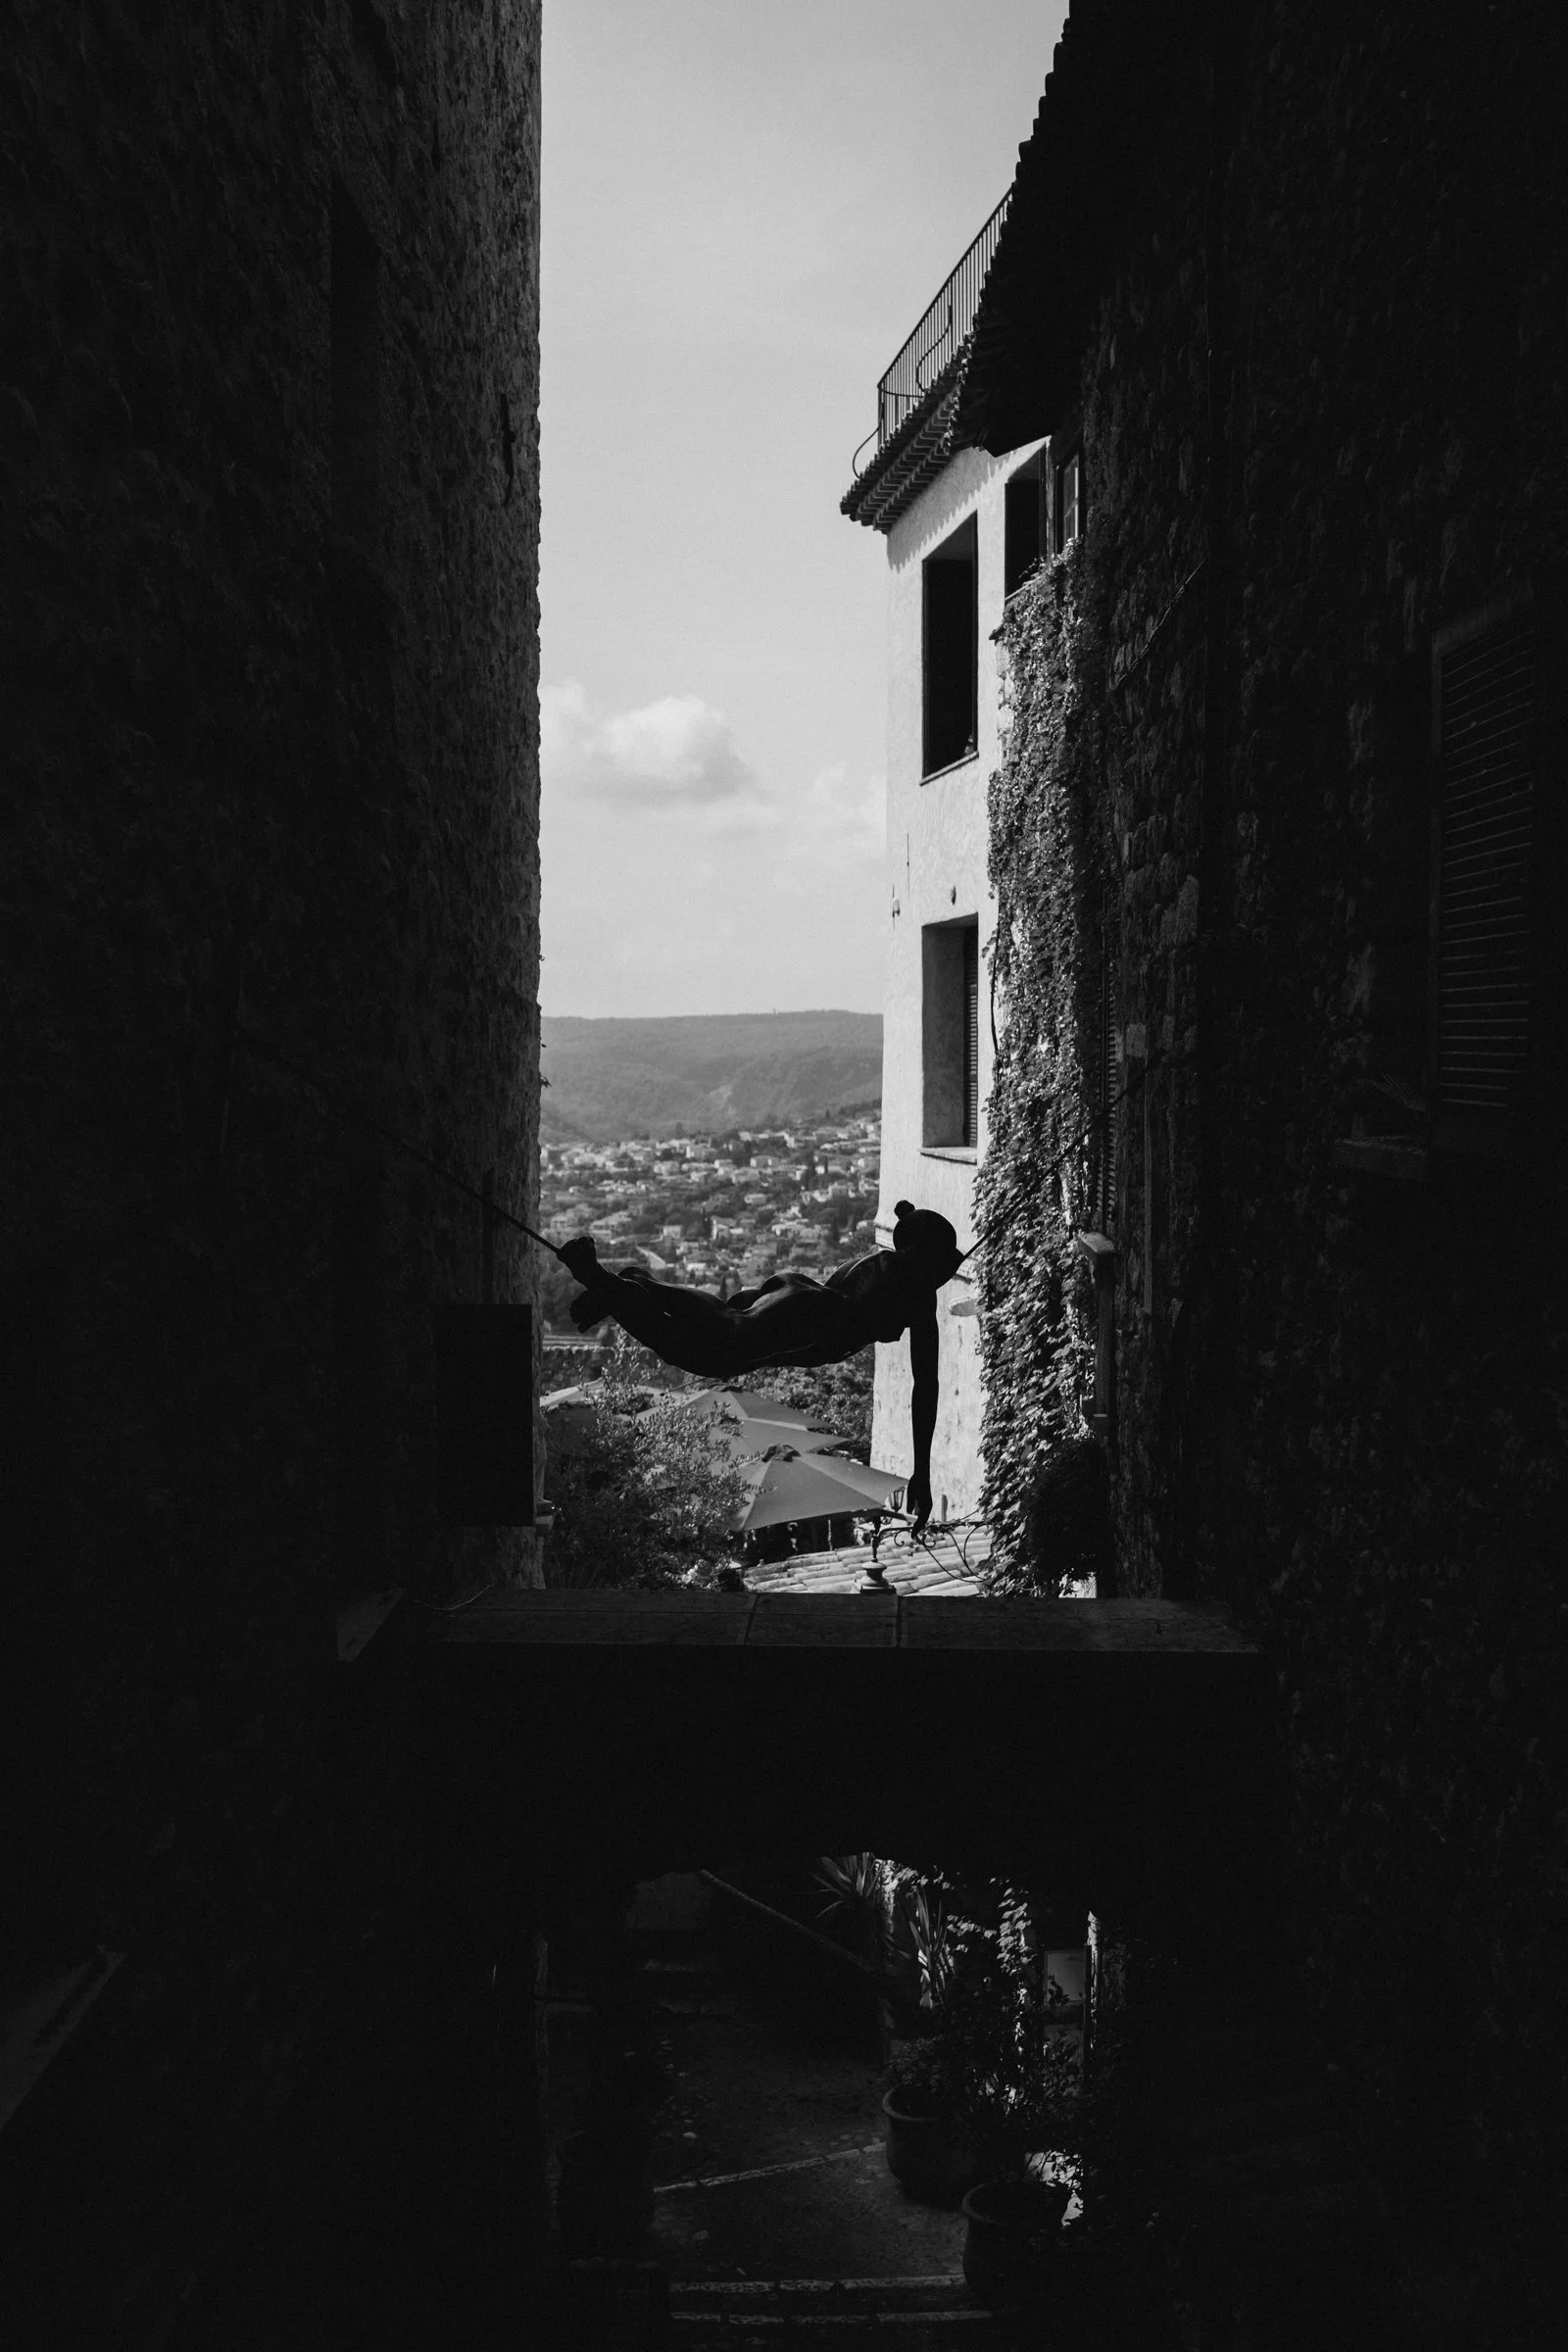 Image 2 of 5
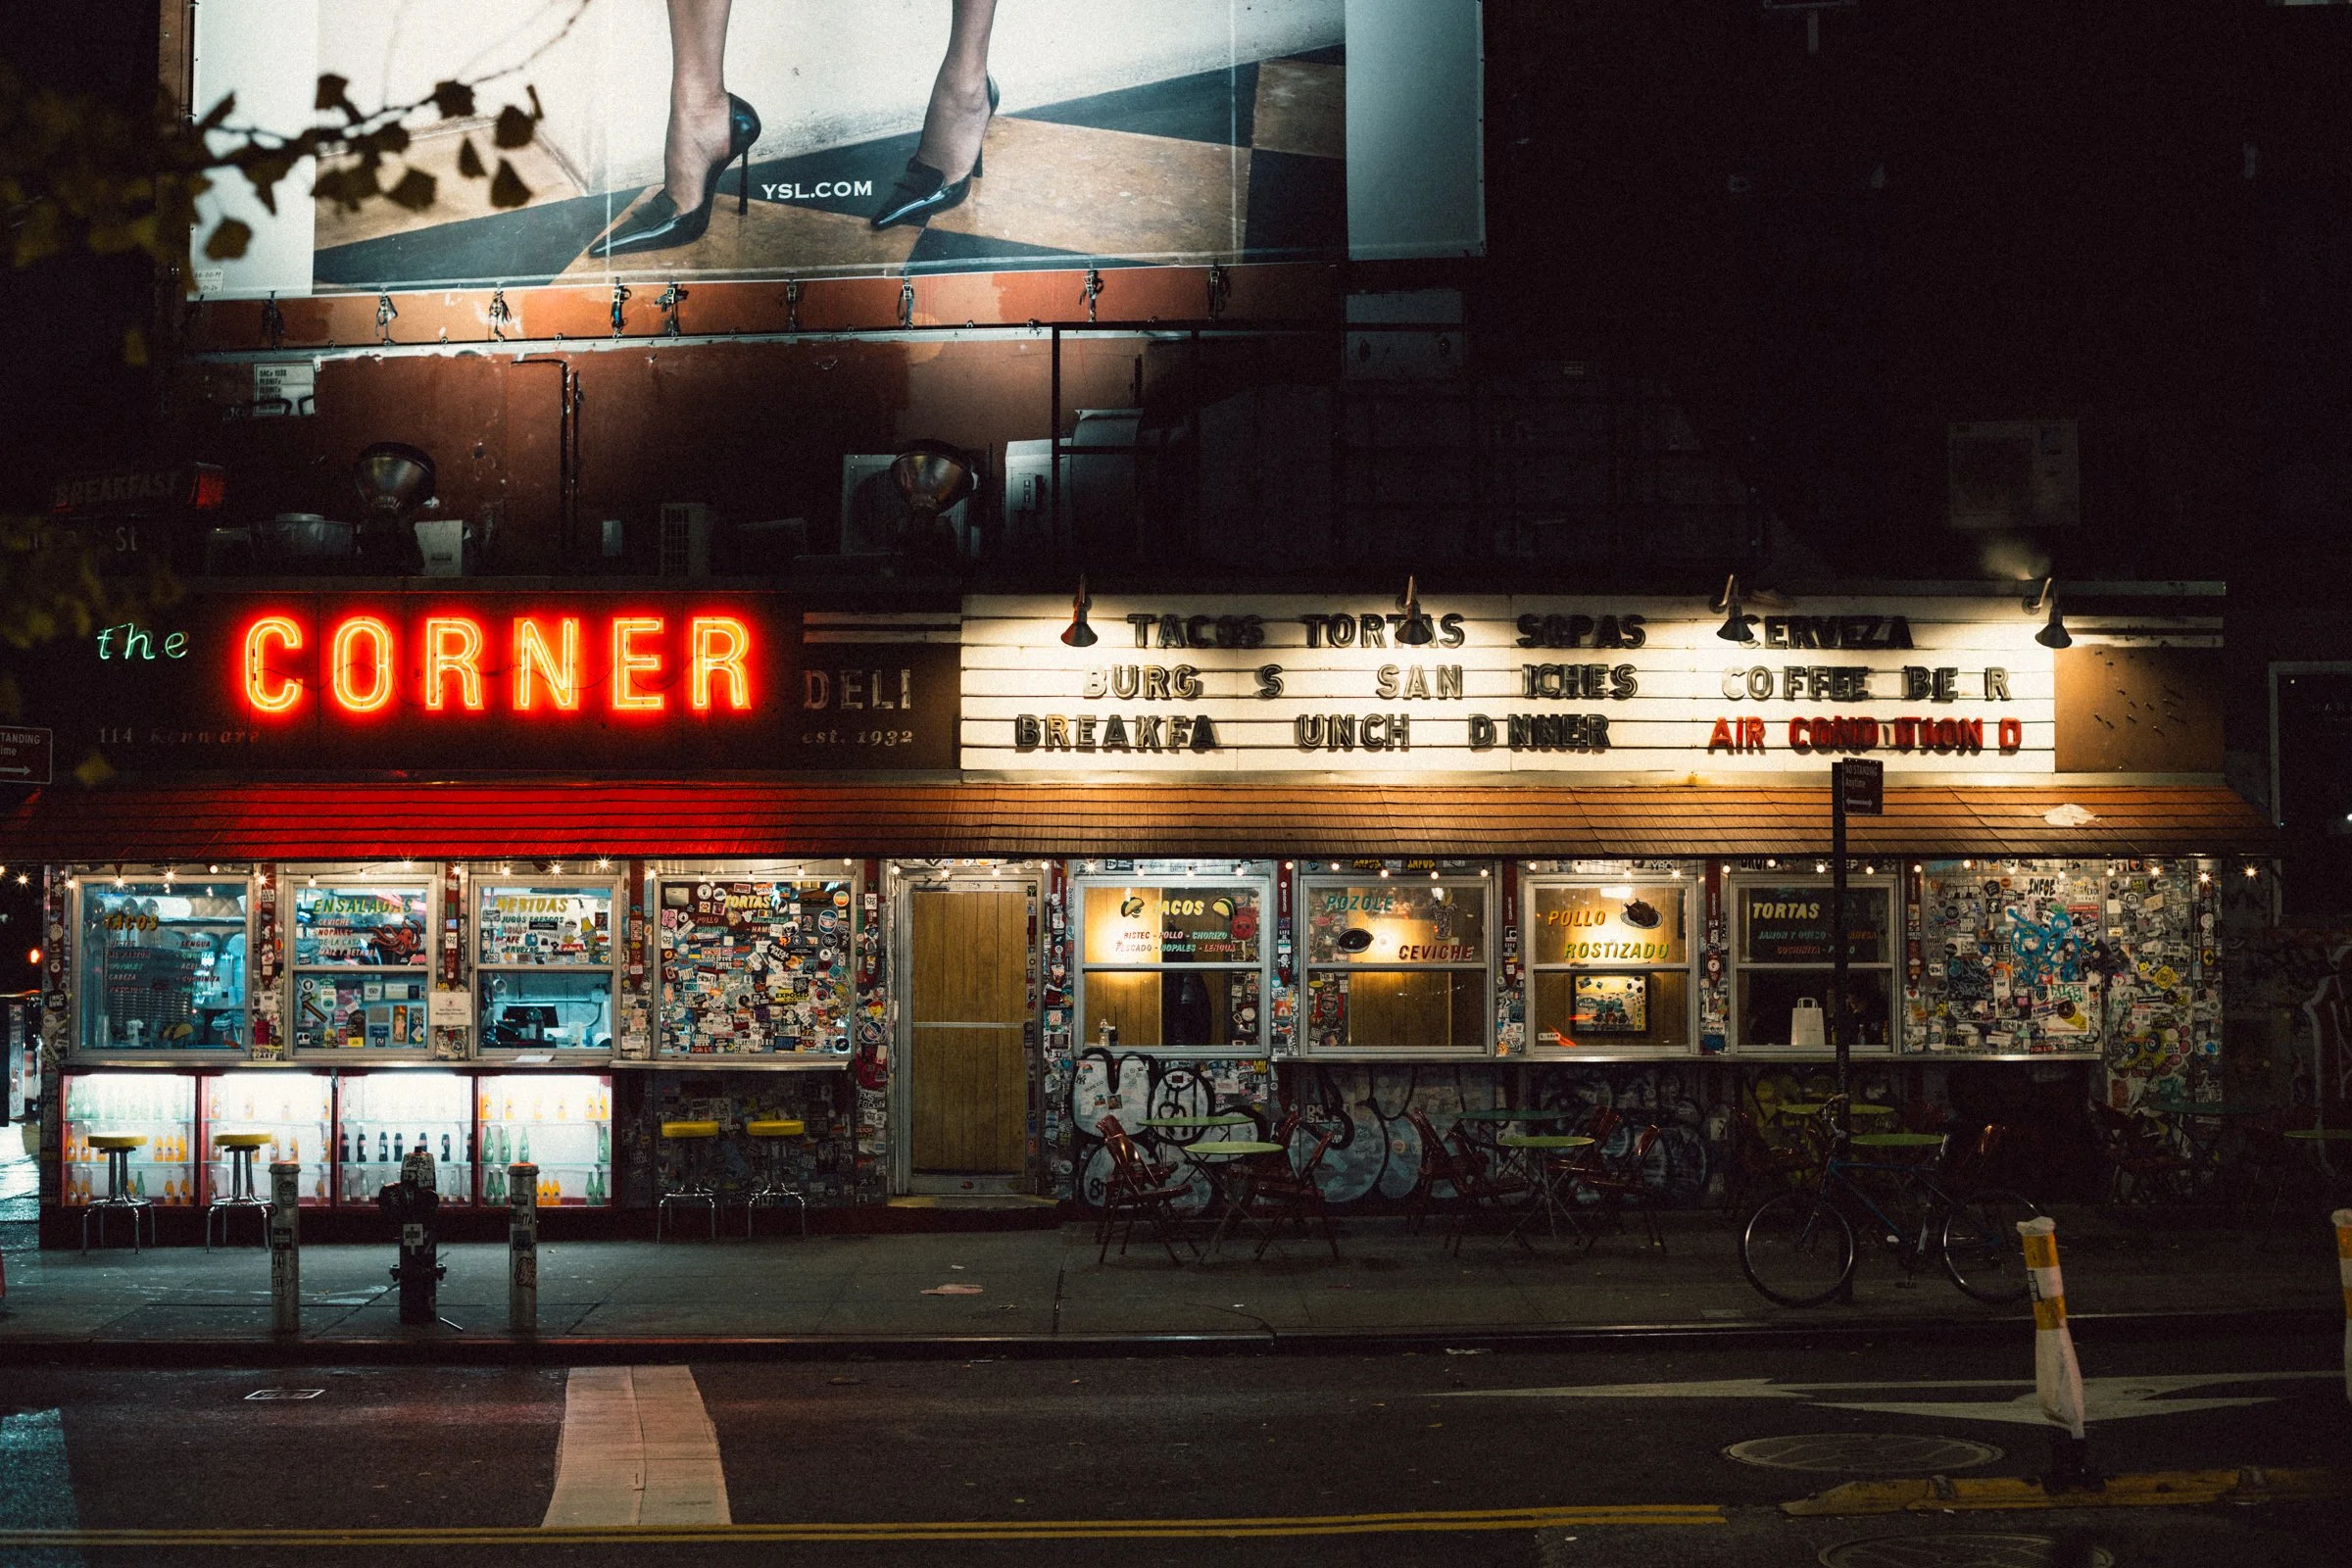
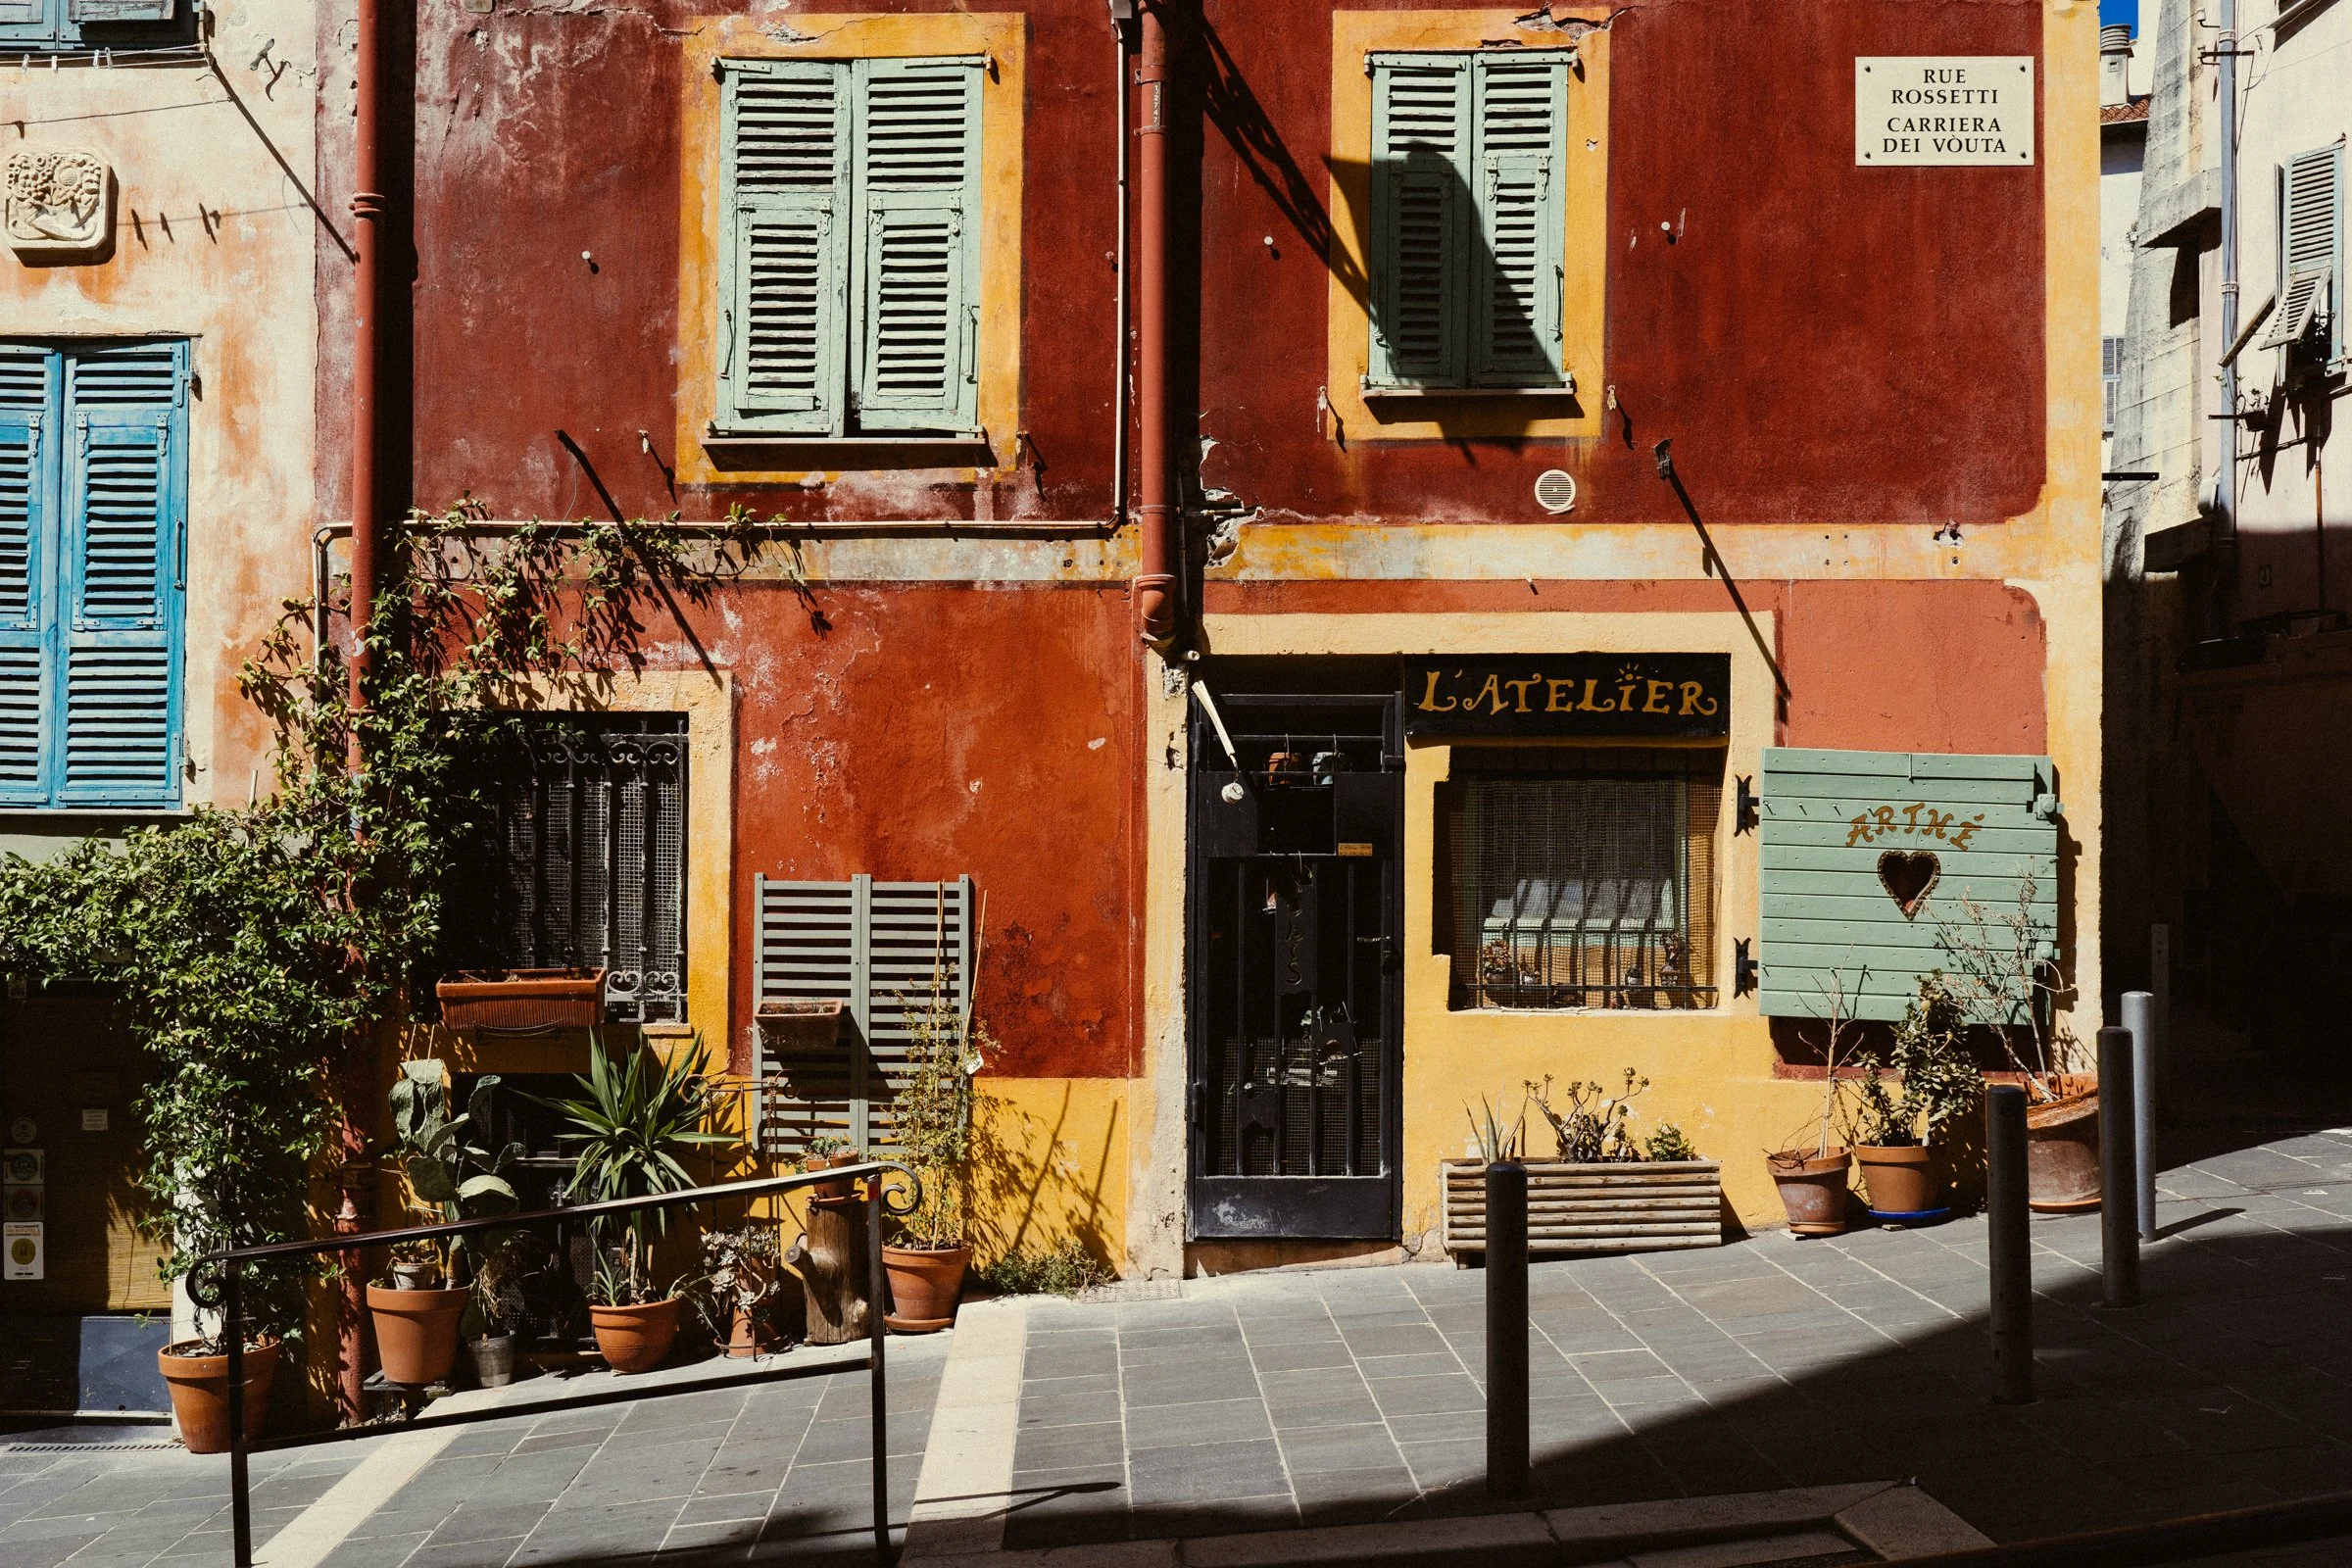
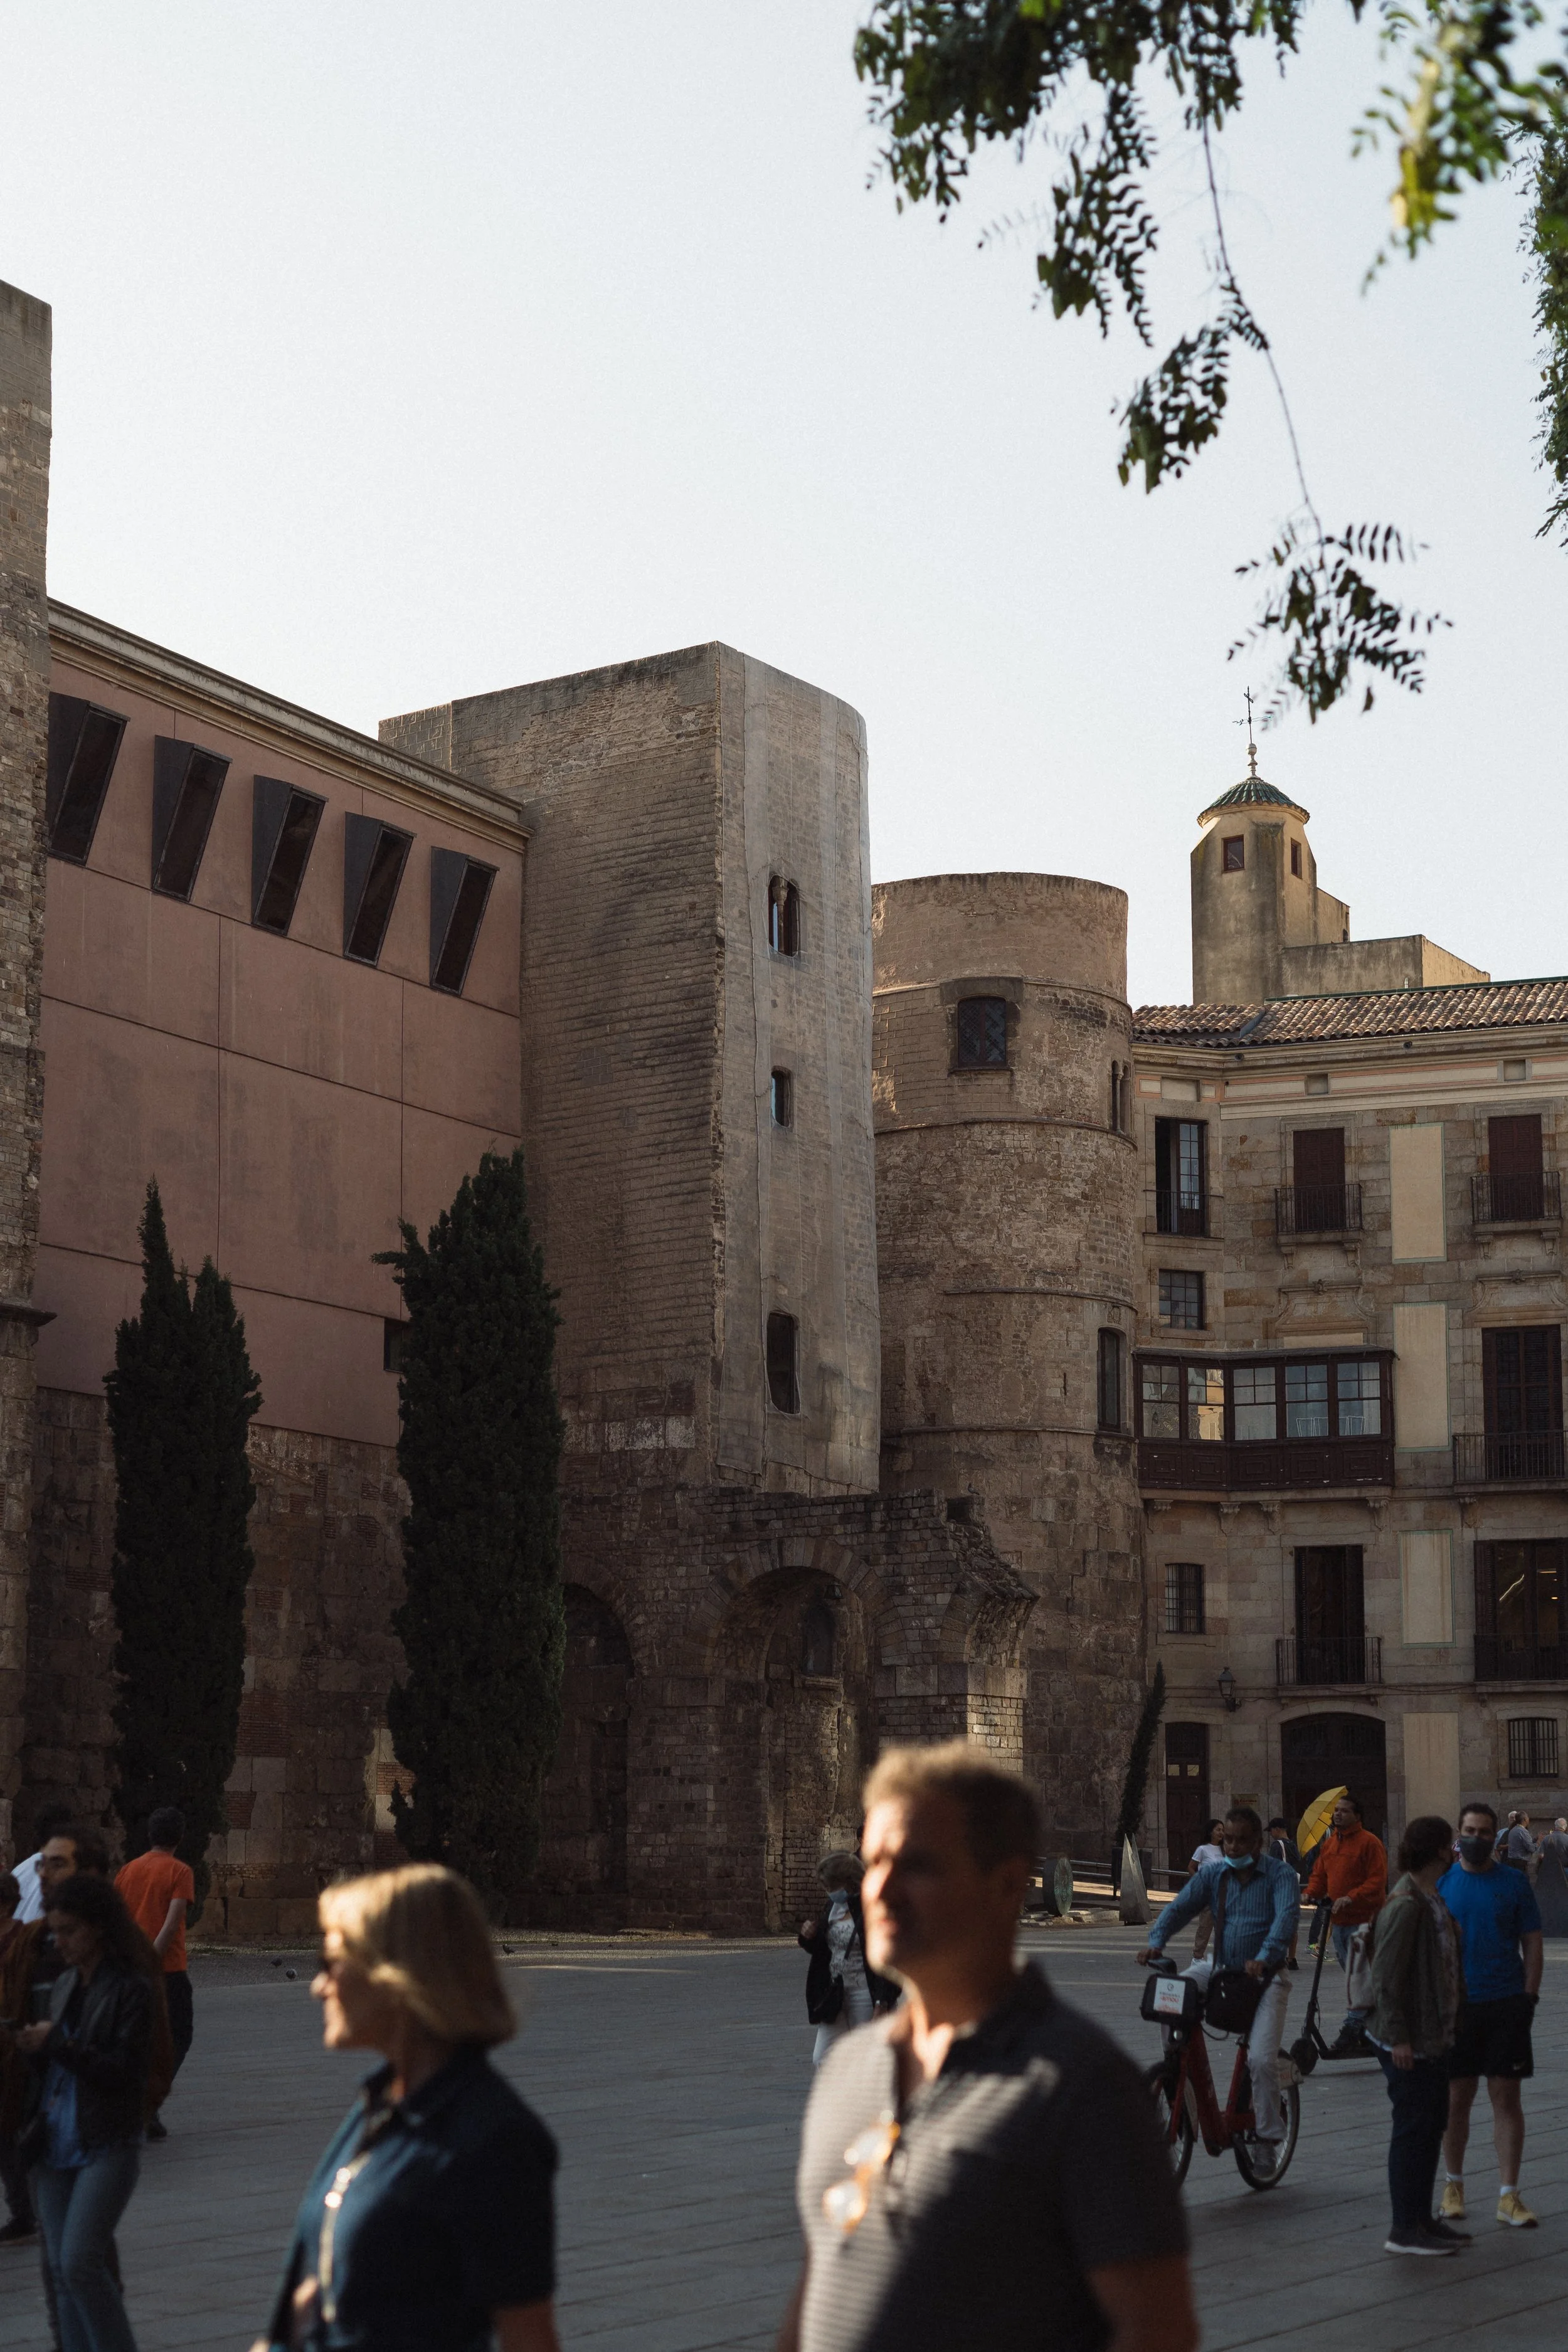
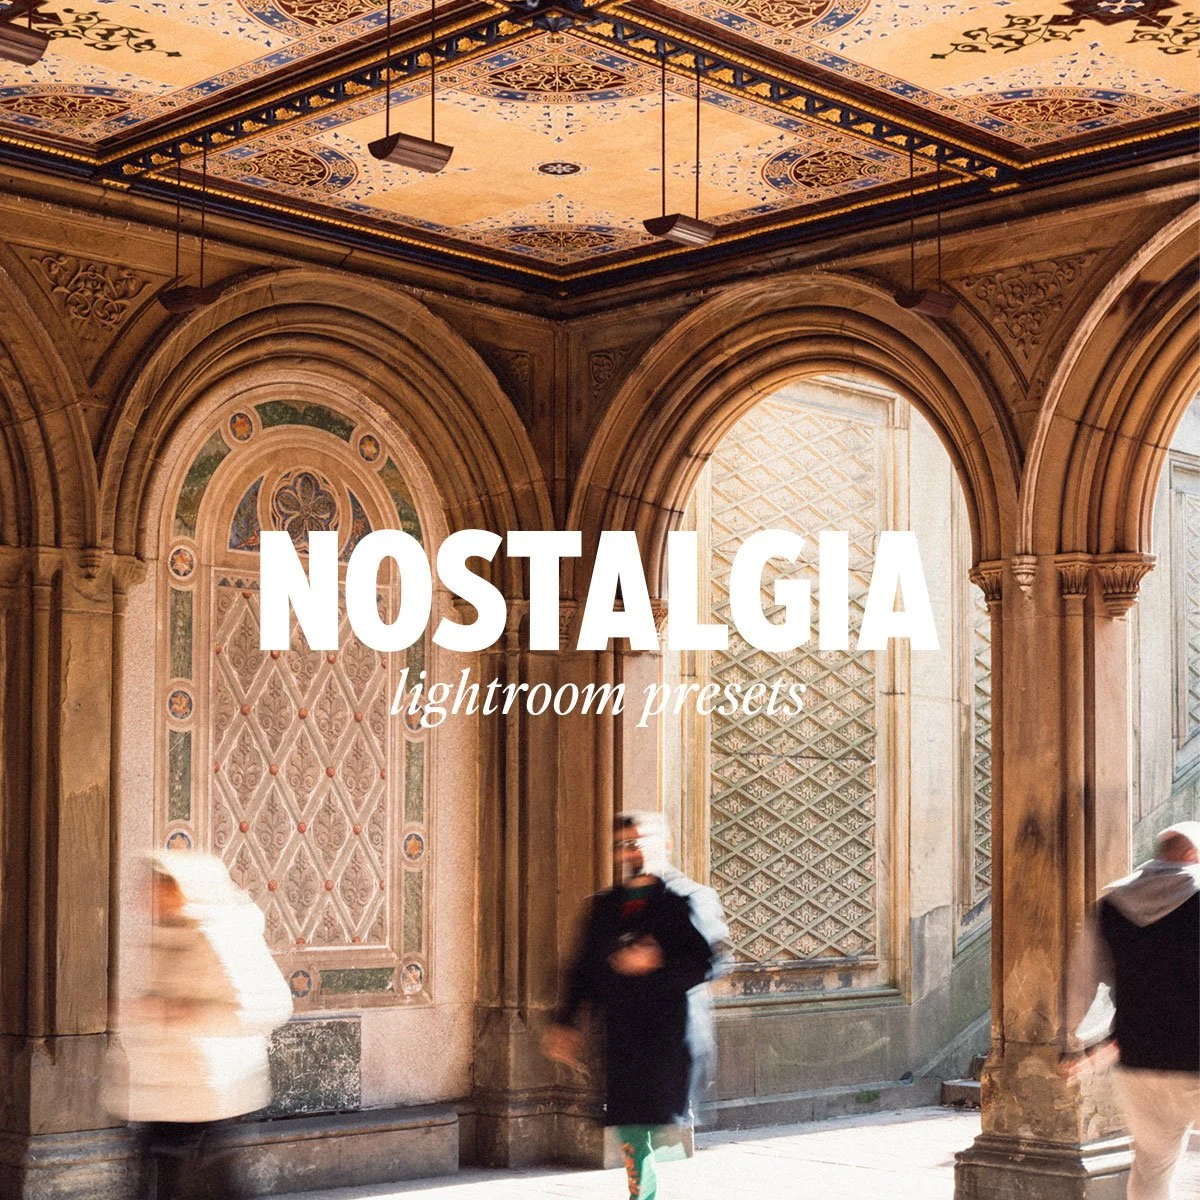
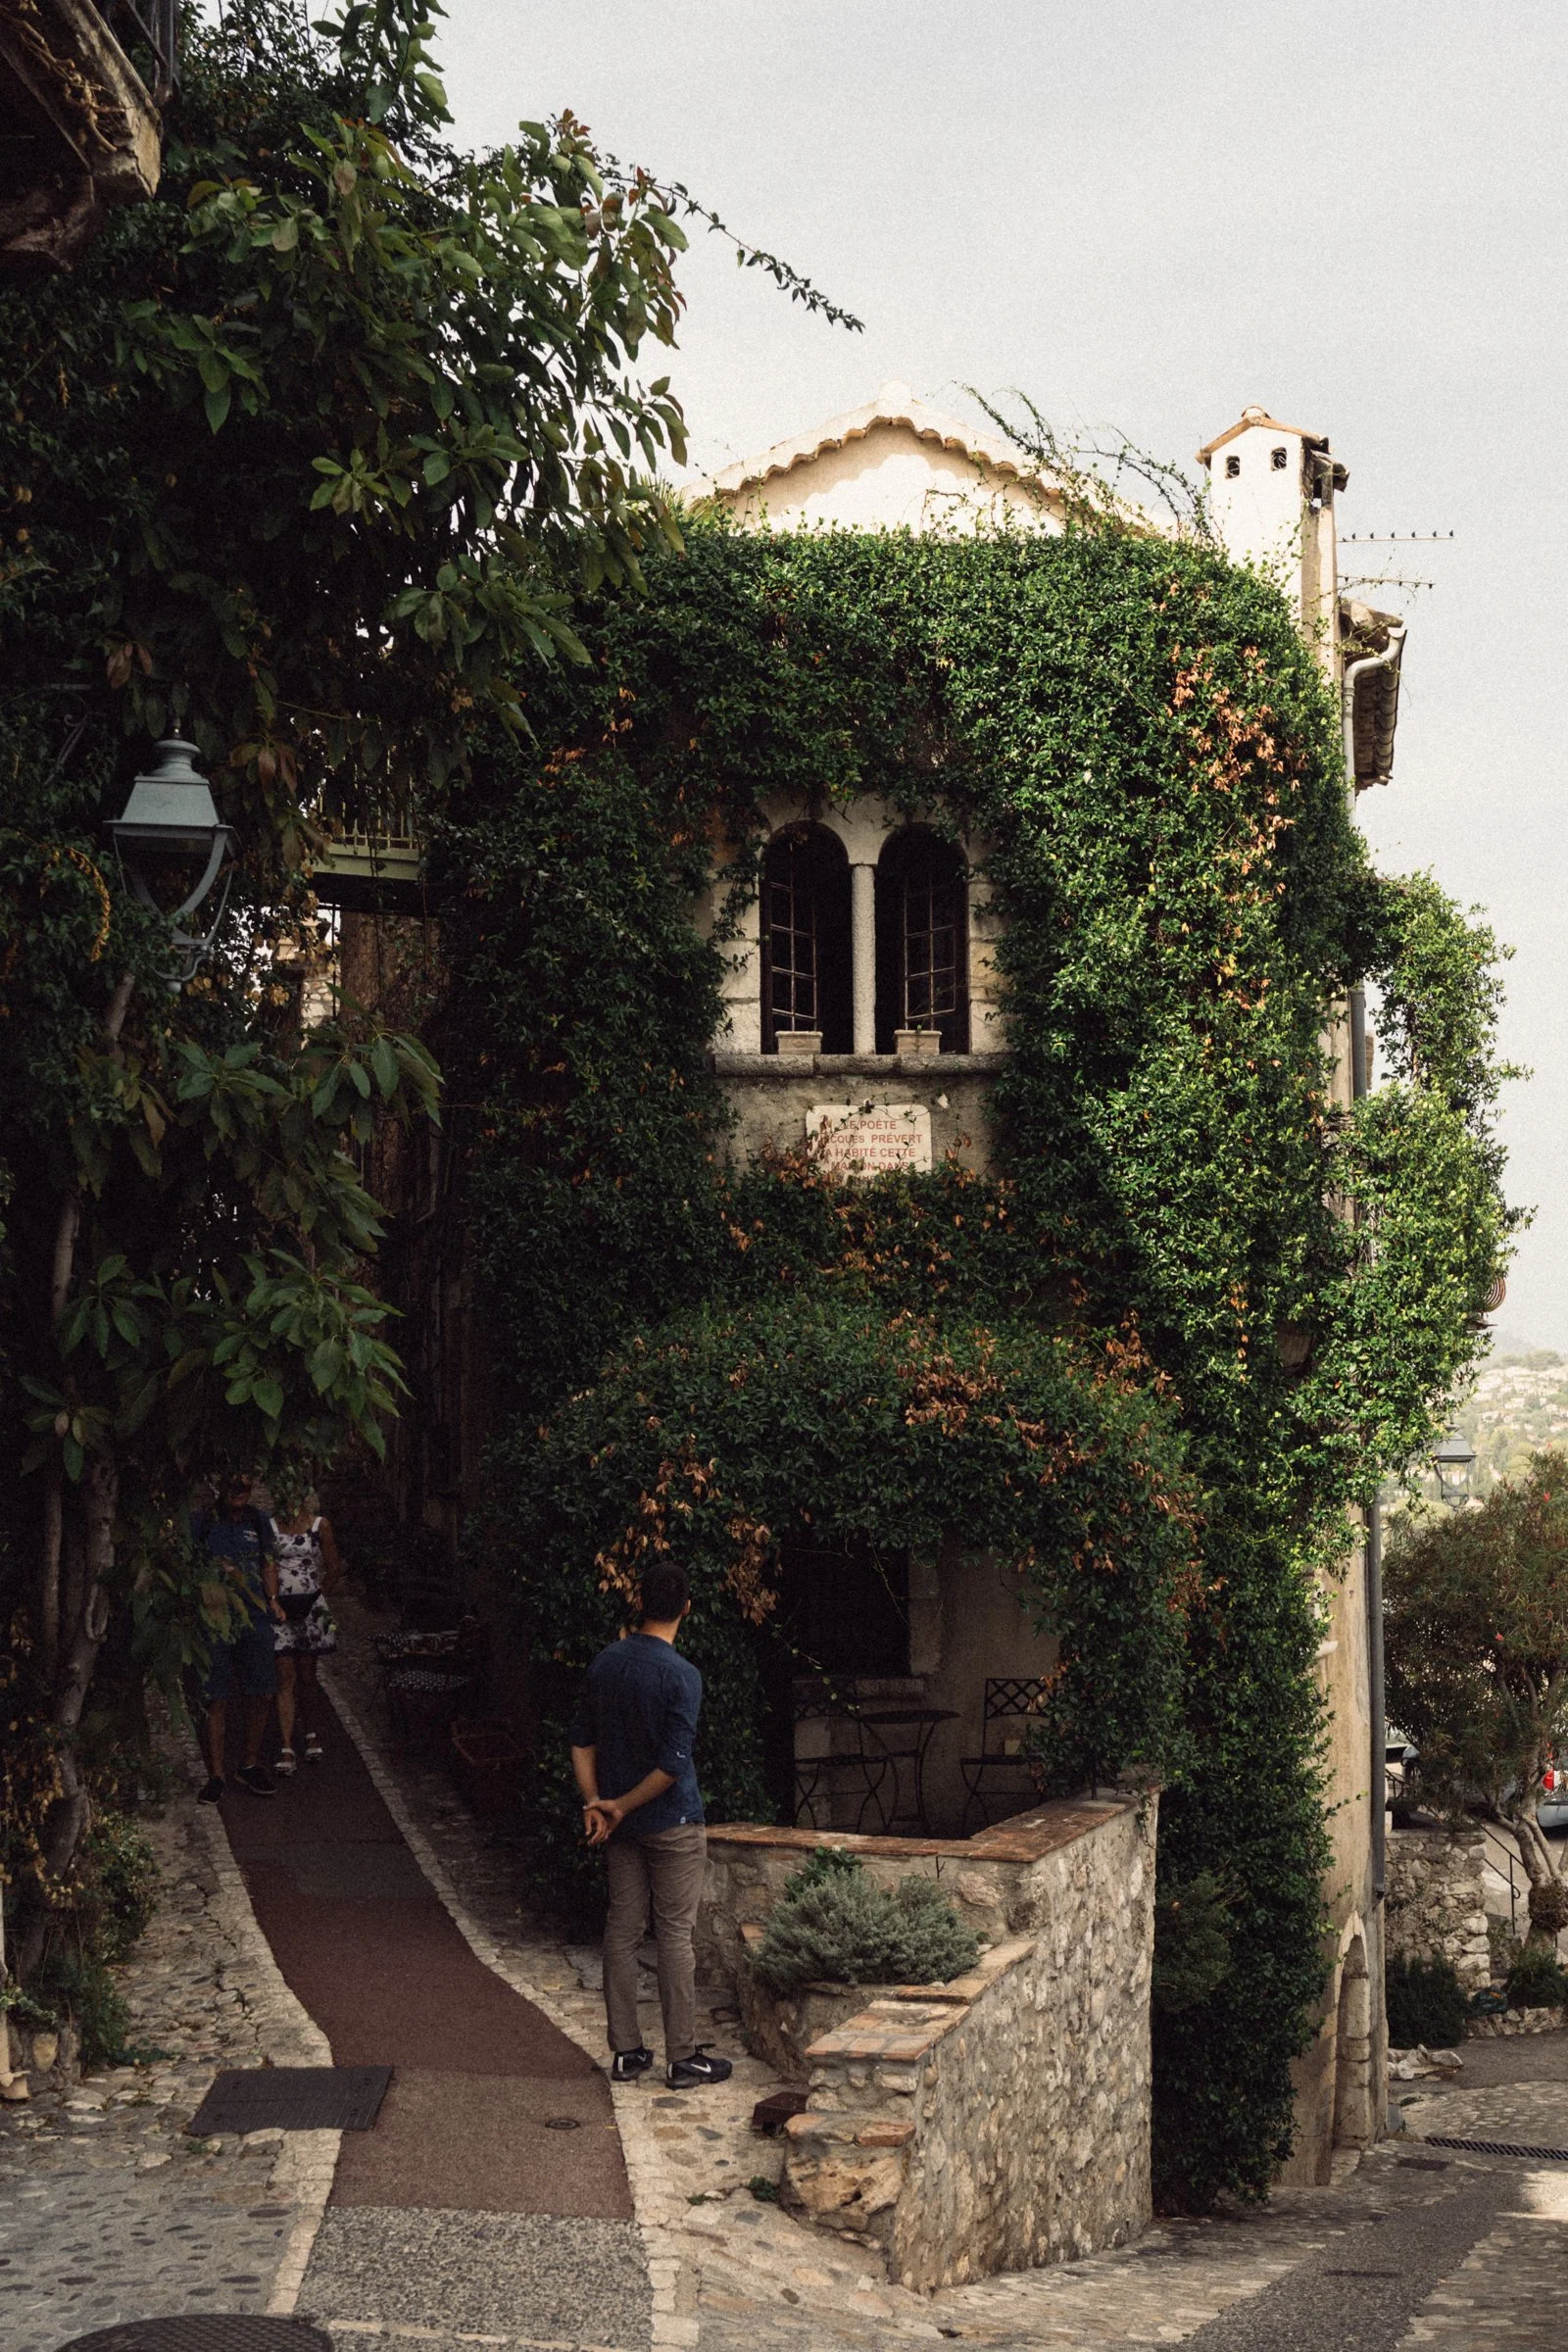 Image 3 of 5
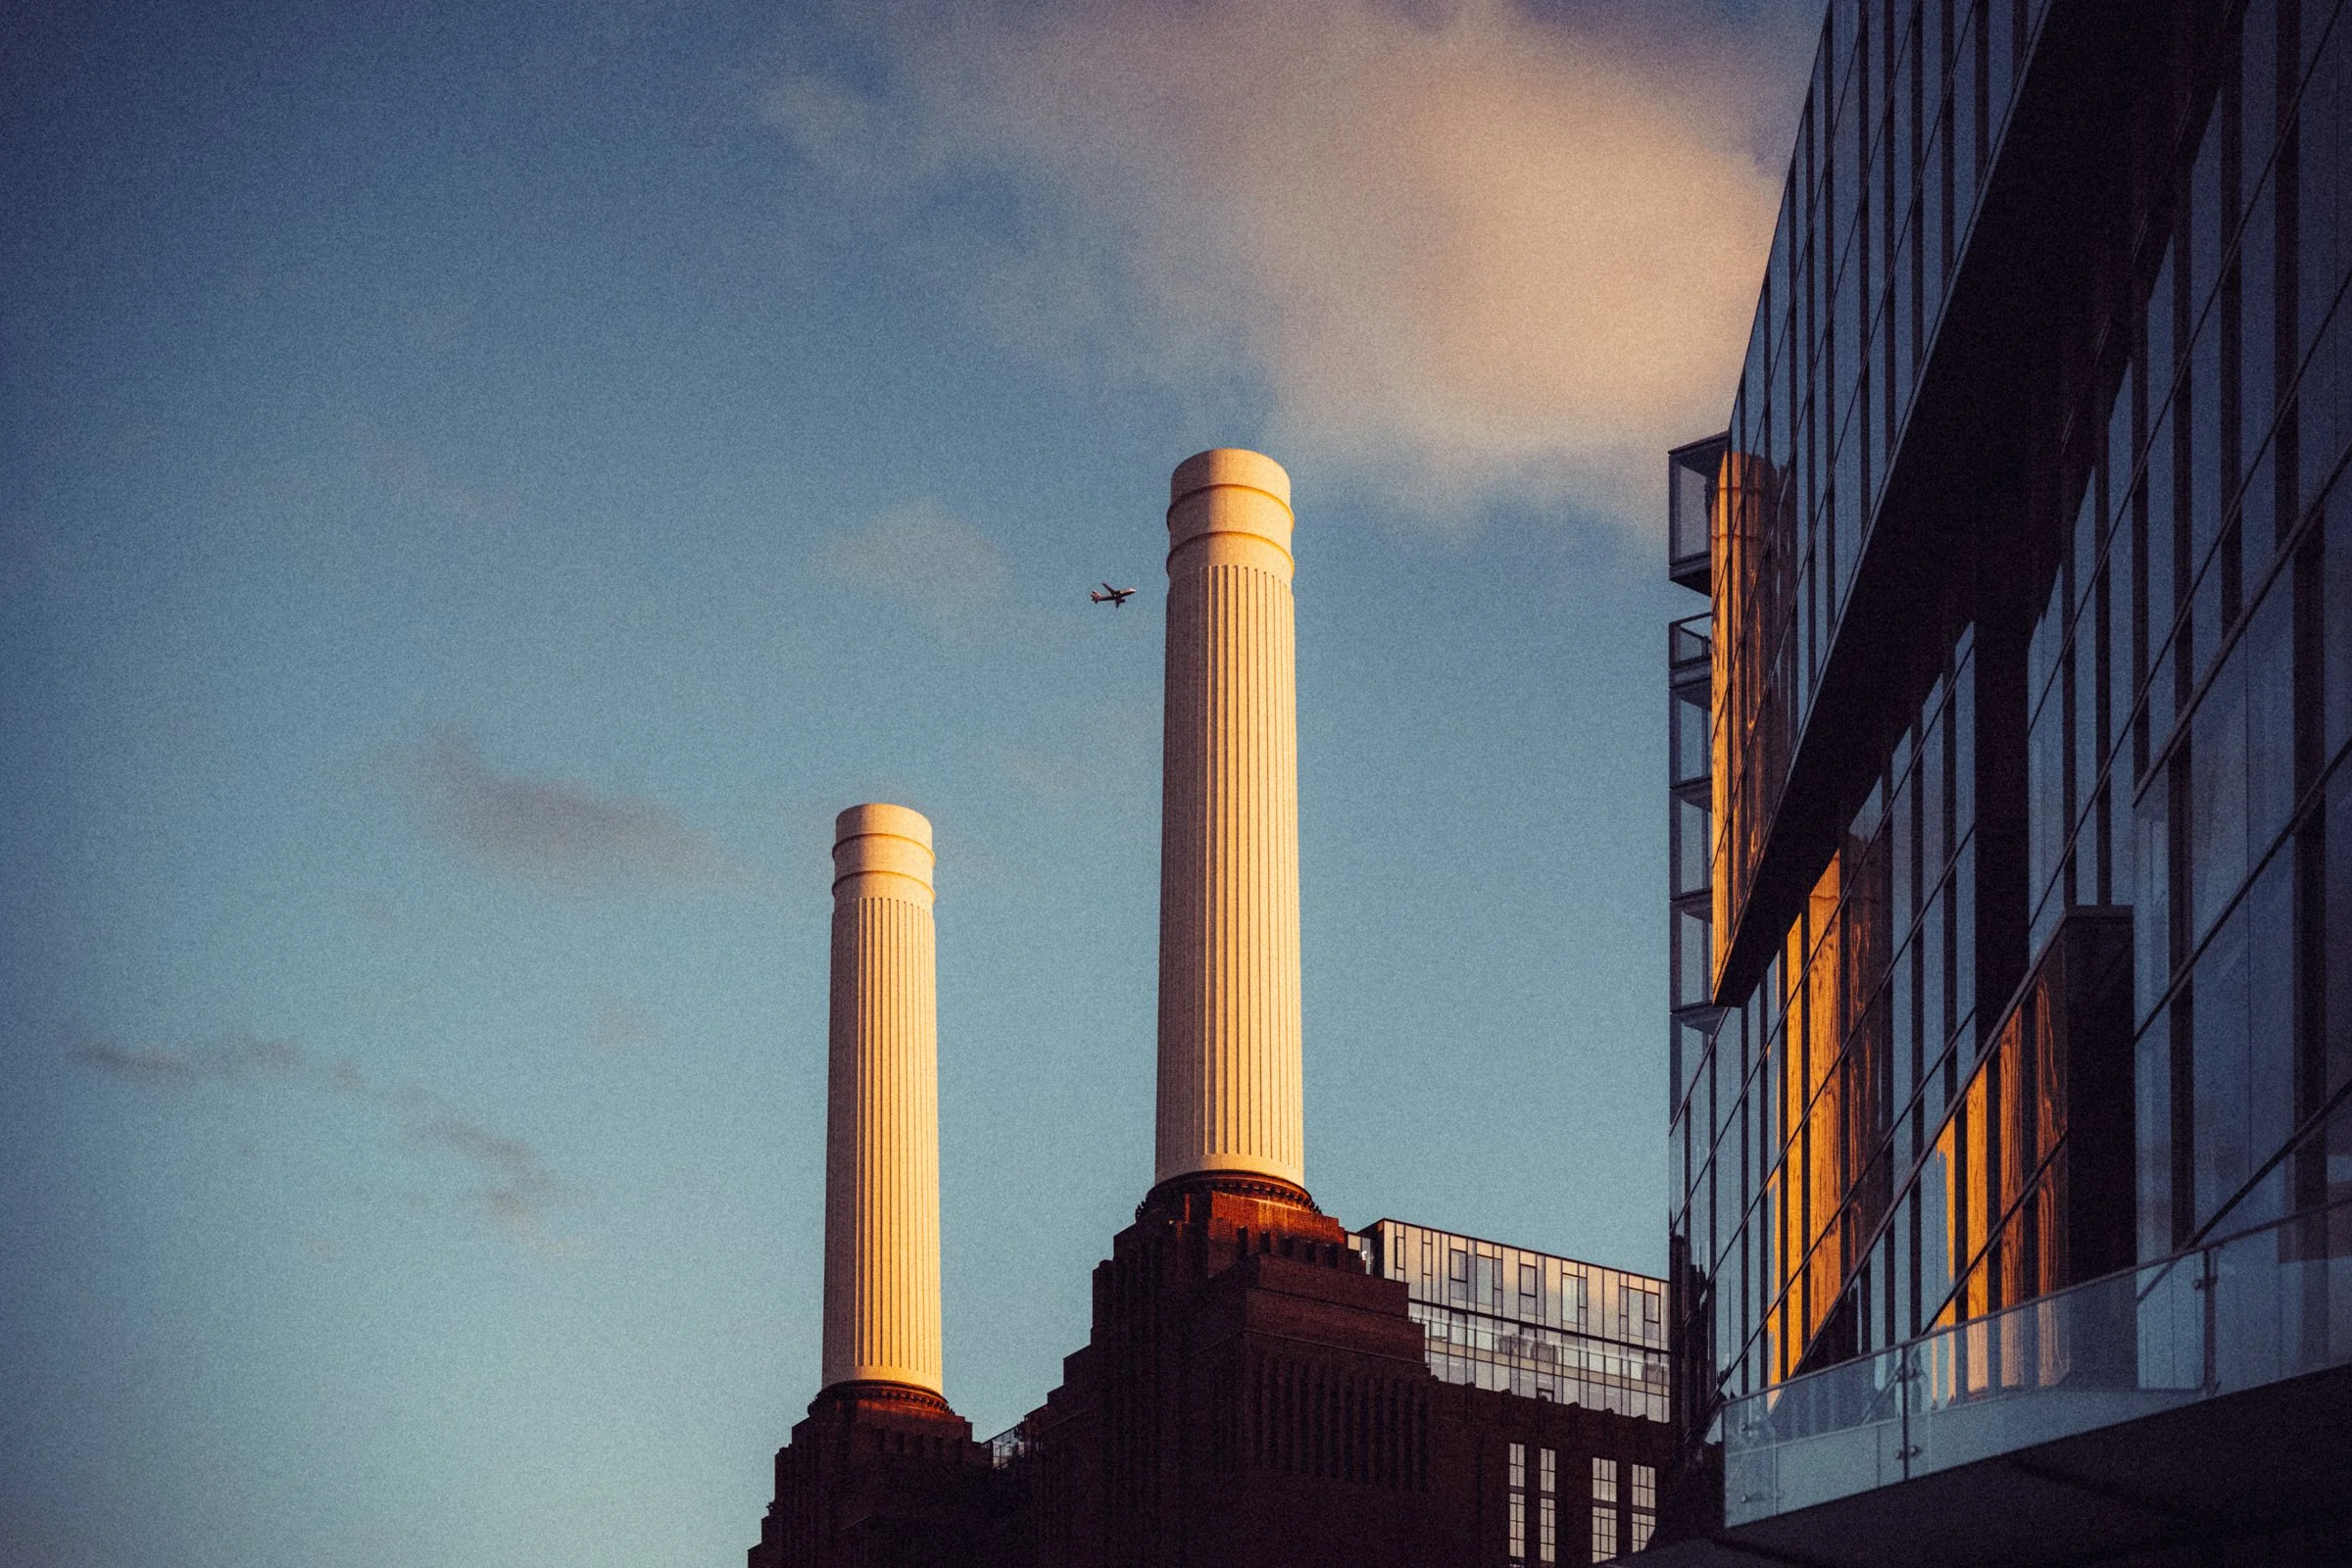
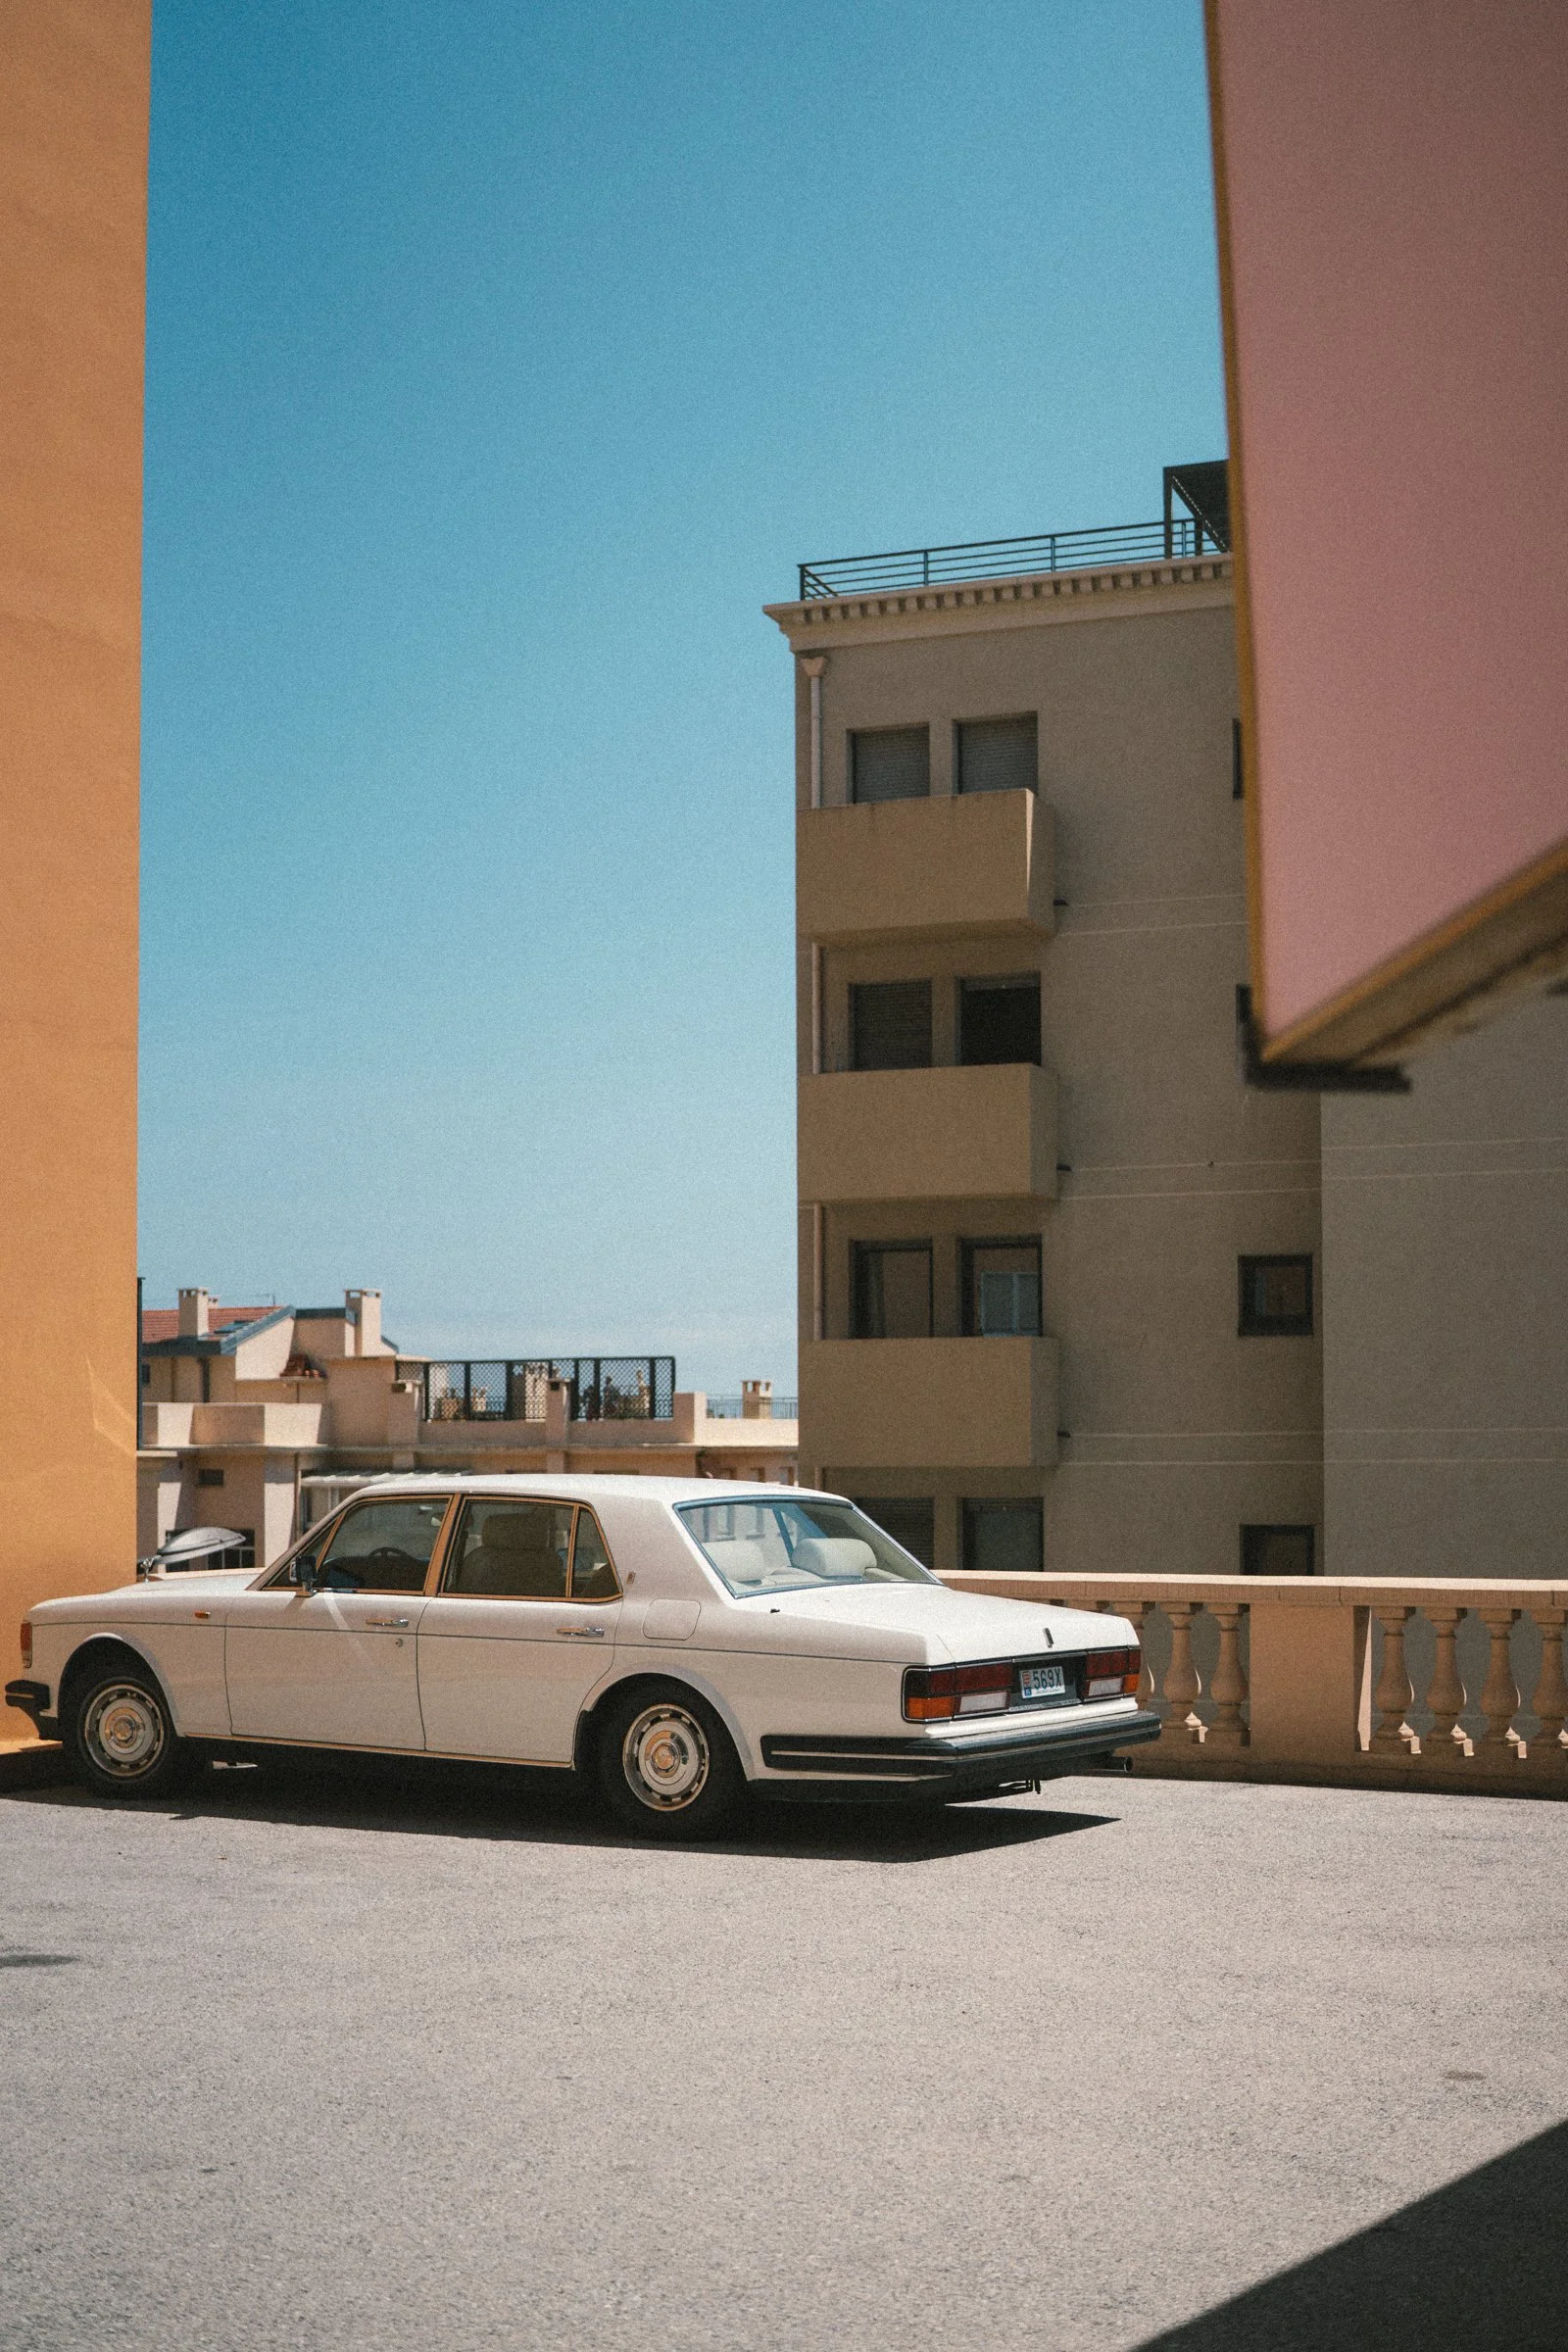
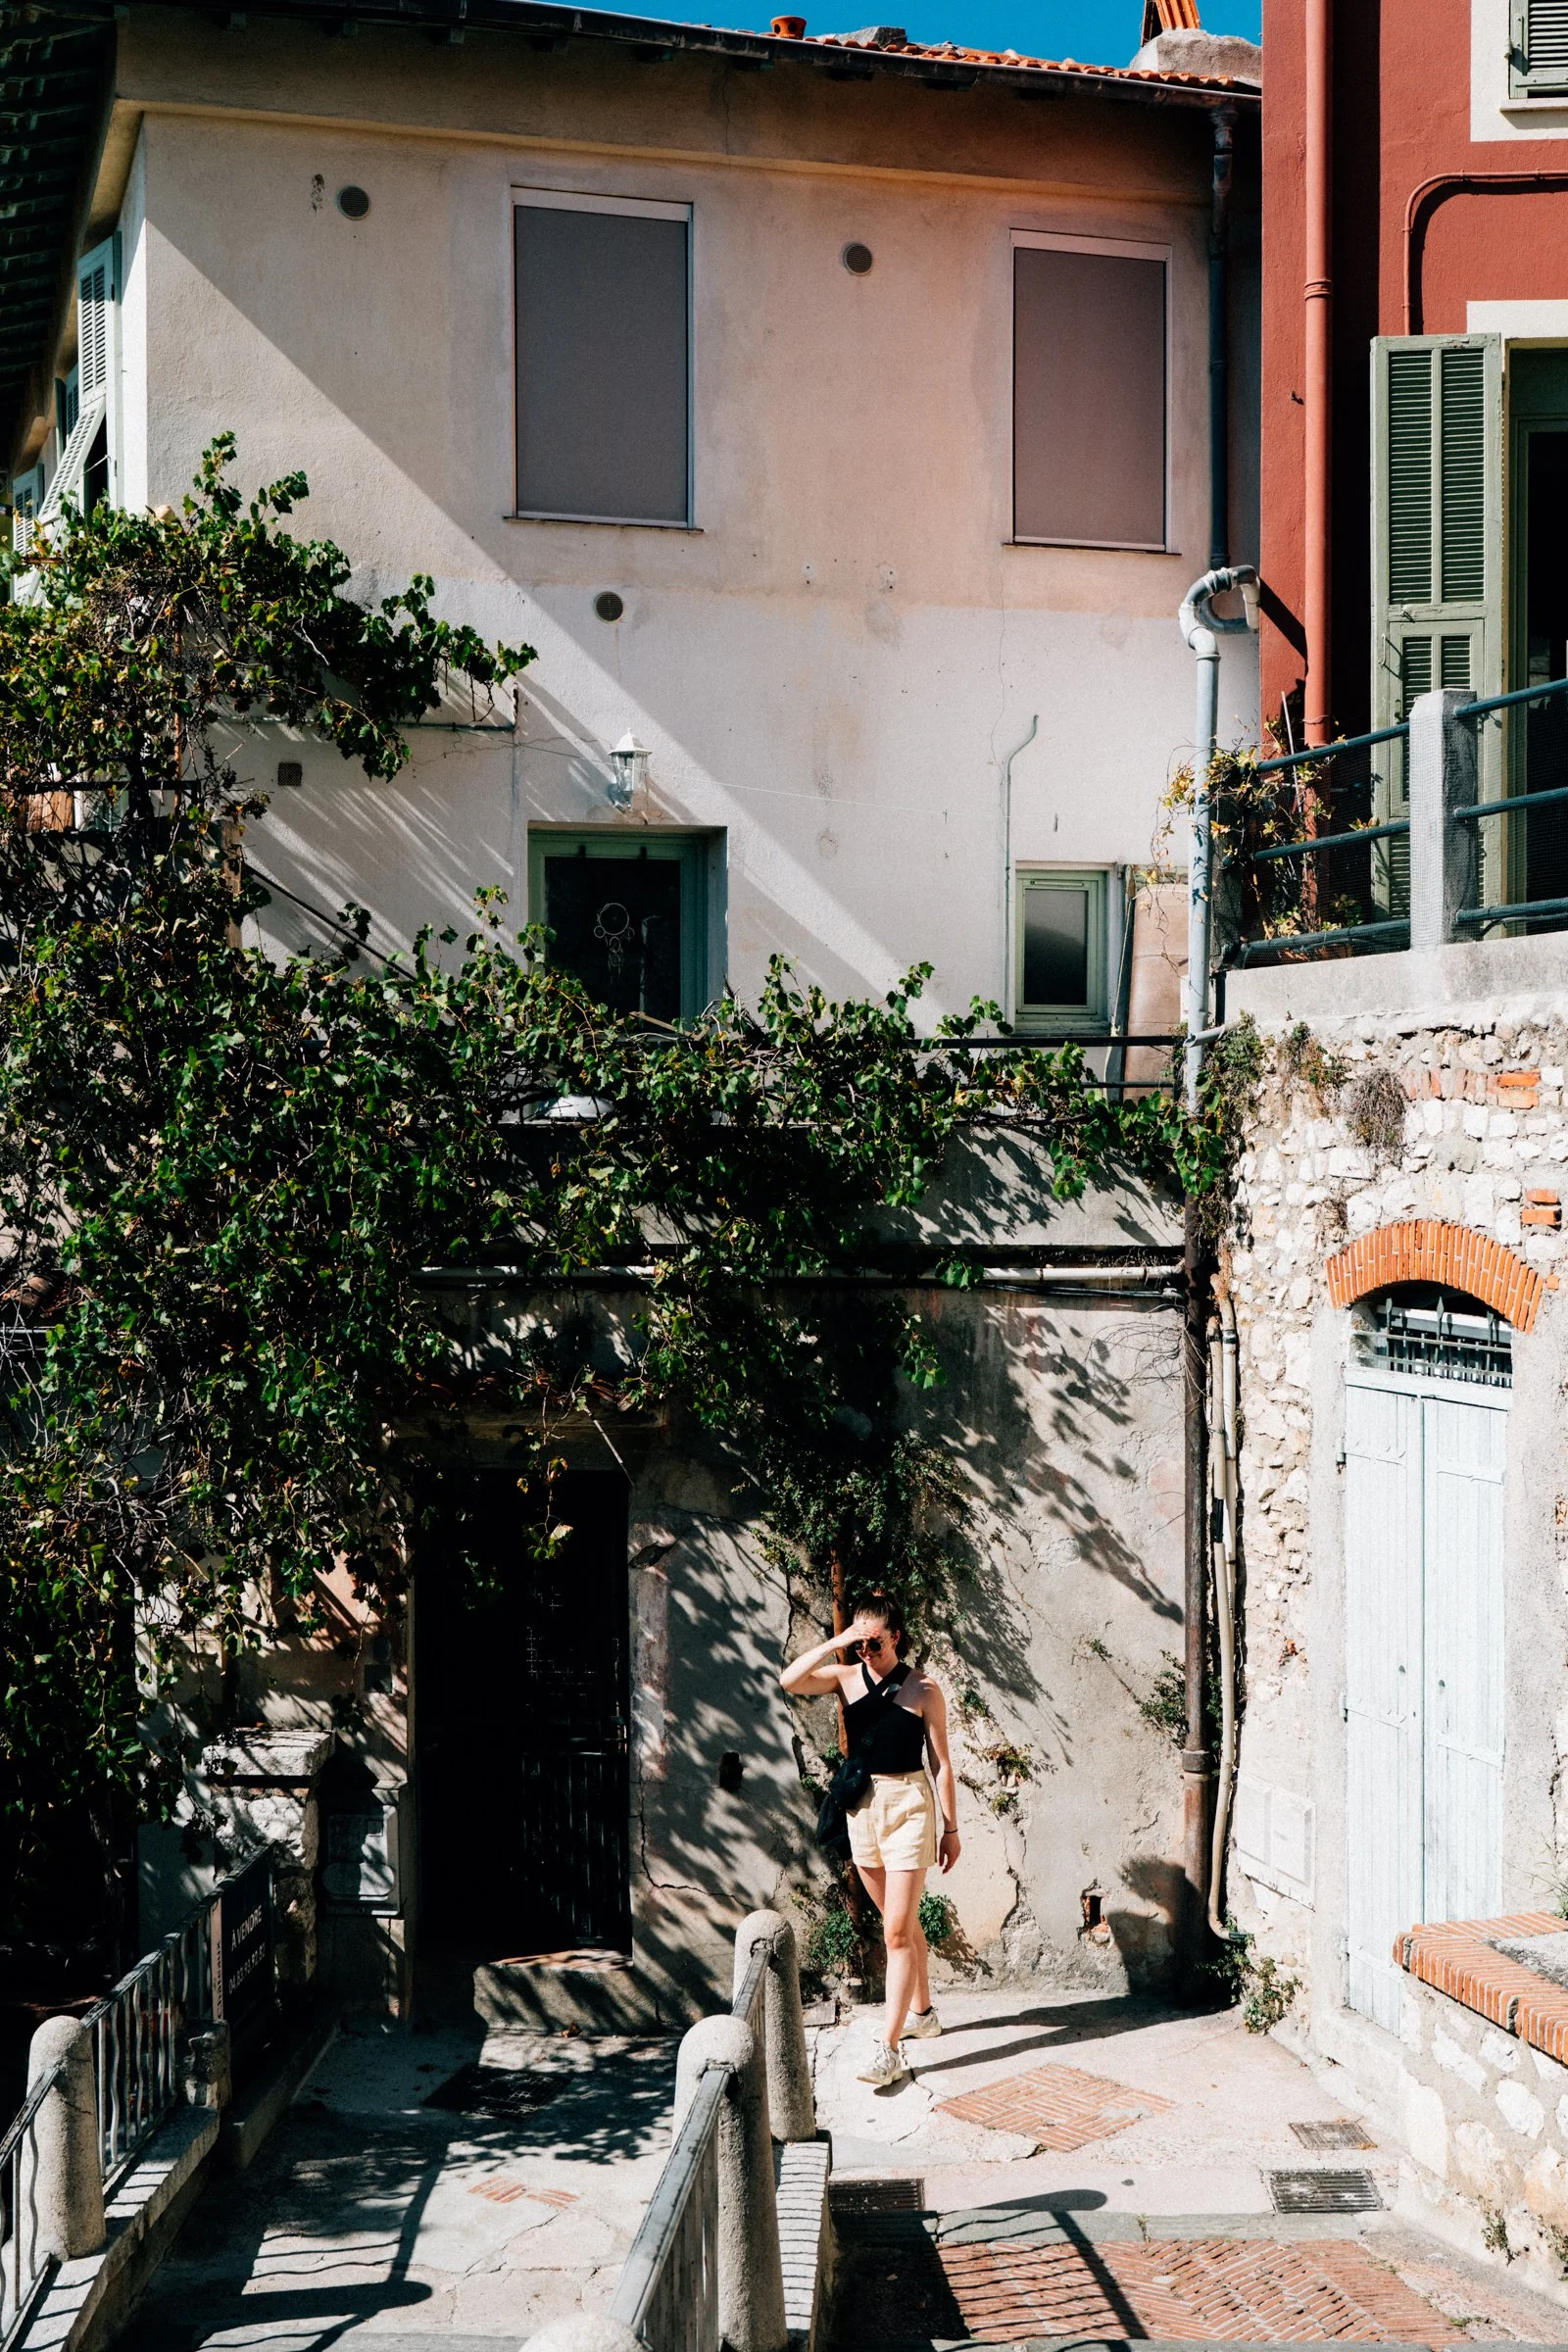
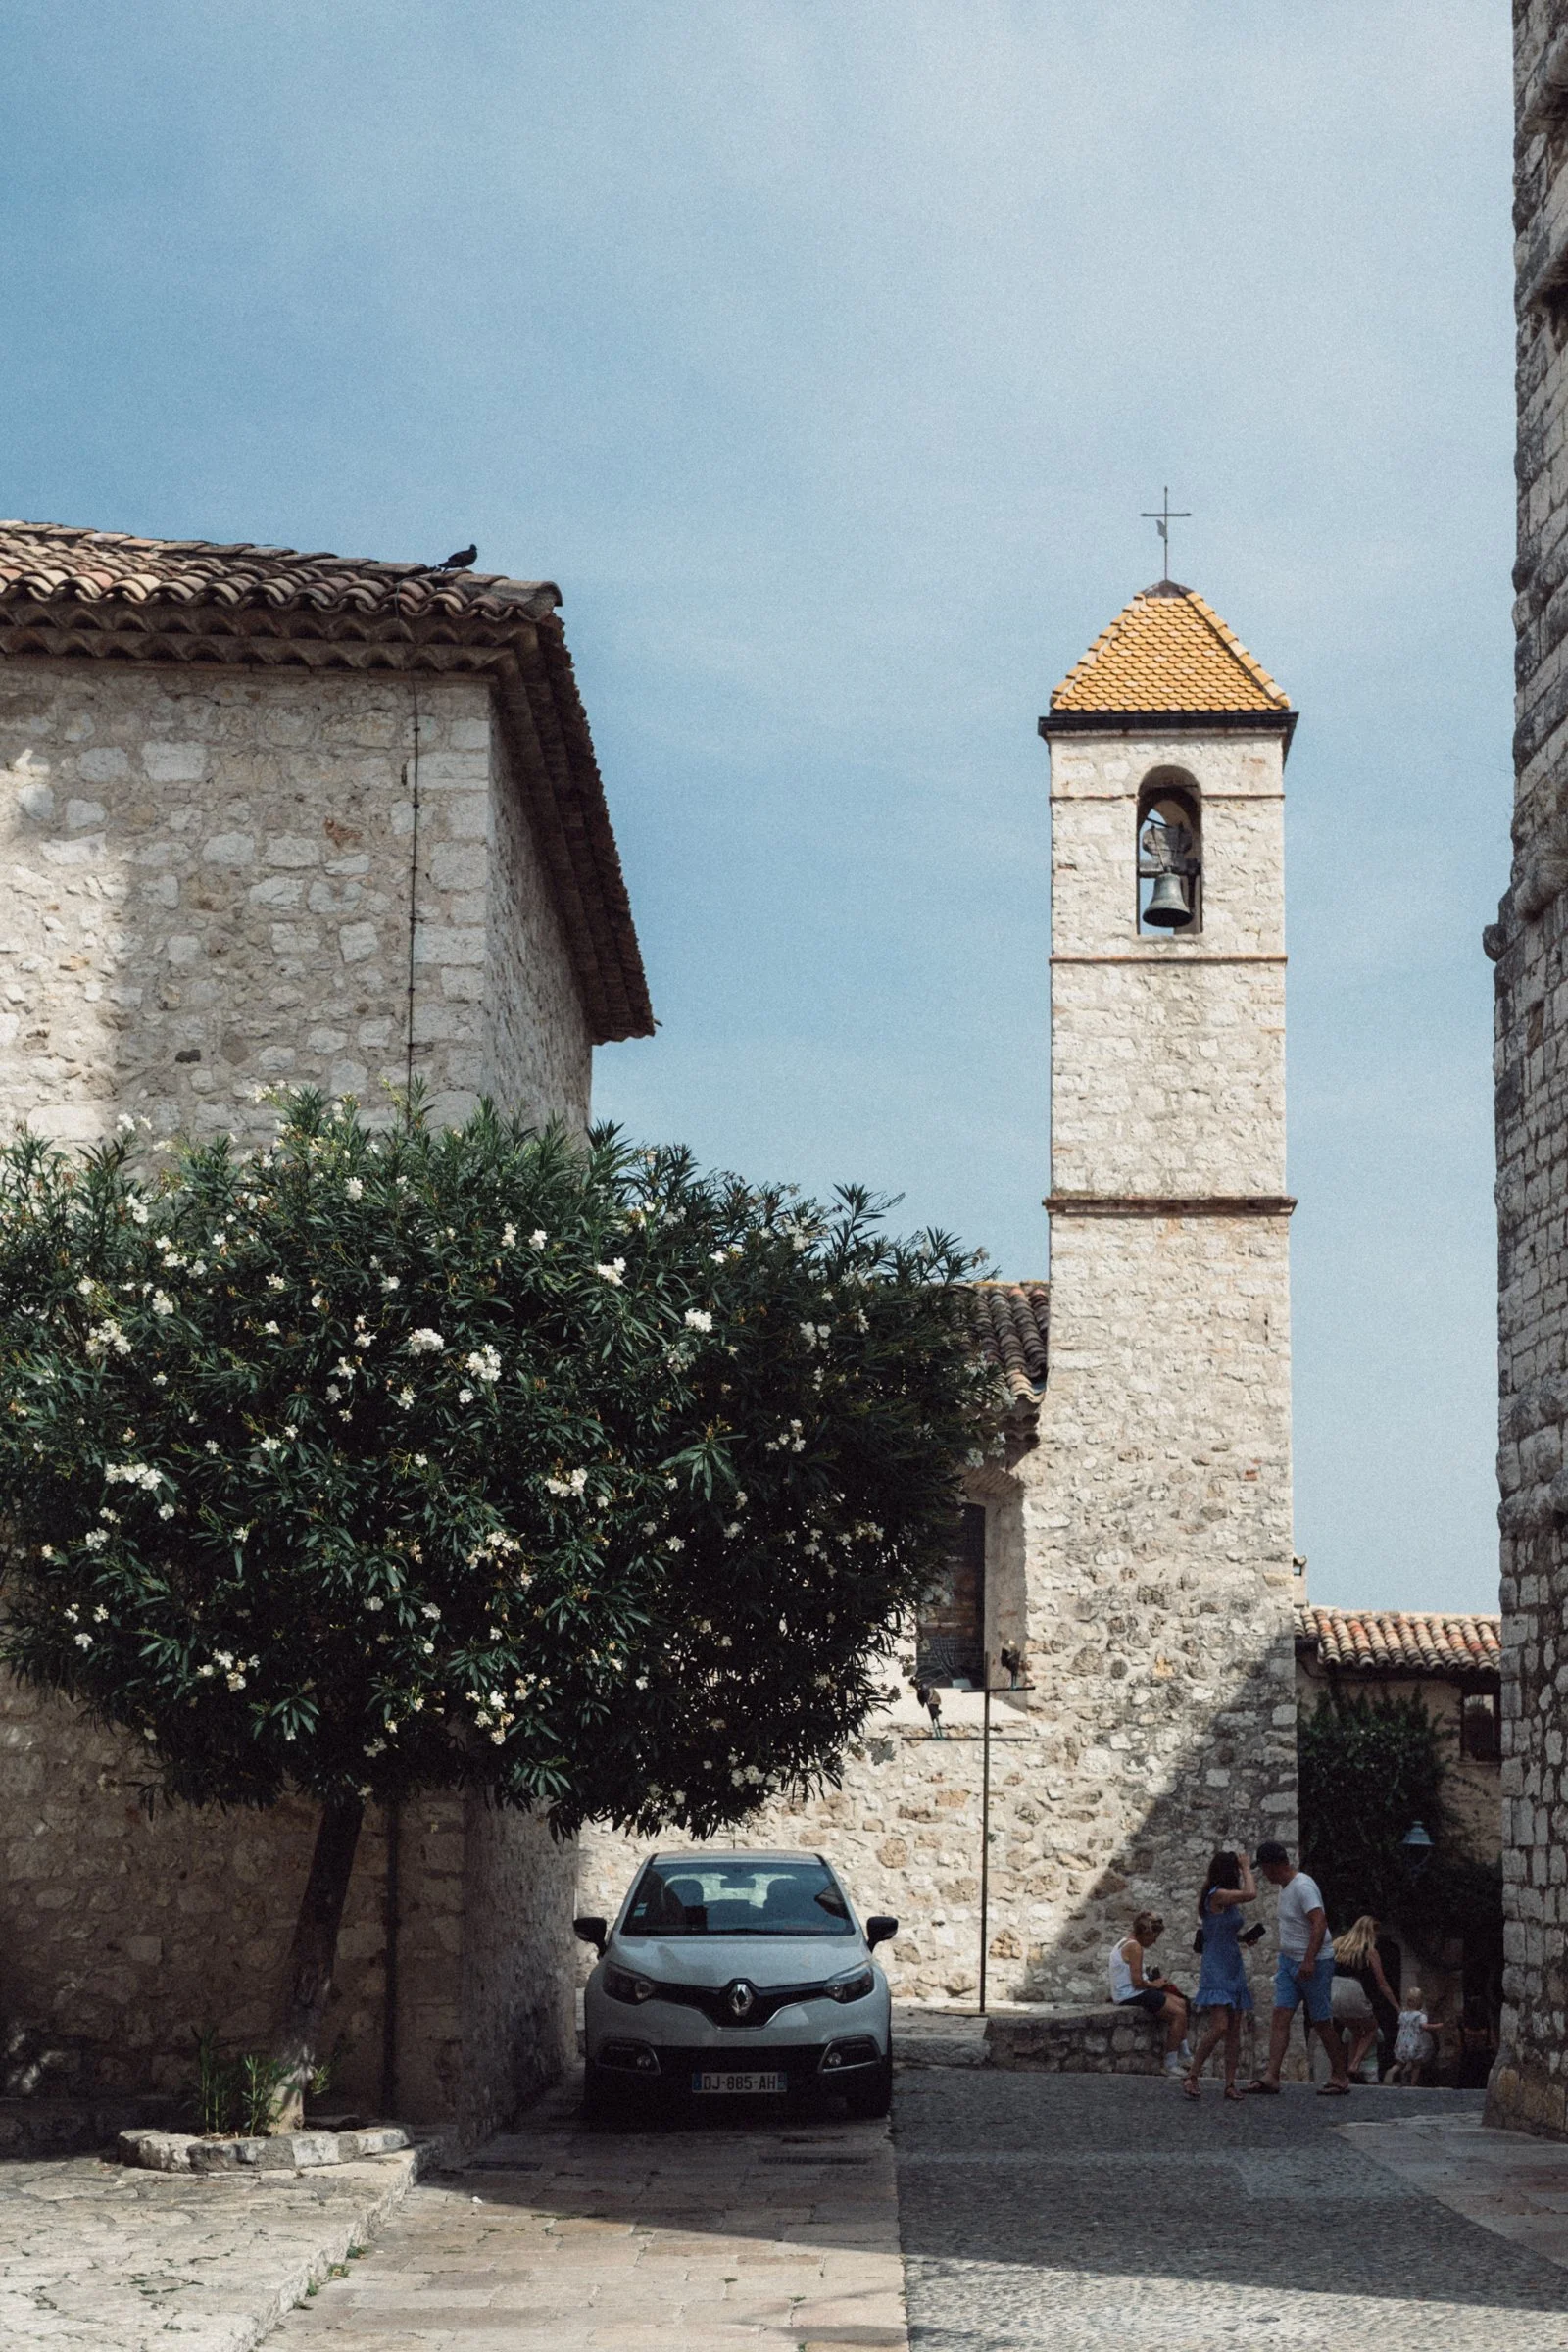 Image 4 of 5
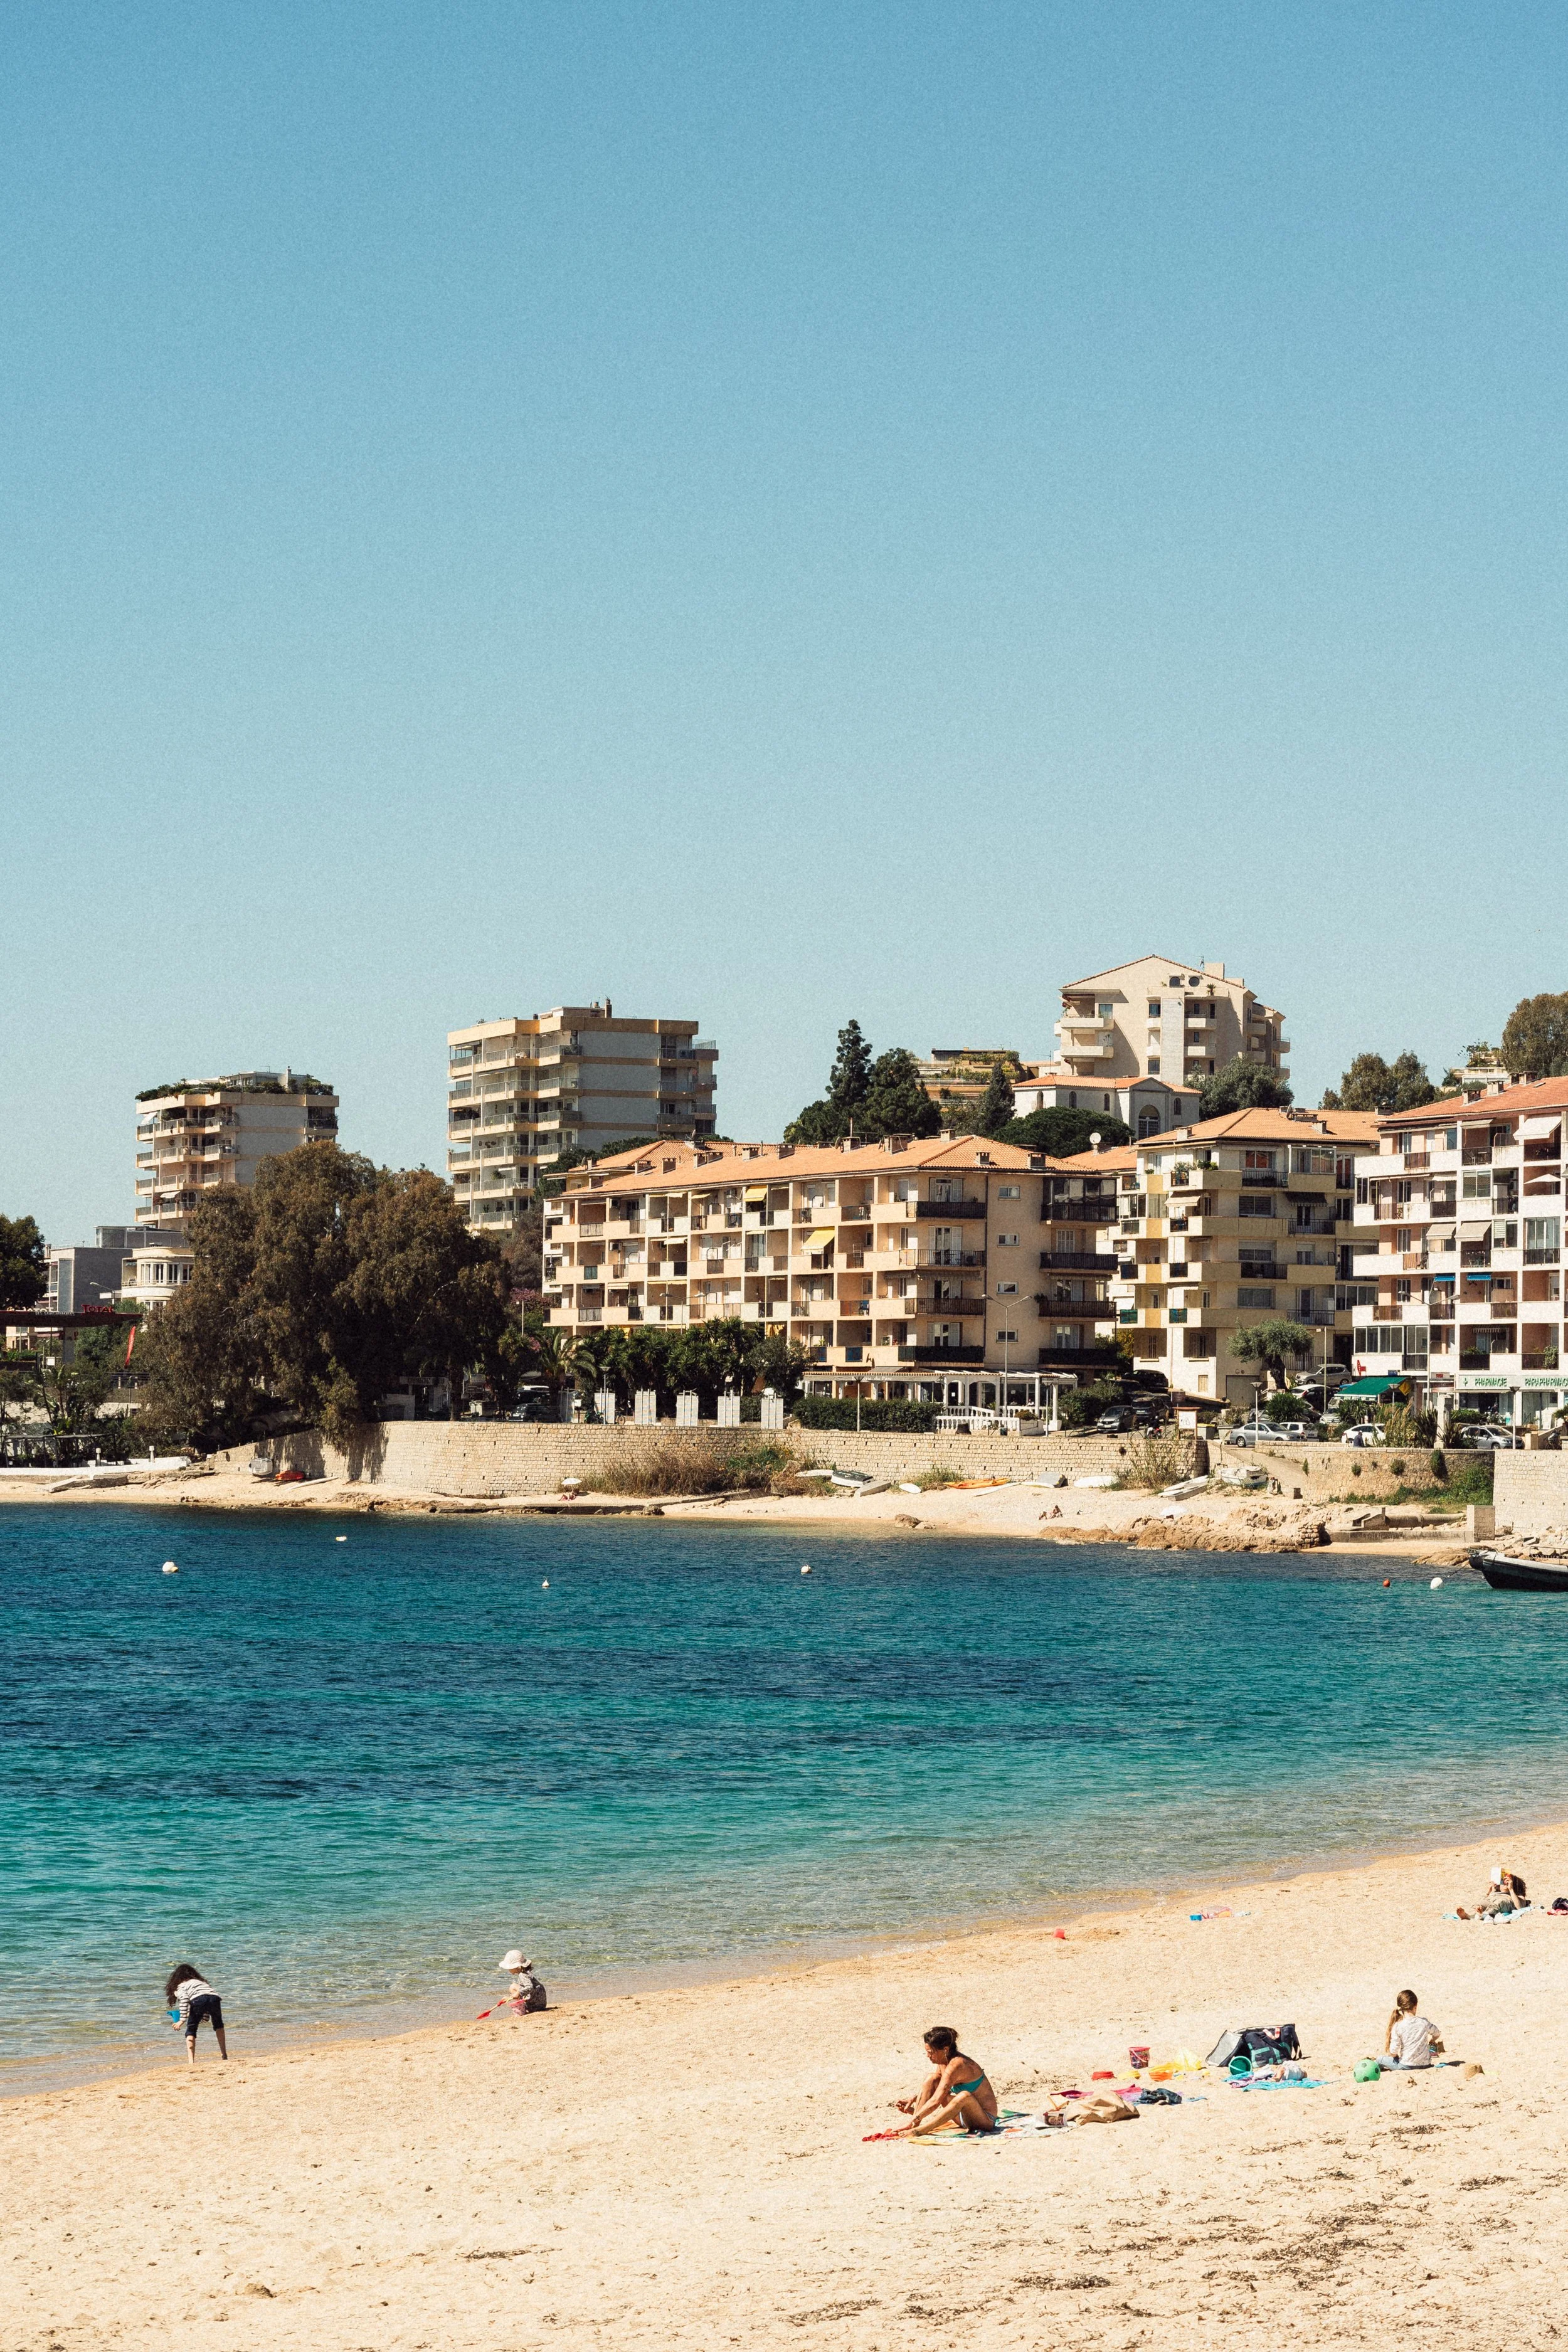
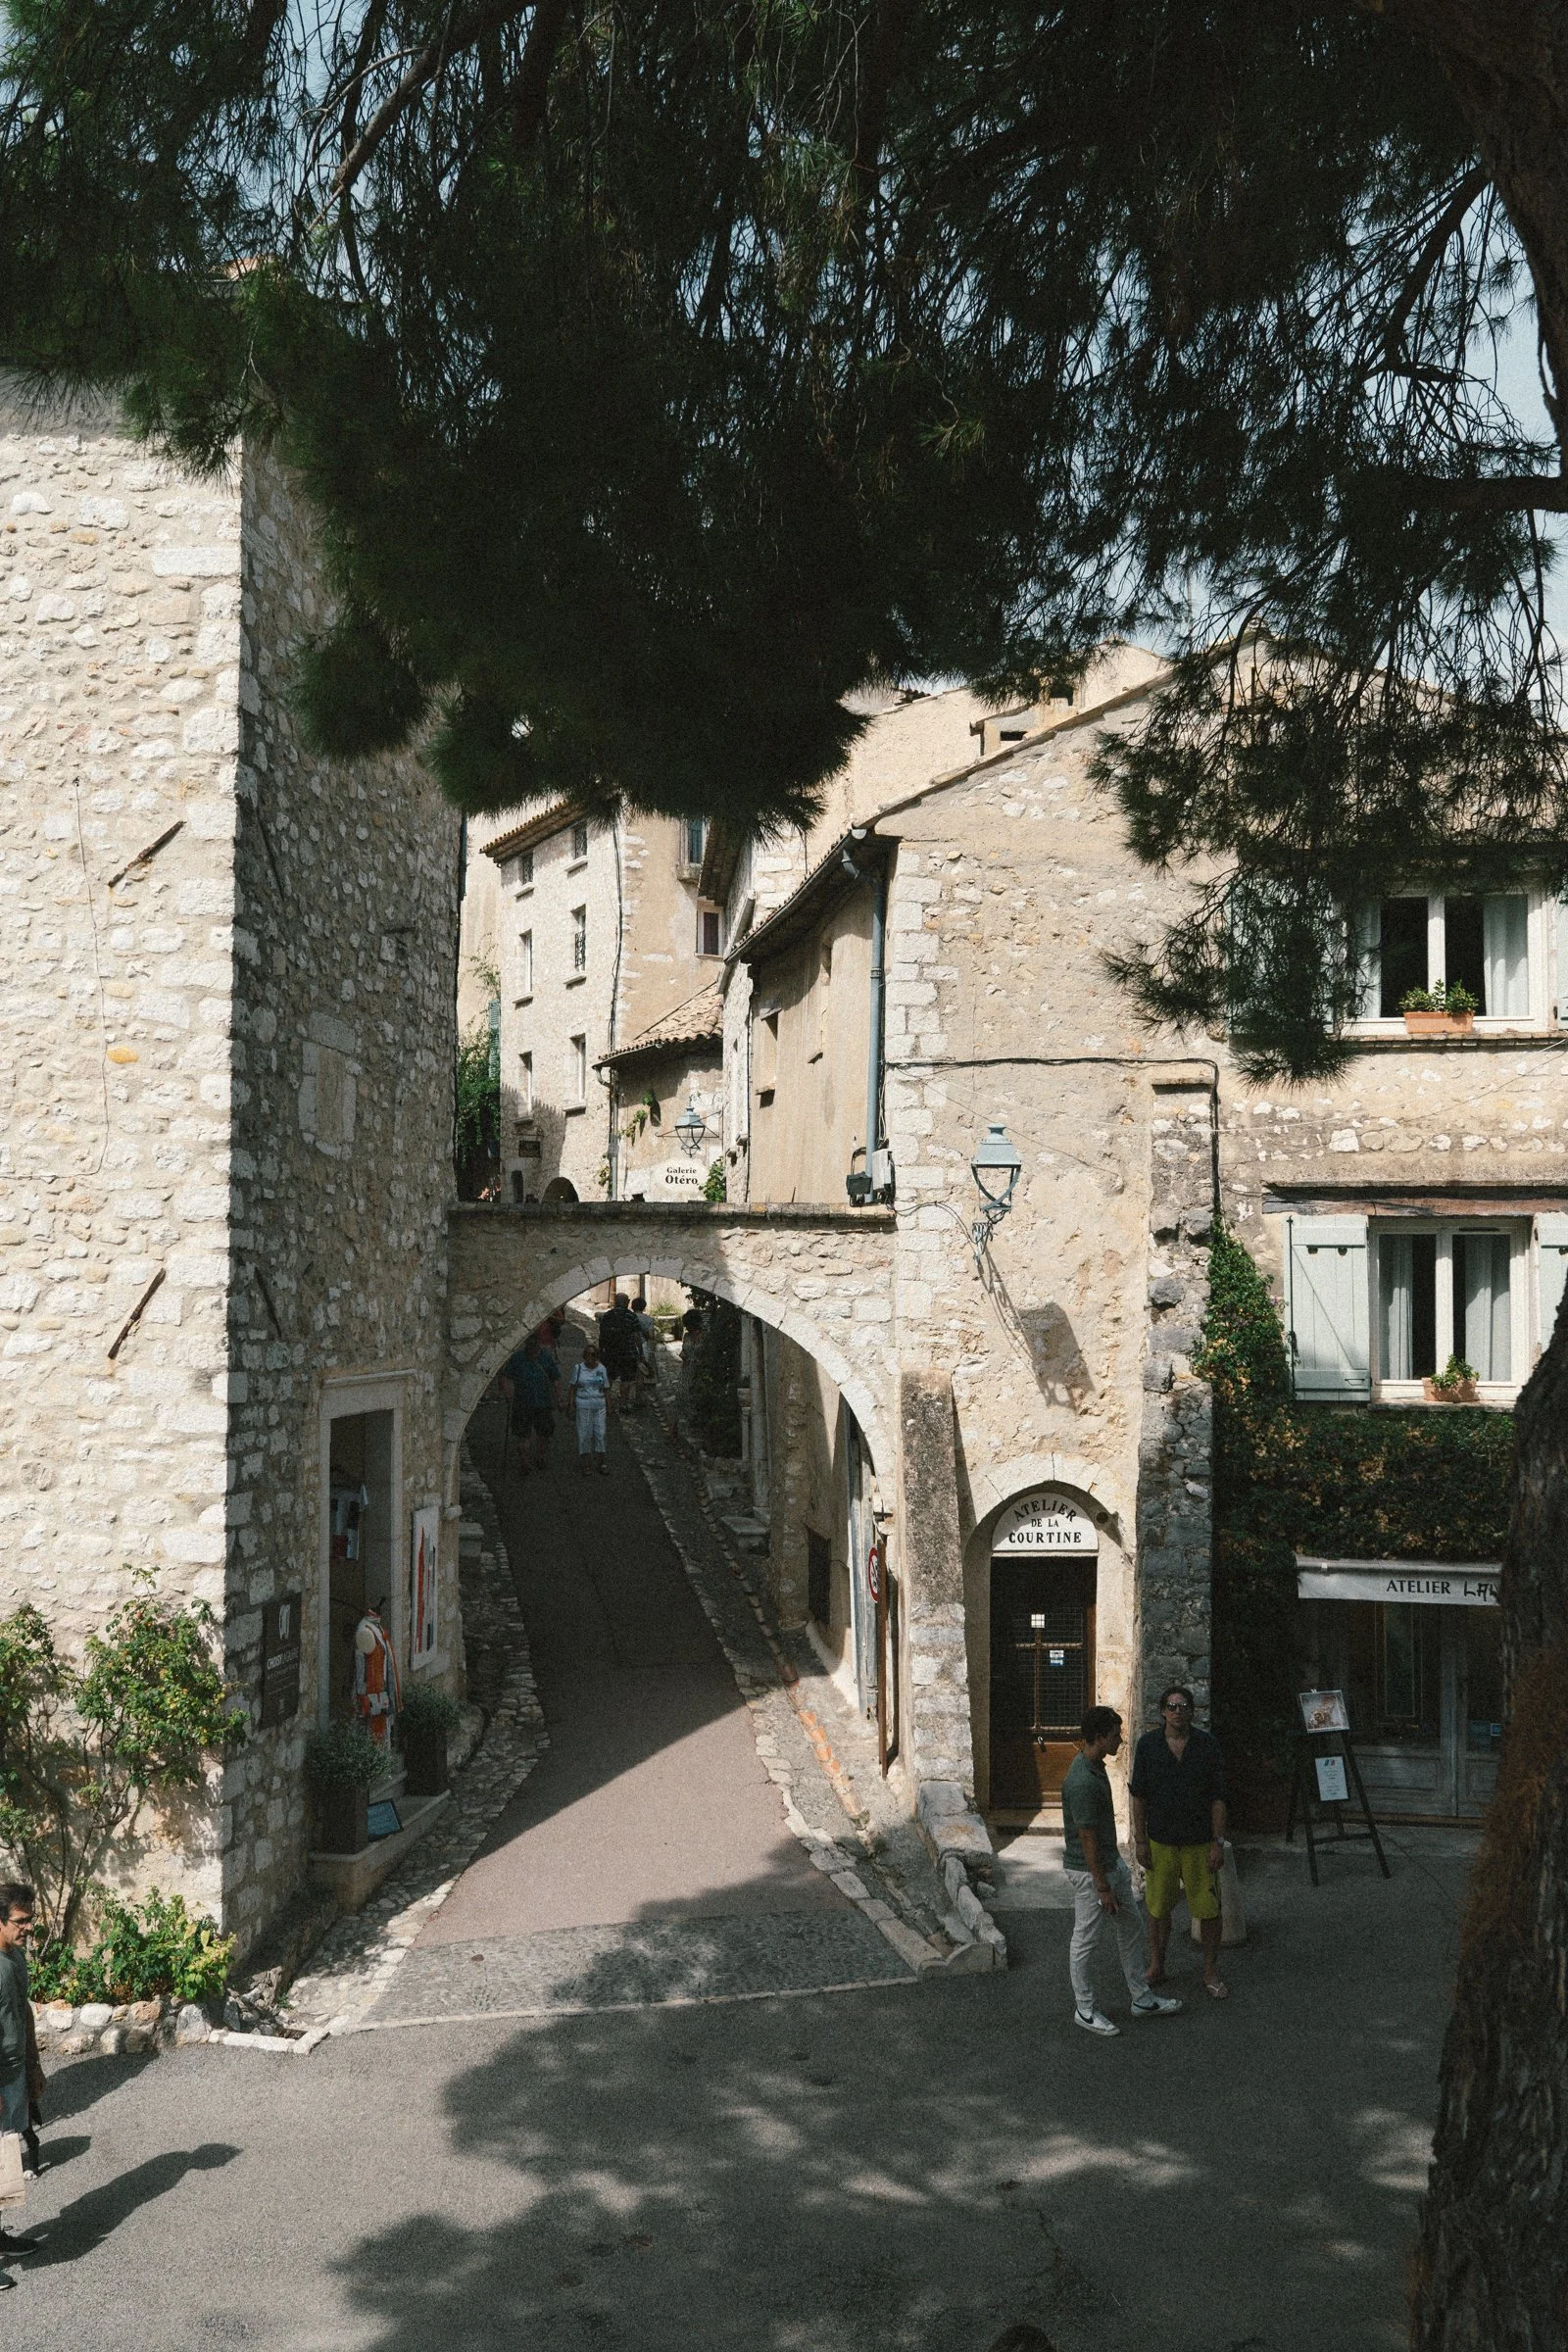 Image 5 of 5
Now includes .XMP and .DNG files.
Introducing my new collection of Lightroom presets specially designed for creating nostalgic edits. Transform your photos with just one click and evoke the warm, dreamy feel of days gone by. Perfect for adding a touch of vintage charm to your images, these presets are carefully crafted to enhance colors, tones, and textures to bring out the nostalgia in your photography. Elevate your editing process and achieve stunning results effortlessly with my Nostalgic Edits Lightroom presets.
What’s Included:
3 x Nostalgia Colour Preset
1x Nostalgia B&W Preset
To get the best results from these presets, adjust the exposure and white balance after applying the preset to every photo. Every lighting scene will be different so you’ll need to adjust for every shot.
HOW TO USE
💻 Lightroom Desktop (.xmp files)
Download & unzip your preset folder.
Open Lightroom Classic on your computer.
Go to the Develop Module.
In the left panel under Presets, click the “+” icon.
Select Import Presets.
Choose the .xmp files from your folder and click Import.
Your presets will now appear in the Presets Panel (usually under User Presets or in the provided folder).
👉 Using your presets: Open a photo → Go to Develop → Click on a preset → Fine-tune exposure, contrast, and white balance for best results.
📱 Lightroom Mobile (.dng files)
Download the .dng files to your phone.
On iPhone: Save to Files app or import directly into Lightroom.
On Android: Save to device storage or import into Lightroom.
Open the Lightroom Mobile App.
Import the .dng files (they may look like blank/grey images).
Open one .dng file.
Tap the “…” menu → Select Create Preset.
Give it a name and save it to a group (e.g., “My Presets”).
Repeat for each .dng file.
👉 Using your presets: Open a photo → Go to Presets → Tap your saved preset → Adjust exposure/temperature to suit your image.
🌟 Tips for Best Results
Presets are a starting point, not a one-click solution — adjust exposure and white balance to match your photo.
Shoot in RAW for maximum flexibility.
Experiment! Different presets work best in different lighting conditions.